


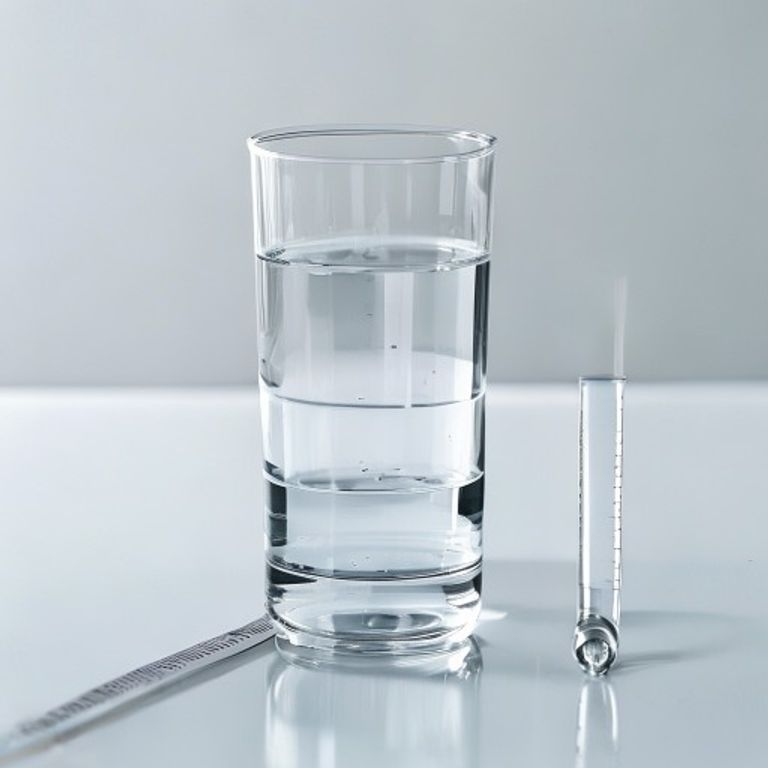
Mastering the Graduated Cylinder: How to Read, Use, and Choose the Right One for Your Lab

Introduction
When I first stepped into a chemistry lab, the sea of glassware was overwhelming. Among the many vessels, the graduated cylinder stood out as the “ruler” for liquids – simple, yet surprisingly precise. In this article, I’ll walk you through the practical steps to read a graduated cylinder, explore its common uses, compare it with a beaker, and share tips for getting the most accurate measurements every time.
How to Read a Graduated Cylinder Correctly
1. Position the Cylinder Properly
Place the cylinder on a level surface and make sure it’s upright. Even a slight tilt can shift the meniscus and give you a wrong reading.
2. Identify the Meniscus
The liquid forms a curved surface called the meniscus. For water‑based solutions, the meniscus is concave, and you should read the lowest point of the curve. Think of it like reading the bottom of a smile.
3. Align Your Eye Level
Never look at the cylinder from an angle. Position your eye level with the meniscus – just like you would when checking the fuel gauge in a car. This eliminates parallax error.
4. Note the Scale
Graduated cylinders come with markings every 1 mL, 5 mL, or 10 mL depending on size. The smallest division is your instrument’s precision. If the meniscus falls between two marks, estimate the fraction (e.g., 23.4 mL).
Graduated Cylinder Uses in the Chemistry Lab
- Measuring reagents for titrations and solution preparation.
- Transferring liquids between containers when volume accuracy matters.
- Calibrating other volumetric tools, such as burettes or pipettes.
Because the cylinder provides a clear, linear scale, it’s the go‑to tool for tasks that need more precision than a beaker but less than a volumetric flask.
Calculate Volume with a Graduated Cylinder
Let’s say you need 37 mL of a 0.5 M NaCl solution. You fill the cylinder to the 37 mL mark, read the meniscus, and then transfer the liquid to a beaker. The calculation is straightforward:
Volume (V) = 37 mL (as read from the cylinder)
If you’re diluting, use the simple equation C₁V₁ = C₂V₂. The cylinder gives you the accurate V₁ you need for the dilution.
Graduated Cylinder vs. Beaker: Which One to Choose?
Both are common, but they serve different purposes:
- Precision: Graduated cylinders are calibrated for volume; beakers are not.
- Capacity: Beakers hold larger volumes and are ideal for mixing or heating.
- Ease of Use: For quick, rough measurements, a beaker works; for anything requiring precision volume, reach for the cylinder.
If you need to measure 50 mL of solvent for a reaction, a 100 mL graduated cylinder will give you a far more reliable figure than a 250 mL beaker.
Proper Way to Use a Graduated Cylinder
- Rinse the cylinder with a small amount of the liquid you’ll measure to avoid contamination.
- Fill the cylinder slowly using a funnel to prevent splashing.
- Read the meniscus as described above.
- When transferring, tilt the receiving container and pour gently to avoid creating a new meniscus.
- Clean the cylinder promptly after use to prevent residue buildup.
For added accuracy, you can compare the cylinder’s reading with a pipette in chemistry measurement. Pipettes often provide even finer control for volumes under 10 mL, making them a perfect companion tool.
Beyond the Cylinder: Complementary Lab Tools
While the graduated cylinder is a star for liquid measurement, other tools enhance overall workflow. For example, a laboratory spatula uses are essential when you need to transfer solid reagents precisely. And when you’re setting up small-scale reactions, spot plate secrets can help you test multiple conditions without waste.
Conclusion
Mastering the graduated cylinder is all about attention to detail – aligning your eye, reading the meniscus, and handling the glassware with care. By following these simple steps, you’ll achieve reliable, repeatable results that boost confidence in any experiment. Remember, the cylinder isn’t just a piece of glass; it’s a precision instrument that, when used correctly, can make the difference between a successful reaction and a frustrating trial.
FAQ
Can I use a graduated cylinder for acidic or corrosive liquids?
Yes, as long as the cylinder is made of compatible material (usually borosilicate glass). Always wear proper PPE and rinse thoroughly after use.
How often should I calibrate my graduated cylinder?
For routine work, a yearly visual check is sufficient. If you notice inconsistent readings, have it calibrated by a certified lab service.
Is it okay to use a beaker when I don’t have a cylinder?
For rough estimates, a beaker works, but expect a higher margin of error (often ±5 %). For quantitative work, always use a calibrated cylinder.
What temperature should the liquid be at when measuring?
Measure at room temperature (20‑25 °C) unless the protocol specifies otherwise, because volume can expand or contract with temperature changes.
Can I read the volume from the top of the meniscus?
No. Reading from the top introduces parallax error. Always read from the bottom of the meniscus for accurate results.







