


Understanding the Bunsen Burner Function: How It Works, Proper Use, and Safety Tips

Introduction
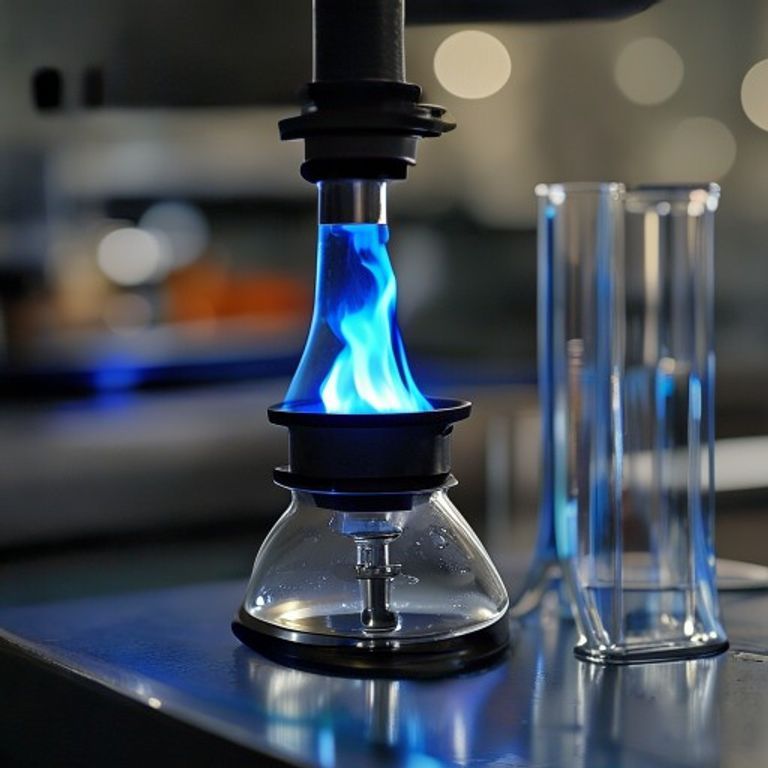
When I first stepped into a chemistry lab, the bright blue flame of a Bunsen burner was the first thing that caught my eye. It’s more than just a source of heat – it’s a versatile tool that powers countless experiments, from simple heating to precise flame sterilization. In this article, I’ll break down the bunsen burner function, explain how it works, show you the right way to use it, and share essential safety guidelines so you can handle it confidently.
What Is a Bunsen Burner?
A Bunsen burner is a gas‑powered heating device commonly used in laboratories. Its primary purpose is to provide a controllable flame for heating, sterilizing, or combusting substances. Think of it as the lab’s version of a kitchen stove, but with adjustable air‑fuel mixing that lets you fine‑tune the flame’s temperature and shape.
How Does a Bunsen Burner Work?
The burner operates on a simple principle: mixing a fuel gas (usually methane or natural gas) with air to create a combustible mixture. When you turn the gas knob on, gas flows through the barrel and meets air that enters through the air‑intake collar. By rotating the collar you can increase or decrease the amount of air, which changes the flame from a yellow, soot‑rich “safety flame” to a hotter, blue, non‑luminous flame ideal for most lab work.
Components and Their Functions
- Gas inlet valve: Controls the flow of gas into the burner.
- Air‑intake collar (venturi tube): Regulates the amount of air mixed with the gas; opening it yields a blue flame.
- Barrel (or tube): The main body where gas‑air mixing occurs.
- Base: Provides stability and often includes a rubber foot for secure placement.
- Flame adjuster: Fine‑tunes the flame height after the gas is ignited.
Proper Use of a Bunsen Burner in Experiments
Using a Bunsen burner effectively is a blend of technique and common sense. Here’s my go‑to routine:
- Secure the burner on a stable bench surface.
- Connect the gas hose tightly to the gas tap.
- Close the air‑intake collar to start with a yellow flame (safer for ignition).
- Light the burner with a striker or lighter while keeping your face away.
- Gradually open the collar to achieve a blue flame; adjust height as needed.
- Place the item you’re heating (test tube, beaker, etc.) directly over the hottest part of the flame – the tip of the inner cone.
When you need to heat test tubes, remember to use a test tube holder to keep your hands safe and maintain a steady position.
Safety Guidelines for Bunsen Burner Operation
Safety is non‑negotiable. Follow these practical tips to avoid accidents:
- Always tie back long hair and avoid loose clothing.
- Keep flammable materials (paper, solvents, cotton) away from the flame.
- Never leave a lit burner unattended.
- Turn off the gas tap first, then the air collar, after finishing.
- Use a fire extinguisher or a sand bucket nearby for emergencies.
- Check for gas leaks by applying a soapy water solution to connections; bubbles indicate a leak.
Practical Tips for Better Results
Here are a few tricks I’ve learned over the years:
- Pre‑heat the flame: Let the blue flame stabilize for a few seconds before placing your sample.
- Use the inner cone: The hottest zone is at the tip of the inner cone; aim your sample there for efficient heating.
- Control temperature with air: More air = hotter, cleaner flame; less air = cooler, yellow flame.
- Maintain clean equipment: Residue in the air‑intake can block airflow, leading to uneven flames.
FAQ
What is the purpose of a Bunsen burner?
Its main purpose is to provide a controllable flame for heating, sterilizing, and combustion in laboratory procedures.
How do I achieve a non‑luminous (blue) flame?
Open the air‑intake collar fully after ignition; this mixes more air with the gas, producing a hotter blue flame.
Can I use a Bunsen burner for sterilizing glassware?
Yes, passing the flame over the neck of a glass tube or the surface of a beaker can effectively sterilize it, but always follow your lab’s specific sterilization protocols.
What should I do if I smell gas?
Immediately turn off the gas supply, ventilate the area, and alert your supervisor. Do not ignite any flames.
Is it safe to use a Bunsen burner under a fume hood?
Yes, especially when working with volatile or toxic vapors. The hood helps capture fumes and reduces exposure.
Conclusion
Understanding the bunsen burner function empowers you to heat, sterilize, and experiment with confidence. By mastering the components, adjusting the flame correctly, and following strict safety guidelines, you’ll turn that iconic blue flame into a reliable partner for any chemistry lab. Stay curious, stay safe, and keep the flame burning bright!







