


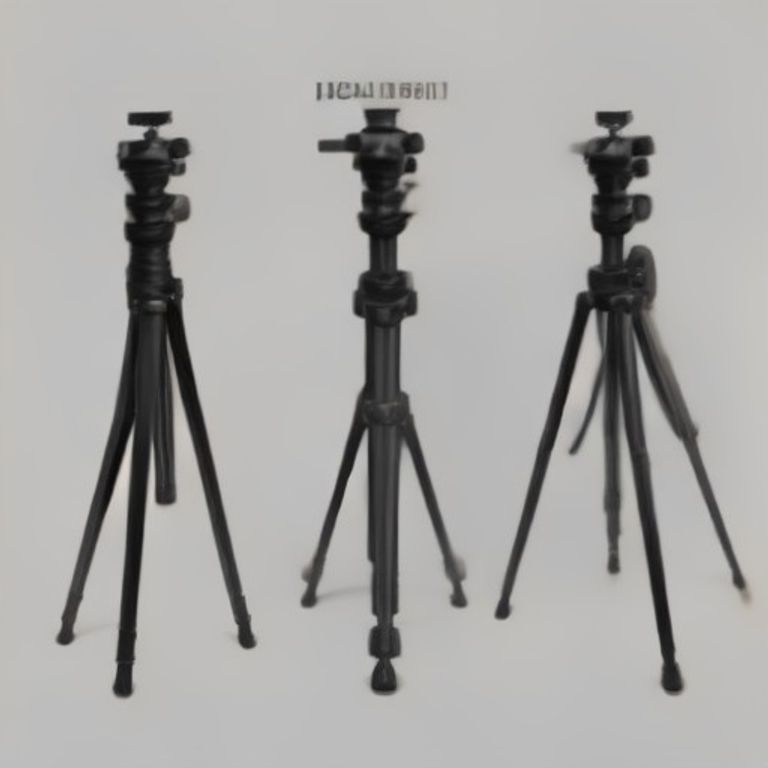
Mastering the Tripod Stand Diagram: A Complete Guide to Parts, Setup & Exploded Views

Introduction
When I first grabbed a camera tripod, I felt like I was looking at a puzzle with no picture on the box. That’s where a clear tripod stand diagram becomes a lifesaver. In this article I’ll walk you through every component, show you how to read an exploded view, and give you step‑by‑step instructions to set up the stand in seconds. By the end, you’ll be able to assemble, troubleshoot, and even customize your tripod like a pro.
Understanding the Parts of a Tripod Stand Diagram
Most manufacturers provide a schematic that labels each piece. Here’s a quick rundown of the most common elements you’ll see:
- Legs – Usually three, sometimes four, made of aluminum, carbon fiber, or steel.
- Leg Locks – Flip‑locks, twist‑locks, or lever‑locks that secure the leg sections.
- Center Column – The vertical shaft that raises the camera; think of it like a measuring cylinder for precise height adjustments.
- Head – The rotating platform (ball head, pan‑tilt, or gimbal) that holds the camera.
- Quick Release Plate – A detachable plate that snaps onto the camera’s base for fast mounting.
- Spreader (optional) – A brace that adds stability on uneven ground.
Exploded View Diagram of a Camera Tripod
An exploded view pulls the whole system apart, showing each component in isolation while maintaining their spatial relationships. This visual is incredibly handy when you need to replace a broken leg lock or upgrade the head.
Key things to notice in an exploded diagram:
- Numbering or lettering that matches the assembly instructions.
- Arrows indicating the direction of tightening or loosening.
- Cross‑section details of the leg tubes and lock mechanisms.
Having this diagram on hand is like having a map before you trek into the woods – you’ll never get lost.
How to Set Up a Tripod Stand Using the Diagram
Step 1: Lay Out All Parts
Spread the components on a clean surface. Verify each piece against the diagram to ensure nothing is missing.
Step 2: Assemble the Legs
- Insert the largest leg sections into the leg sockets.
- Secure each section with the appropriate leg lock (flip‑lock or twist‑lock).
- Extend the legs to the desired height, making sure the locks click firmly.
Step 3: Attach the Center Column
Slide the center column into the middle of the tripod base. Tighten the column lock so the column doesn’t wobble when you raise it.
Step 4: Mount the Head
Thread the head onto the top of the center column. Most heads use a ¼‑inch screw; turn it clockwise until snug.
Step 5: Install the Quick Release Plate
Fasten the plate to the camera’s tripod socket, then snap it onto the head. Double‑check that the latch is fully engaged.
Step 6: Final Adjustments
- Level the tripod using the built‑in bubble level (if available).
- Lock all knobs and levers to prevent movement.
- Test the stability by gently shaking the base.
Common Tripod Head Types (A Quick Reference)
Understanding head types helps you pick the right one for your shooting style:
- Ball Head – Offers 360° rotation with a single lock knob; great for fast repositioning.
- Pan‑Tilt Head – Separate controls for horizontal (pan) and vertical (tilt) movement; ideal for video work.
- Gimbal Head – Designed for heavy telephoto lenses, providing smooth balance.
Tips for Maintaining Your Tripod
- Clean dust out of leg lock mechanisms regularly.
- Lubricate moving parts with a few drops of light oil.
- Store the tripod in a padded case to protect the finish.
- Periodically check the quick release plate for wear and replace if needed.
Conclusion
Having a solid tripod stand diagram in front of you transforms a confusing assembly into a straightforward process. By recognizing each part, following the exploded view, and applying the step‑by‑step setup, you’ll save time and avoid mistakes. Next time you head out for a shoot, you’ll spend less time fiddling with screws and more time capturing the perfect shot.
FAQ
What is the difference between flip‑locks and twist‑locks?
Flip‑locks use a lever that you open and close, offering quick adjustments. Twist‑locks require you to rotate a knob, which can be more secure for heavy loads.
Can I use a ball head on a tripod that originally came with a pan‑tilt head?
Yes, as long as the mounting thread (usually ¼‑inch) matches. Swapping heads is a common way to customize your setup.
How do I know when to replace a quick release plate?
If the plate shows cracks, the locking latch feels loose, or the camera wobbles, it’s time for a replacement.
Is it safe to use the center column as a monopod?
Many tripods allow you to remove the head and use the center column alone as a monopod. Just make sure the column lock is tightened firmly.
Why does my tripod wobble even after tightening all locks?
Check the leg tips for wear or debris. Replacing worn rubber feet or adding a spreader can dramatically improve stability.







