


The Unsung Hero of Your Lab Bench: Mastering the Laboratory Tripod

In the bustling world of scientific discovery, where complex apparatus and intricate experiments often steal the spotlight, it’s easy to overlook the simpler, yet utterly indispensable tools. Today, we’re shining a light on one such humble hero: the laboratory tripod. You might see it sitting quietly on the lab bench, a sturdy three-legged stand, perhaps not as glamorous as a microscope or as high-tech as a spectrophotometer, but trust me, it’s an absolute workhorse. Without it, many fundamental experiments would be a wobbling mess, or worse, outright dangerous!
Think of the laboratory tripod as the unsung stage manager for your heating experiments. It provides the rock-solid foundation, ensuring everything stays put when the heat is on. Let’s dive into why this simple piece of equipment is so vital and how we can make the most of its unassuming power.
What Exactly is a Laboratory Tripod?
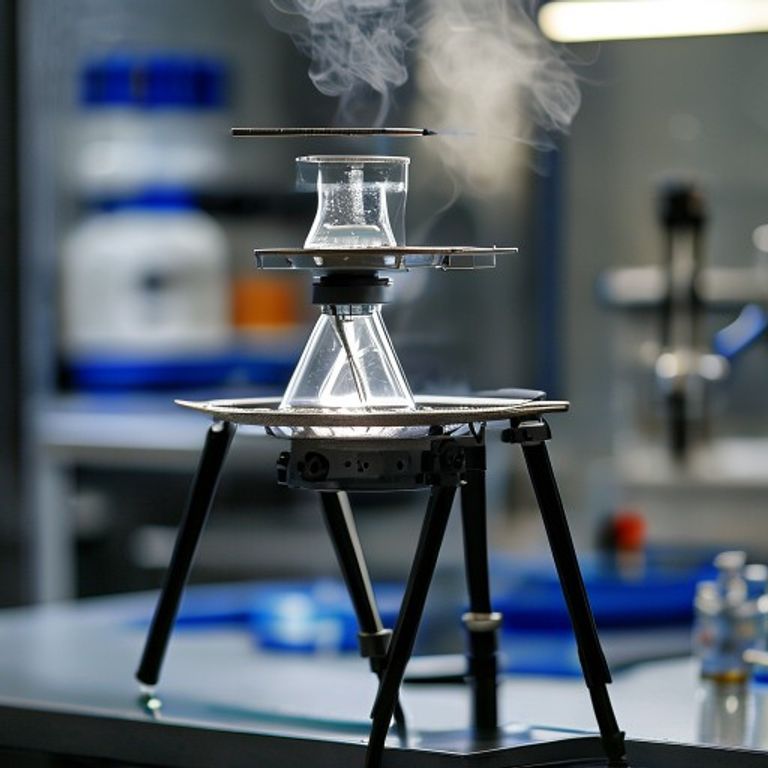
At its core, a laboratory tripod is a piece of basic scientific equipment, typically made from cast iron or steel, featuring three legs and a circular or triangular ring at the top. Its design is intentionally simple yet incredibly effective. Imagine a miniature, heavy-duty stool for your lab glassware – that’s essentially what it is!
Its primary purpose is to provide a stable platform for heating or supporting various pieces of laboratory apparatus, most commonly over a bunsen burner. The robust construction ensures stability, preventing accidents that could arise from unstable setups when working with heat and chemicals.
The Core Purpose: Why Do We Need This Three-Legged Stand?
So, what are the primary essential beaker uses in every science lab? The tripod’s main job is to support containers like beakers, flasks, or evaporating dishes, especially when they need to be heated. Without a tripod, trying to hold a beaker over a bunsen burner would be incredibly difficult, unstable, and unsafe. The tripod provides that crucial elevation and stability.
It also works in perfect synergy with a wire gauze, which we place on top of the tripod’s ring. The wire gauze doesn’t just support the glassware; it also helps to distribute the heat evenly from the bunsen burner across the bottom of the container, preventing localized overheating and potential breakage of your precious glassware. This uniform heating is a huge advantage for many scientific experiments requiring precise temperature control.
Setting Up for Success: Tripod, Bunsen Burner, and Gauze
Mastering the setup is key to a safe and effective experiment. Here’s a quick guide on how to set up a tripod with bunsen burner and gauze:
- First, place your laboratory tripod on a stable, heat-resistant surface, ensuring all three legs are firmly on the bench.
- Next, position your complete guide to Bunsen burner parts directly underneath the center of the tripod. Make sure there’s enough space for the flame to heat your apparatus effectively without touching the tripod itself.
- Carefully place a piece of wire gauze on top of the tripod’s ring. The wire gauze should have an asbestos-free ceramic center to help spread the heat.
- Finally, place your glassware (like a beaker or an Erlenmeyer flask) directly onto the wire gauze, centered over the bunsen burner. Now you’re ready to heat safely!
This simple arrangement is a classic example of practical chemistry, offering stability and control for many procedures.
Advantages Beyond Stability for Laboratory Heating
The advantages of a tripod stand for laboratory heating extend beyond just providing a stable base. Let’s look at a few:
- Controlled Heating: By elevating the glassware, the tripod allows us to control the distance between the flame and the container, giving us better control over the heating rate.
- Safety Enhancement: It keeps our hands away from direct flame and hot surfaces, significantly reducing the risk of burns. It’s a crucial component in maintaining a safe working environment.
- Versatility: Tripods can support various shapes and sizes of glassware, making them adaptable for different experimental needs.
- Durability and Cost-Effectiveness: Made from sturdy materials, tripods are incredibly durable and last for years, making them a very economical investment for any lab.
Safety First! Important Guidelines for Using a Tripod in a Lab
As with all lab equipment, safety is paramount. Here are some safety guidelines for using a tripod in a lab:
- Check for Stability: Always ensure the tripod is on a flat, stable surface before placing any apparatus on it or lighting a bunsen burner.
- Correct Placement: Make sure the bunsen burner is centered beneath the tripod and the glassware. An off-center flame can lead to uneven heating or tip over the apparatus.
- Handle with Care: After heating, the tripod and wire gauze will be extremely hot. Always use tongs or heat-resistant gloves to handle them.
- Ventilation: Ensure good ventilation when heating chemicals, as fumes can be produced.
Adhering to these simple rules ensures that this essential piece of heating apparatus contributes to a safe and productive lab session.
Beyond the Beaker: Other Uses of a Tripod Stand
While heating experiments are its most common application, the uses of a tripod stand in a chemistry lab aren’t limited to just that. We can also use it:
- To support funnels during filtration processes.
- As a temporary stand for other apparatus, freeing up our hands.
- In conjunction with a retort stand and clamp for more complex setups, providing an additional layer of support.
Its robust nature and simple design make it surprisingly versatile in a variety of laboratory scenarios.
Conclusion
So, the next time you step into a laboratory, take a moment to appreciate the humble laboratory tripod. It might not be the flashiest piece of equipment, but its purpose of using a tripod in scientific experiments is foundational. It’s a silent guardian of stability, a facilitator of controlled heating, and a key player in ensuring our experiments run smoothly and safely. By understanding its uses and following simple safety guidelines, we empower ourselves to conduct more efficient and reliable scientific investigations.
FAQ
What is a laboratory tripod made of?
Most laboratory tripods are made from durable materials like cast iron or steel, designed to withstand high temperatures and provide stability.
What is the purpose of wire gauze on a tripod?
The wire gauze sits on top of the tripod and serves two main purposes: to provide a flat, stable surface for glassware and to help distribute the heat evenly from the bunsen burner to the bottom of the container, preventing hot spots.
Can I use a laboratory tripod without a bunsen burner?
Yes, absolutely! While commonly associated with heating, a tripod can also be used as a general support stand for various lab equipment or glassware when heating isn’t required, offering a stable elevated platform.
How do I clean a laboratory tripod?
Since tripods are typically made of metal and don’t come into direct contact with chemicals (the glassware does), cleaning is usually minimal. A simple wipe-down with a damp cloth to remove dust or minor spills is generally sufficient. Ensure it’s dry before storage to prevent rust.







