


Erlenmeyer Flask a expliqué : Utilisations, pièces, matériaux et comment le décrire

Présentation
Quand je suis entré dans un laboratoire de chimie, la forme conique de la fiole Erlenmeyer m'a attiré l'œil. Il est l'un de ces morceaux de verrerie de laboratoire qui semble simple mais fait en fait beaucoup de levage lourd—de solutions de mélange à des titrations précises. Dans cet article, je vais vous guider à travers tout ce que vous devez savoir sur la fiole Erlenmeyer: ce qu'il est utilisé pour, ses parties principales, les matériaux qu'il est fait, et un guide rapide sur la façon de le décrire dans un rapport de laboratoire.
À quoi sert un jet d'Erlenmeyer?
La fiole Erlenmeyer (souvent appelée fiole conique) est un cheval de travail polyvalent dans n'importe quel laboratoire. Voici les applications les plus courantes:
- Mélange et tourbillonnement: Son cou étroit réduit les éclaboussures pendant que vous tourbillonnez le contenu.
- Expériences de titrage: La forme permet d'ajouter facilement le titre et l'observation claire des changements de couleur.
- Liquides de chauffage: Lorsque placé sur une toile métallique, la fiole distribue uniformément la chaleur sans risque d'ébullition.
- Stockage des réactifs: Le bouchon serré protège les solutions contre la contamination.
Description détaillée d'un flask Erlenmeyer
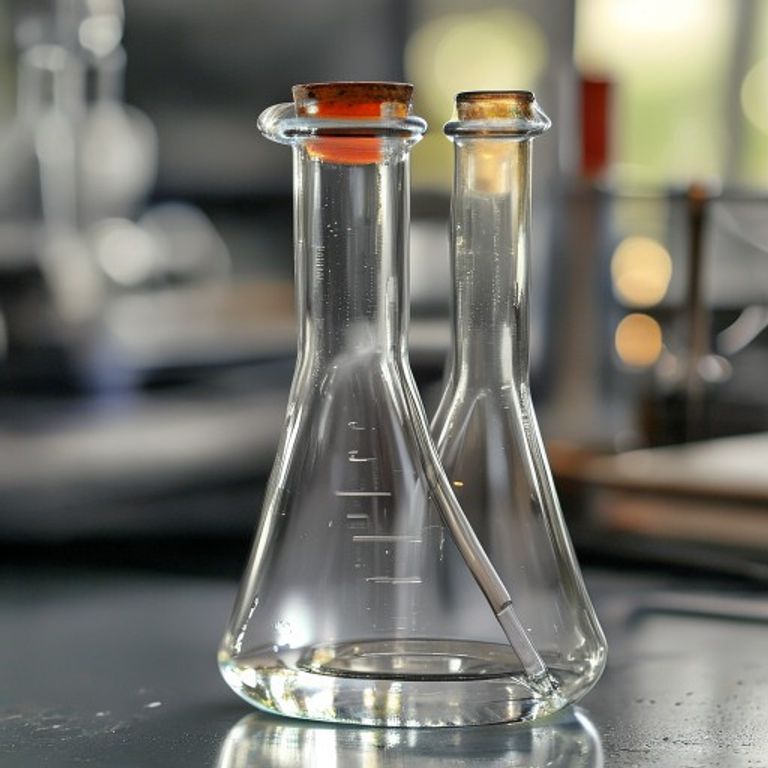
Pensez à la fiole Erlenmeyer comme un « cône de trafic » pour les liquides. Sa conception est intentionnelle:
- Base: Flat et robuste, il est solidement assis sur le banc.
- Corps (ou paroi): Les parois latérales coniques s'enfoncent vers le cou, créant un espace qui favorise le mélange doux.
- Cou: Étroite et souvent graduée, elle vous permet d'ajouter des réactifs goutte à goutte tout en minimisant la perte.
- C'est ça. Légèrement évasé pour accueillir des bouchons ou des bouchons en caoutchouc.
Les parties d'un jet d'Erlenmeyer expliqué
1. Base
La base est généralement un disque épais et plat fabriqué à partir du même verre que le reste du flacon. Il fournit la stabilité, surtout lorsque vous échauffez la fiole sur une plaque chaude.
2. Organe
Les murs en pente du corps sont la sauce secrète. Ils créent un vortex lorsque vous tourbillonnez, mélangeant le contenu sans déborder. C'est pourquoi vous allez souvent voir des étudiants tourner leurs solutions plutôt que de remuer avec une tige de verre.
3. Cou
Le cou étroit peut être marqué avec des graduations de volume. Si vous devez mesurer précisément les liquides, vous pouvez utiliser ces marquages en combinaison avec un comment mesurer avec précision le volume de liquide avec un cylindre gradué technique de contre-vérification.
4. Rim
La légère éruption de la jante facilite la fixation d'un bouchon, empêchant l'évaporation ou la contamination.
Erlenmeyer Flacon Matériel et capacité
La plupart des flacons Erlenmeyer modernes sont fabriqués à partir de verre borosilicaté. Ce type de verre peut gérer des changements de température soudains sans fissuration—parfait pour des expériences de chauffage ou de refroidissement. Certains laboratoires utilisent également des versions en plastique (polypropylène) pour les solvants organiques susceptibles de réagir avec le verre.
La capacité varie de minuscules flacons de 25 mL utilisés pour des travaux à microéchelle jusqu'à des vaisseaux massifs de 2 L pour la synthèse en vrac. Lors du choix d'une taille, considérez le volume de réactifs et le besoin d'espace de tête (espace supplémentaire au-dessus du liquide) pour éviter le débordement lors d'un mélange vigoureux.
Comment décrire un jet d'Erlenmeyer dans un rapport de laboratoire
Lorsque vous devez mentionner le flacon dans un rapport, gardez-le concis mais instructif. Voici un modèle que vous pouvez adapter:
« La réaction a été effectuée dans une fiole Erlenmeyer borosilicate de 250 mL équipée d'un bouchon en caoutchouc. La forme conique a permis un tourbillon doux pour assurer un mélange homogène tout en minimisant les éclaboussures. »
Notice how the description covers three key points: size, material, and functional advantage.
Conseils pratiques pour utiliser un flask Erlenmeyer
- Tourner, ne pas remuer: Tilting the flask back‑and‑forth creates a vortex that mixes faster than a glass rod.
- Use a stopper: Prevents contamination and reduces evaporation, especially during long reactions.
- Chaleur en toute sécurité: Place the flask on a wire gauze or a heating mantle to distribute heat evenly.
- Étiquette clairement: Write the contents, concentration, and date on the flask’s exterior to avoid mix‑ups.
FAQ
Quelle est la différence entre un flacon Erlenmeyer et un bécher ?
An Erlenmeyer flask has a conical shape with a narrow neck, which reduces splashing and allows easy mixing. A beaker has straight sides and a wide mouth, making it better for pouring but more prone to spills.
Puis-je utiliser une fiole Erlenmeyer pour la filtration sous vide?
Yes, as long as the flask is made of borosilicate glass and can withstand the pressure difference. The narrow neck helps maintain a good seal with the filtration apparatus.
Est-il sûr de chauffer une fiole Erlenmeyer directement sur un brûleur Bunsen ?
Direct flame can cause uneven heating and breakage. Always place the flask on a wire gauze or a heat‑resistant mat to spread the heat evenly.
Comment nettoyer une fiole d'Erlenmeyer après une réaction ?
Rinse with distilled water, then soak in a mild detergent solution. For stubborn residues, a soak in dilute acid (e.g., 10% HCl) followed by thorough rinsing works well.
Quelle taille dois-je choisir pour une réaction de 100 mL?
Pick a flask that holds at least 150–200 mL. This provides enough headspace to prevent overflow when you swirl the mixture.
Conclusion
The Erlenmeyer flask may look like just another piece of glass, but its thoughtful design makes it indispensable for mixing, heating, and measuring solutions in the lab. By understanding its parts, material options, and best‑practice tips, you’ll handle it with confidence—whether you’re a student learning titration or a researcher scaling up a synthesis. Next time you pick up a conical flask, remember: it’s not just a container, it’s a tool that helps you work smarter, safer, and more efficiently.







