


How to Master the Uses of a Measuring Cylinder for Accurate Liquid Measurements

Introduction
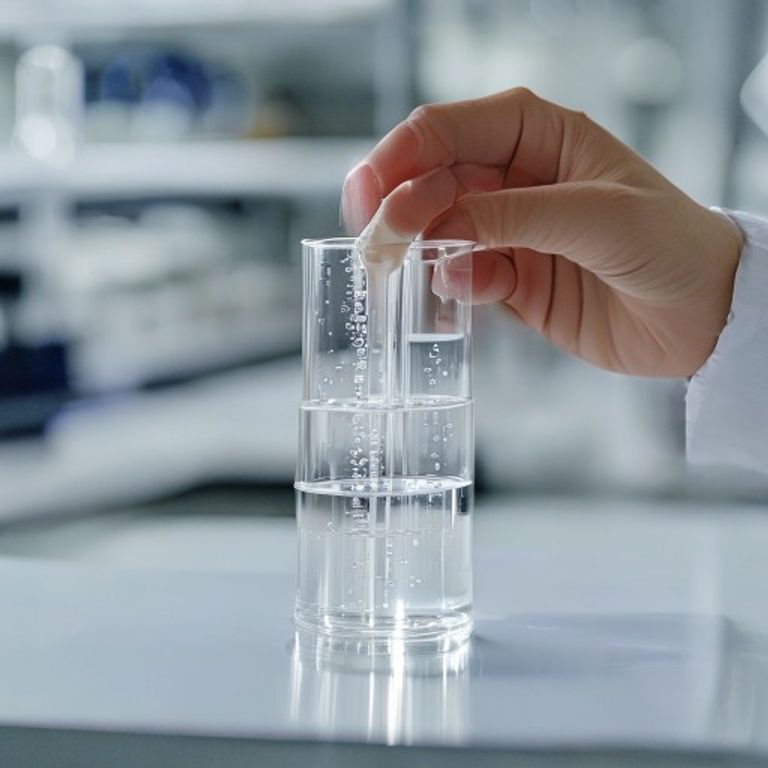
When we step into a chemistry lab, the first piece of glassware that often catches our eye is the graduated cylinder. It may look simple—a tall, narrow tube with markings—but its role in precise volume measurement is anything but trivial. In this article, I’ll walk you through the many uses of a measuring cylinder, share practical tips on how to read it correctly, and explain why it’s a must‑have in both classroom and research settings.
Why a Measuring Cylinder Is More Than Just a Container
Think of a measuring cylinder as the “ruler” for liquids. Just as you wouldn’t measure a table with a kitchen spoon, you shouldn’t estimate liquid volume with a beaker. The cylinder’s narrow shape reduces the surface area, making the meniscus easier to see and the reading more precise.
Key Applications in the Lab
- Preparing Solutions: Accurate dilution of stock solutions relies on measuring exact volumes of solvent and solute.
- Titration Pre‑Measurements: Before you start a titration, you often need to know the exact volume of the analyte.
- Density Determination: By measuring a liquid’s volume and mass, you can calculate its density.
- Calibration of Other Glassware: A calibrated measuring cylinder can serve as a reference for checking the accuracy of pipettes or burettes.
How to Accurately Use a Measuring Cylinder
Getting a reliable reading isn’t magic—it’s a habit. Here’s my step‑by‑step routine:
- Choose the Right Size: Use a cylinder that holds slightly more than the volume you need. A 100 mL cylinder for a 90 mL measurement gives finer gradations.
- Clean and Dry: Rinse with the same liquid you’ll measure to avoid contamination.
- Place on a Level Surface: Even a tiny tilt can shift the meniscus.
- Read at Eye Level: Position your eye directly above the meniscus to avoid parallax error.
- Identify the Bottom of the Meniscus: For most liquids, the curved surface dips down; read the lowest point.
- Record the Value: Note the volume to the nearest graduation mark, and estimate the fraction of the smallest division.
Correct Way to Read a Measuring Cylinder
The meniscus is the star of the show. Imagine a tiny “U” shape at the liquid’s surface—this is where you take your measurement. If you read from the top of the curve, you’ll consistently overestimate. A quick tip: place a piece of white paper behind the cylinder; the contrast makes the meniscus line pop.
Specific Uses in Scientific Experiments
Let’s look at a few concrete scenarios where the measuring cylinder shines:
- Enzyme Kinetics: Precise substrate volumes are critical for reproducible reaction rates.
- Thermal Expansion Studies: Measuring the same liquid at different temperatures reveals volume changes.
- Environmental Testing: Determining pollutant concentrations often starts with exact sample volumes.
For a deeper dive into how glassware supports experimental accuracy, check out the article on the essential function of a measuring cylinder in scientific experiments.
Integrating the Measuring Cylinder with Other Lab Tools
While the cylinder is great for bulk measurements, you’ll still need pipettes for microliter precision. Mastering both tools gives you a versatile liquid‑handling skill set. If you’re curious about pipette techniques, the guide on mastering pipette uses in chemistry is a perfect companion.
Safety and Maintenance Tips
- Handle with care—glass can chip.
- Avoid sudden temperature changes to prevent breakage.
- Store upright to prevent the liquid from lingering in the narrow neck.
FAQ
What is the difference between a graduated cylinder and a measuring cylinder?
They are essentially the same; “graduated cylinder” emphasizes the marked scale, while “measuring cylinder” highlights its purpose.
Can I use a measuring cylinder for viscous liquids?
Yes, but pour slowly and allow the liquid to settle before reading the meniscus.
How often should I calibrate my measuring cylinder?
At least once a year, or whenever you suspect damage or after a major impact.
Is it okay to read the volume from the top of the meniscus?
No. Always read from the bottom of the meniscus for accurate results.
What size cylinder should I use for 5 mL measurements?
A 10 mL cylinder provides the best precision for such a small volume.
Conclusion
The measuring cylinder may look modest, but its impact on experimental accuracy is huge. By following the proper technique—choosing the right size, reading the meniscus correctly, and keeping the glassware clean—you’ll boost the reliability of every experiment. Pair it with other tools like pipettes and tripods, and you’ll have a complete, trustworthy liquid‑handling workflow. Happy measuring!







