


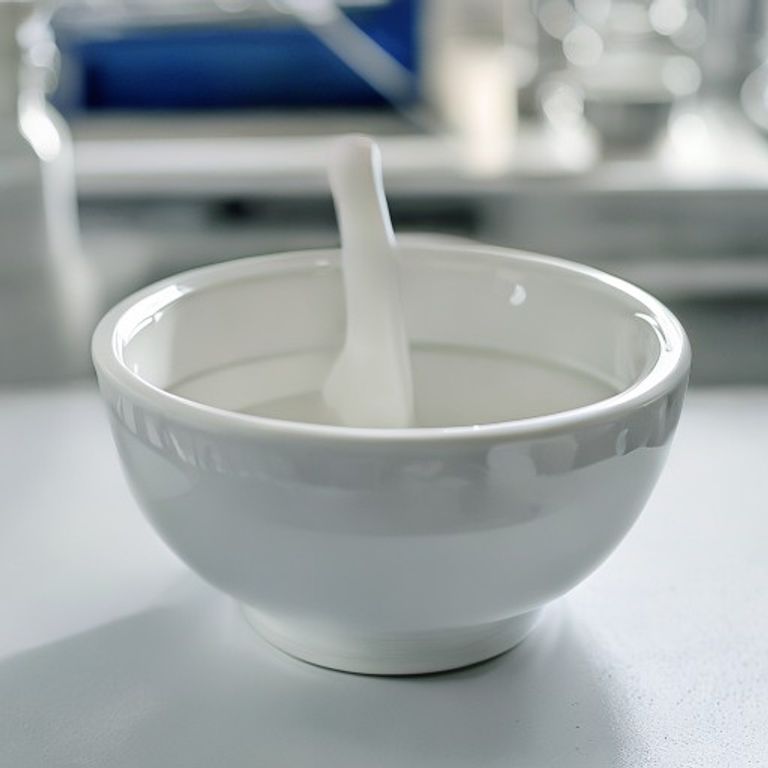
Unlocking Precision: Your Guide to Mastering the Lab Mortar and Pestle for Flawless Sample Prep

Introduction: The Humble Powerhouse of Your Lab
In the vast world of laboratory work, where complex machinery often takes center stage, it’s easy to overlook the simple, yet incredibly powerful tools that form the backbone of many experiments. Today, we’re going to shine a spotlight on one such unsung hero: the lab mortar and pestle. Much like a chef relies on a good knife, we scientists depend on this duo for one of the most fundamental steps in research: sample preparation.
Perhaps you’ve seen it in action, or maybe you use one daily. But do we truly understand its full potential and how to get the most out of it? From crushing stubborn samples to achieving perfect homogenization, a well-chosen and properly used lab mortar and pestle can significantly impact the accuracy and reproducibility of our results. Let’s dive in and explore how this classic tool remains indispensable in modern science.
Why Every Lab Needs a Mortar and Pestle: Beyond Just Crushing
At its core, a lab mortar and pestle set serves one primary purpose: to reduce the particle size of a sample and ensure its thorough mixing, or homogenization. Think of it like a miniature, manual grinder. But why is this so critical? Many analytical techniques, such as spectroscopy, chromatography, or even simple dissolution, require samples to be finely ground and uniform. If our sample isn’t properly prepared, we might get inconsistent data, leading to skewed results and wasted time.
For instance, imagine trying to dissolve a large rock in a beaker of water versus a pile of finely ground rock powder. The powder will dissolve much faster and more completely because of its increased surface area. The same principle applies in the lab. A lab mortar and pestle helps us achieve this crucial uniformity, making our experiments more efficient and our data more reliable. It’s truly a foundational piece of laboratory grinding tools.
Choosing Your Perfect Pair: A Buying Guide for Lab Mortar and Pestle
Just like you wouldn’t use a butter knife for intricate carving, choosing the right lab mortar and pestle is essential for specific tasks. There’s no one-size-fits-all solution, and understanding the materials and sizes available can make a huge difference in our work. Here’s a quick guide to help us:
- Ceramic/Porcelain: These are perhaps the most common types we encounter. A ceramic mortar and pestle for laboratory use is excellent for general grinding of most solid samples. They are relatively inexpensive, resistant to many chemicals, and easy to clean. The unglazed inner surface of the mortar and the tip of the pestle provide sufficient friction for effective grinding.
- Agate: When precision and minimal contamination are paramount, especially in analytical chemistry, an agate set is often the preferred choice. These are harder and non-porous, making them ideal for grinding very hard materials and preventing contamination from the grinding surface itself. A small agate mortar and pestle for analytical chemistry is perfect for preparing small, high-purity samples.
- Glass: For very soft materials or those that need to be ground in a liquid suspension, glass mortars and pestles can be useful. They are non-porous and easy to clean, but are also more fragile than ceramic or agate.
- Stainless Steel: Less common for general lab use, but sometimes employed for specific applications where extreme durability or cryogenic grinding is needed. However, metallic contamination can be an issue.
When looking for the best lab mortar and pestle for sample prep, consider the hardness of your sample, the risk of contamination you can tolerate, and the volume of material you need to process. Don’t forget about size! Larger mortars are good for bulk samples, while smaller ones are ideal for precious or limited materials.
Mastering the Grind: Techniques for Optimal Sample Prep
It’s not just about having the right tools; it’s about using them correctly. Effective grinding and homogenization are an art form that significantly impacts our experiment’s success. Here are some practical tips:
- Start Gently: Don’t just smash the sample. Begin with gentle tapping or crushing to break larger pieces into smaller fragments.
- Rotate and Grind: Once fragments are smaller, use a circular, rotating motion with the pestle against the inside surface of the mortar. This motion, combined with downward pressure, creates shear forces that reduce particle size effectively.
- Scrape Down: Periodically scrape down any sample material clinging to the sides of the mortar or pestle with a spatula. This ensures all parts of the sample are subjected to grinding and helps in achieving uniform particle size.
- Small Portions: Overloading the mortar can be counterproductive. Work with small, manageable portions to achieve a finer, more consistent grind.
- Prevent Contamination: Always ensure both the mortar and pestle are impeccably clean before use. If working with sensitive samples, consider grinding a small amount of an inert, similar material first to “condition” the surfaces and remove any residual contaminants.
This process is crucial for achieving truly effective sample homogenization equipment results, making it a critical step for quality data.
Keeping It Clean: How to Maintain Your Lab Mortar and Pestle
A clean mortar and pestle aren’t just for aesthetics; it’s vital for preventing cross-contamination between samples. Learning how to clean lab mortar and pestle properly ensures accuracy and longevity. Here’s our go-to method:
- Immediate Cleaning: Clean immediately after use. Dried samples are much harder to remove.
- Physical Removal: First, scrape out as much of the sample as possible with a clean spatula.
- Washing: Wash thoroughly with warm water and a laboratory-grade detergent. Use a brush if necessary to dislodge stubborn particles.
- Rinsing: Rinse extensively with distilled or deionized water to remove all detergent residue. For critical applications, a final rinse with a solvent appropriate for your next sample (e.g., ethanol or acetone) followed by air drying can be beneficial.
- Drying: Allow to air dry completely, or dry in an oven if appropriate for the material (e.g., ceramic or glass). Store in a dust-free environment.
- Special Cleaning: For agate or other highly polished surfaces, avoid abrasive cleaners that could scratch the surface.
Conclusion: The Enduring Value of Simplicity
In an age of high-tech instruments, the lab mortar and pestle stands as a testament to the enduring power of simple, effective tools. Its role in sample preparation, from basic pulverizing to precise homogenization, is irreplaceable. By understanding the different materials, mastering the proper grinding techniques, and diligently maintaining our equipment, we empower ourselves to achieve better, more reliable scientific results. So next time you reach for this humble duo, remember the critical role it plays in unlocking the secrets within our samples.
Frequently Asked Questions (FAQ)
Q1: What’s the main difference between a ceramic and an agate mortar and pestle?
A1: Ceramic mortars are more porous and generally used for routine grinding. Agate mortars are much harder, less porous, and preferred for samples requiring high purity and minimal contamination, especially in analytical chemistry.
Q2: Can I use a mortar and pestle to grind liquids?
A2: While not ideal for grinding pure liquids, a mortar and pestle can be used to grind solid samples that are suspended in a small amount of liquid, forming a slurry. This is sometimes done to aid dispersion or reduce dust.
Q3: How do I know if my sample is finely ground enough?
A3: This depends on your downstream application. Often, samples are ground until they pass through a specific sieve size, or appear as a fine, uniform powder by visual inspection. For very precise work, microscopy might be used to check particle size distribution.
Q4: Is there a risk of sample contamination from the mortar and pestle material itself?
A4: Yes, there is always a minimal risk, especially with softer materials or very aggressive grinding. Agate and high-purity ceramic minimize this risk significantly. Always consider the sensitivity of your analysis and choose your material accordingly.







