


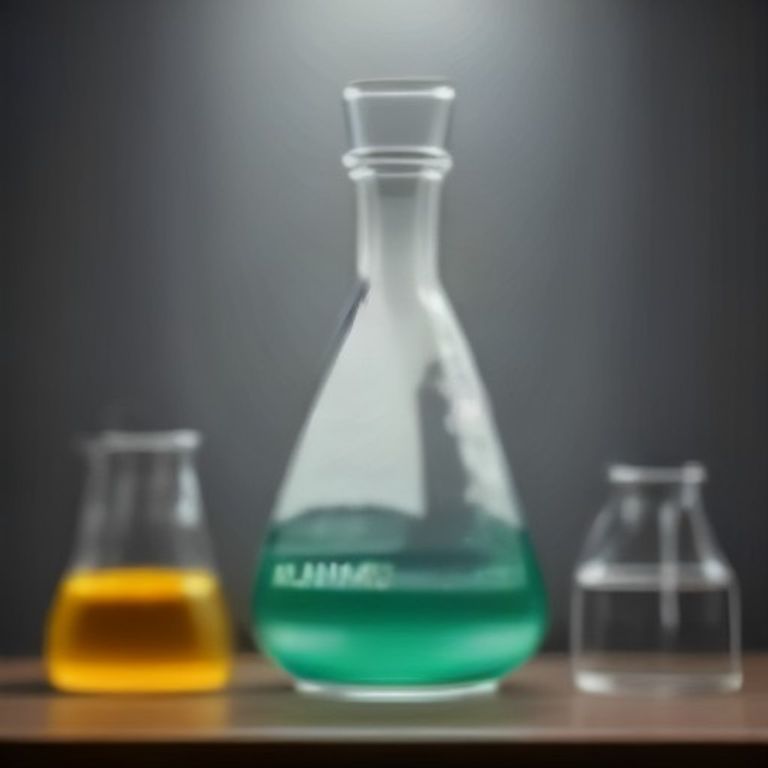
The Ultimate Guide to Erlenmeyer Flasks: Uses, Features, and How They Compare to Beakers

Introduction
Ever wondered why the classic conical shape of an Erlenmeyer flask is a staple in every chemistry lab? As someone who spends countless hours mixing solutions, heating liquids, and performing titrations, I can tell you that this piece of glassware is more than just a pretty container. In this guide we’ll explore what an Erlenmeyer flask is used for, break down its parts, compare it with a beaker, and share practical tips on how to use it safely and efficiently.
What Is an Erlenmeyer Flask Used For?
The Erlenmeyer flask, also called a conical flask, is a versatile piece of laboratory glassware. Its narrow neck and wide base make it ideal for:
- Mixing and swirling solutions without spilling.
- Carrying out titrations where a smooth swirl is essential.
- Heating liquids on a Bunsen burner or hot plate while minimizing evaporation.
- Storing samples that need to be sealed with a stopper.
Because of its shape, the flask can also be used as a makeshift essential test tube uses when you need a larger volume but still want the convenience of a narrow opening.
Key Characteristics of an Erlenmeyer Flask
Understanding the features that set the Erlenmeyer flask apart helps you choose the right vessel for the job:
- Conical Body: Allows easy mixing by swirling; the shape directs liquids toward the center.
- Flat Bottom: Provides stability on the bench or on a heating mantle.
- Narrow Neck: Reduces splashing and enables the use of stoppers or rubber caps.
- Graduated Markings (optional): Some flasks have volume marks for approximate measurements, though they’re not as precise as a volumetric flask.
Parts of an Erlenmeyer Flask
Just like any other tool, knowing its components makes handling easier:
- Body (or Bowl): The main conical section where the reaction occurs.
- Neck: The slender tube extending from the body; often used for attaching a stopper.
- Lip (or Rim): The edge at the top of the neck, useful for pouring.
- Base: The flat bottom that keeps the flask steady.
How to Use an Erlenmeyer Flask – Step by Step
Here’s a quick, practical workflow that I follow every time I need to prepare a solution:
- Choose the Right Size: Pick a flask that holds at least 1.5 times the volume you need to avoid over‑filling.
- Rinse the Flask: If you’re re‑using glassware, rinse with distilled water, then with the solvent you’ll use.
- Add Reagents: Pour the solid or liquid components into the body.
- Mix: Swirl gently in a circular motion. The conical shape ensures the liquid circulates without spilling.
- Heat (if needed): Place the flask on a heating mantle or over a Bunsen burner. Keep the flame under the flask’s base, not the neck, to prevent cracking.
- Seal: For reactions that need to be closed off, insert a rubber stopper into the neck.
- Cool and Store: Let the flask return to room temperature before moving it. Store upright to avoid residue buildup.
Erlenmeyer Flask vs. Beaker – When to Choose Which?
Both are common, but they serve different purposes. Think of a beaker as a wide, open pan and an Erlenmeyer flask as a tall, narrow cup.
| Feature | Erlenmeyer Flask | Beaker |
|---|---|---|
| Mixing | Easy swirling without splashing | Requires stirring rod or magnetic stirrer |
| Heating | Less evaporation, can be covered | More surface area, faster evaporation |
| Volume Accuracy | Graduated marks (approx.) | Typically ungraduated |
| Storing | Can be sealed with stopper | Open top, not ideal for storage |
If you need precise volume, a volumetric flask uses are best, but for routine mixing and heating, the Erlenmeyer wins.
Common Applications in the Lab
Here are a few scenarios where I reach for my trusty Erlenmeyer flask:
- Titration: The narrow neck allows a dropwise addition of titrant while swirling.
- Culture Growth: Microbiologists use it to grow liquid cultures because the shape limits aerosol formation.
- Synthesis Reactions: Many organic syntheses require heating under reflux; a flask fitted with a reflux condenser works perfectly.
- Sample Preparation: For extracting or diluting samples before analysis.
Conclusion
The Erlenmeyer flask may look simple, but its design packs a lot of functionality. From easy mixing to safe heating and even storage, it’s a workhorse that often outshines the beaker in everyday lab work. Knowing its parts, characteristics, and proper handling will help you get more accurate results and keep your workspace safer.
FAQ
Q: Can I use an Erlenmeyer flask for precise volume measurements?
A: Not really. While some have graduation marks, they’re meant for approximate volumes. For high precision, choose a volumetric flask.
Q: Is it safe to heat an Erlenmeyer flask directly over an open flame?
A: Yes, as long as you keep the flame under the base and never heat an empty flask, which can cause it to crack.
Q: What’s the difference between a conical flask and a regular flask?
A: “Conical flask” is just another name for an Erlenmeyer flask; both refer to the same shape.
Q: Can I store chemicals in an Erlenmeyer flask for long periods?
A: You can, provided you use a proper stopper and the chemical is compatible with glass.
Q: How do I clean an Erlenmeyer flask after a reaction?
A: Rinse with distilled water, then with a suitable solvent (e.g., ethanol). For stubborn residues, soak in a mild detergent and brush gently.







