


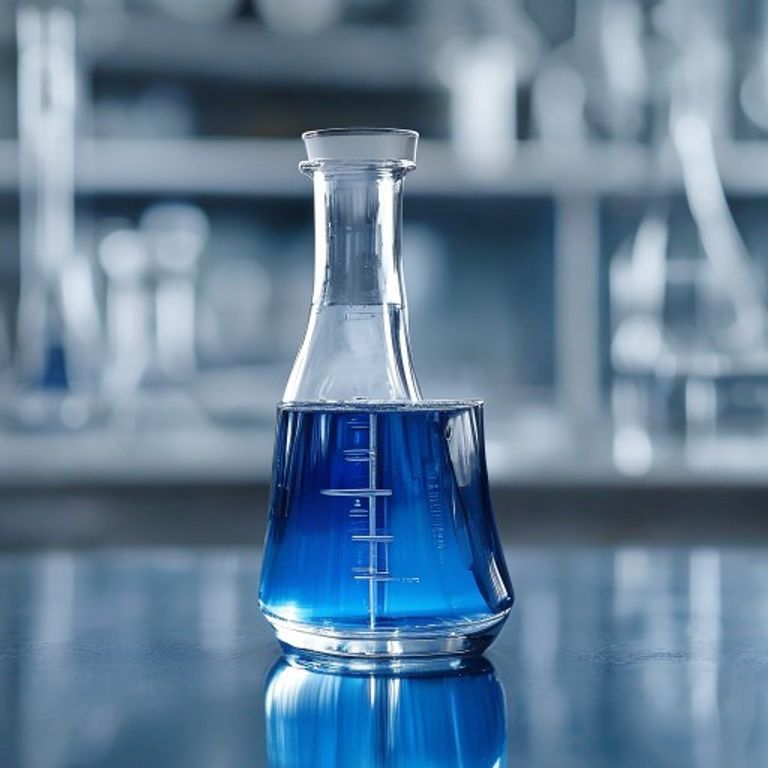
The Volumetric Flask: Your Essential Guide to Precision in the Chemistry Lab

Hello, aspiring scientists and lab enthusiasts! Have you ever wondered how
chemists achieve such incredibly precise results in their experiments? It’s
not magic; it’s often about using the right tools for the job. And when it
comes to measuring liquids with extreme accuracy, one piece of specialized
laboratory glassware stands out above the rest: the volumetric flask.
In the world of chemistry, accuracy isn’t just a nice-to-have; it’s absolutely
crucial for reliable results, especially when preparing standard solutions or
performing quantitative analyses. Today, we’re diving deep into the
volumetric flask definition, exploring what it is, why it’s so
important, and how to use it like a pro in your chemistry lab. So, let’s
unravel the secrets behind this unassuming yet powerful laboratory tool!
What Exactly is a Volumetric Flask? A Clear Definition
At its core, a volumetric flask is a piece of laboratory glassware
specifically designed to prepare a solution of a precise, known volume. Think
of it as the “gold standard” for volume measurement in the lab, built for
ultimate accuracy.
If we break down the volumetric flask definition chemistry lab, it’s a
pear-shaped flask with a flat bottom, a long, narrow neck, and a distinctive
engraved calibration mark (usually a thin line) around its neck. This line
indicates the exact volume the flask will hold when filled to that mark,
typically at a specific reference temperature (often 20°C). Each flask also
comes with a stopper or screw cap to seal it tightly, allowing for thorough
mixing of its contents without spillage.
These flasks are typically made from borosilicate glass for chemical
resistance and thermal stability, but you might also find them in plastic for
certain applications. Their design is optimized to minimize errors caused by
meniscus readings and temperature fluctuations, making them indispensable for
tasks requiring high precision.
Why Precision Matters: What is a Volumetric Flask Used For?
So, beyond just holding liquid, what is a volumetric flask used for
specifically? Its primary use revolves around tasks where exact volume and
concentration are paramount. Here are its main applications:
-
Standard Solution Preparation: This is perhaps its most crucial role.
In analytical chemistry, we often need solutions with an exact, known
concentration (standard solutions). Volumetric flasks ensure that a precise
amount of solute is dissolved and diluted to an exact final volume,
yielding a solution with a highly accurate molarity or normality. -
Accurate Dilutions: When you need to dilute a concentrated stock
solution to a specific lower concentration, volumetric flasks provide the
accuracy needed to ensure the dilution factor is precisely maintained. -
Quantitative Analysis: Many analytical techniques, such as titrations
or spectrophotometry, rely on precisely prepared samples and standards. The
volumetric flask is key to preparing these with the required exactitude.
The ability to achieve precise volume measurements with a volumetric flask is
a cornerstone of reliable scientific results. It works hand-in-hand with
other precision instruments like pipettes to ensure accuracy in your work. If
you’re curious about other precision liquid handling tools, you might want to
check out an ultimate pipette showdown: volumetric vs. serological to pick your precision partner!
More Than Just a Glass: Understanding the Types of Volumetric Flasks
While the basic design remains consistent, there are a few types of
volumetric flasks and their uses you should be aware of:
-
Class A vs. Class B: This is the most significant distinction.
-
Class A volumetric flasks offer the highest level of accuracy,
meeting stricter tolerance limits. They are typically used for tasks
requiring the utmost precision, like preparing primary standards or in
quantitative analysis. -
Class B volumetric flasks have slightly wider tolerance limits
and are suitable for general laboratory work where extreme precision
isn’t as critical, but accurate volume measurement is still important.
They are usually more affordable.
-
Class A volumetric flasks offer the highest level of accuracy,
-
Volume Sizes: Volumetric flasks come in a wide range of sizes,
from small 5 mL or 10 mL flasks up to large 2000 mL (2 L) or even 5000 mL
flasks. The choice depends on the volume of solution you need to prepare. -
Clear vs. Amber: Most flasks are clear, allowing you to easily see the
solution. However, amber (or brown) volumetric flasks are available for
preparing and storing light-sensitive solutions, as the colored glass
protects the contents from degradation by UV or visible light.
Mastering the Art: How to Use a Volumetric Flask Accurately
Using a volumetric flask correctly is an art that directly impacts the
accuracy of your results. Here’s a step-by-step guide on how to use a
volumetric flask accurately:
-
Cleanliness is Key: Always start with a clean, dry flask. Any residual
chemicals or water droplets can affect the final concentration. Rinse with
distilled water. -
Add Solute First: Carefully transfer your solid solute into the
flask using a funnel. If using a liquid solute, dispense it accurately. -
Dissolve the Solute: Add a small amount of solvent (usually distilled
water) to the flask – enough to dissolve the solute completely, but less
than the final volume. Swirl gently to mix until the solute is fully
dissolved. -
Bring to Near Volume: Slowly add more solvent, being careful not to
exceed the calibration mark. You can use a wash bottle for this. -
Adjust to the Mark (The Meniscus): This is the critical step. Bring the
bottom of the meniscus (the curved surface of the liquid) precisely to the
calibration mark. For clear solutions, read the bottom of the meniscus at
eye level to avoid parallax error. For dark solutions, read the top of the
meniscus. A dropper or a fine-tipped wash bottle can help you add the last
few drops very precisely. -
Stopper and Mix: Once at the mark, stopper the flask tightly. Invert
the flask several times (at least 10-15 times), turning it upside down and
then right side up, to ensure thorough mixing of the solution. This ensures
a homogeneous solution.
Remember, temperature also plays a role! Volumetric flasks are calibrated to
a specific temperature (e.g., 20°C). Significant temperature differences
during preparation can lead to volume expansion or contraction, affecting
accuracy.
Volumetric Flask vs. Measuring Cylinder: Why Choose Precision?
When you’re in the lab, you might wonder, “Why can’t I just use a measuring
cylinder?” This brings us to a key comparison: volumetric flask vs
measuring cylinder.
Think of it this way: a measuring cylinder is like a kitchen measuring cup –
great for approximate volumes for cooking. A volumetric flask, on the other
hand, is like a finely calibrated scale used by a jeweler – designed for
exact, verifiable measurements.
Measuring cylinders have wider necks and larger graduations, making them less
accurate for precise volume measurements (typically ±1-2% accuracy). They are
perfect for dispensing approximate volumes or for general measurements where
high precision isn’t required.
Volumetric flasks, with their single, finely etched calibration mark and
narrow neck, offer significantly higher accuracy (typically ±0.05-0.2%
accuracy for Class A). This difference in precision is vital in analytical
chemistry where even small deviations can lead to significant errors in
calculations and experimental outcomes. So, for preparing standard solutions
or any task demanding exact volumes, the volumetric flask is your go-to.
Tips for Maintaining Your Volumetric Flask’s Accuracy
To ensure your volumetric flask continues to be a reliable partner in the
lab, consider these practical tips:
-
Handle with Care: Avoid dropping or scratching the flask, especially
the neck where the calibration mark is located. Damage can compromise its
accuracy. -
Proper Cleaning: After use, rinse thoroughly with water, then distilled
water. For stubborn residues, use appropriate cleaning solutions, but avoid
abrasive brushes that could scratch the glass. Air dry or use a low-heat
oven (if safe for the glass type) rather than forcing hot air, which could
affect calibration. -
Storage: Store flasks upright, ideally in a rack or cabinet, to prevent
them from tipping over and breaking. -
Temperature Awareness: Always remember the calibration temperature.
Avoid preparing solutions with liquids at vastly different temperatures. -
Calibration Checks: For critical applications, especially with Class B
flasks over time, periodic glassware calibration might be necessary to ensure continued accuracy.
Conclusion
The volumetric flask might seem like a simple piece of laboratory equipment,
but its role in achieving precision and accuracy in chemistry is
unparalleled. By understanding its definition, applications, and how to use
it correctly, you’re laying a solid foundation for reliable experimental
results. From preparing critical standard solutions to performing accurate
dilutions, this flask is your silent partner in the pursuit of scientific
excellence. So, next time you step into the lab, give a nod to the volumetric
flask – the unsung hero of exact volume measurement!
Frequently Asked Questions (FAQ)
Q: What is the difference between a volumetric flask and an Erlenmeyer flask?
A: The main difference lies in their purpose and accuracy. A volumetric flask
is designed for extremely precise volume measurement (e.g., preparing 500.00
mL of a solution) due to its narrow neck and single calibration mark. An
Erlenmeyer flask, with its conical shape and wider mouth, is designed for
mixing, heating, and holding liquids, but offers only approximate volume
measurements. It’s not suitable for preparing solutions where exact
concentrations are needed.
Q: Can I heat a volumetric flask?
A: Generally, no. Volumetric flasks are calibrated at a specific temperature
(usually 20°C). Heating them can cause the glass to expand, temporarily
changing the flask’s volume and thus its calibration. Repeated heating can
also permanently alter its calibrated volume. If you need to heat a solution,
do so in an Erlenmeyer flask or beaker first, let it cool to the calibration
temperature, and then transfer it to the volumetric flask for final volume
adjustment.
Q: How do I clean a volumetric flask properly?
A: Start by rinsing it thoroughly with tap water, then several times with
distilled or deionized water. For stubborn residues, use an appropriate
cleaning solution (e.g., detergent solution, acid bath, or base bath,
depending on the contaminant), then rinse thoroughly again with distilled
water. Avoid using abrasive brushes that can scratch the glass and affect the
meniscus reading. Air drying is best, or use a low-temperature oven if your
lab protocol allows.
Q: What does the line on a volumetric flask mean?
A: The single, etched line on the narrow neck of a volumetric flask is the
calibration mark. It indicates the exact volume the flask is designed to
contain when filled precisely to the bottom of the meniscus at a specific
temperature, usually 20°C. This mark is the key to its precision.







