Mastering the Flame: Your Essential Guide to Bunsen Burner Safety and Science

Ever walked into a chemistry lab and seen that iconic piece of laboratory equipment – the Bunsen burner? It’s more than just a fancy torch; it’s a cornerstone for countless scientific experiments, providing controlled heat when and where we need it most. But like any powerful tool, it demands respect and proper handling. If you’ve ever felt a little intimidated by lighting one up or wondered what all those different flame types mean, you’re in the right place! We’re going to demystify the Bunsen burner, from its humble parts to troubleshooting common issues, ensuring you can use it confidently and, most importantly, safely.
Think of the Bunsen burner as the chef’s gas stove for scientists. Just like a chef needs to know how to adjust the flame for sautéing versus simmering, we in the lab need to understand our Bunsen burner to achieve the precise heating required for our experiments. Let’s dive in!
What Exactly is a Bunsen Burner, Anyway?
At its core, a Bunsen burner is a simple but ingenious piece of heating apparatus designed to produce a single, open gas flame. It mixes a fuel gas (usually natural gas or LPG) with air in a controlled manner before combustion. This control is key to getting different types of flames. Let’s break down its main parts:
- Base: This is the heavy, stable bottom that prevents the burner from tipping over. Safety first, always!
- Gas Inlet: Where the gas supply tubing connects. This is our fuel line.
- Gas Jet (or Nipple): A small hole inside the barrel that allows gas to flow upwards.
- Barrel (or Chimney): The vertical tube where the gas mixes with air.
- Air Hole (or Collar): Openings at the base of the barrel that allow air to enter. We can adjust this using the collar. This is like the air intake on an engine – more air, more efficient combustion.
- Collar: A rotating metal ring that covers and uncovers the air holes. This is our primary control for flame type and temperature.
Each part plays a crucial role in delivering a steady, adjustable flame, making it indispensable for heating solutions, sterilizing equipment, or even bending glass.
Safety First! How to Light a Bunsen Burner Safely
This is arguably the most critical section. Lighting a Bunsen burner isn’t complicated, but doing it correctly is vital for safer lab practices. Here’s our step-by-step guide:
- Preparation is Key:
- Ensure the Bunsen burner is on a stable, heat-resistant surface.
- Clear your workspace of any flammable materials (papers, solvents, hair!).
- Check the gas tubing for cracks or damage. Replace if needed.
- Wear appropriate personal protective equipment (PPE) – safety goggles are non-negotiable!
- Close the air holes completely by rotating the collar. This prevents a sudden, large flame when lighting.
- Connect and Check:
- Connect the rubber tubing securely to the gas inlet on the Bunsen burner and the gas tap on the lab bench.
- Make sure the gas tap is OFF initially.
- Be Ready to Light:
- Have your striker or lighter ready. Hold it a few centimeters above the top of the barrel.
- Turn on the Gas:
- Slowly turn on the gas tap. You should hear a faint hiss of gas.
- Ignite the Flame:
- Immediately strike your lighter/striker over the barrel. A tall, luminous (yellow/orange) flame should appear.
- If it doesn’t light within a couple of seconds, turn off the gas, wait a moment for residual gas to dissipate, and try again. Don’t let gas accumulate.
- Adjust the Flame:
- Once lit, slowly open the air holes by rotating the collar. The flame will get smaller, bluer, and less luminous. Adjust until you have the desired flame type. We’ll talk more about flame types next!
- To Extinguish:
- First, close the gas tap completely at the bench. The flame will die out.
- Then, close the air holes on the Bunsen burner.
Remember, never leave a lit Bunsen burner unattended!
Understanding the Flame: Types and Their Uses
The beauty of the Bunsen burner lies in its adjustable flame. By controlling the air intake, we can get different types of flames, each suited for different tasks:
- Luminous (Yellow/Orange) Flame:
- Appearance: Tall, flickering, bright yellow or orange, often smoky.
- Air Holes: Completely closed.
- Temperature: Relatively cool (around 900-1200°C), but it varies.
- Characteristics: Incomplete combustion, produces soot.
- Uses: Primarily for observing a flame, or for gentle warming where soot isn’t an issue. NOT for serious heating or sterile work. Think of it as a candle flame.
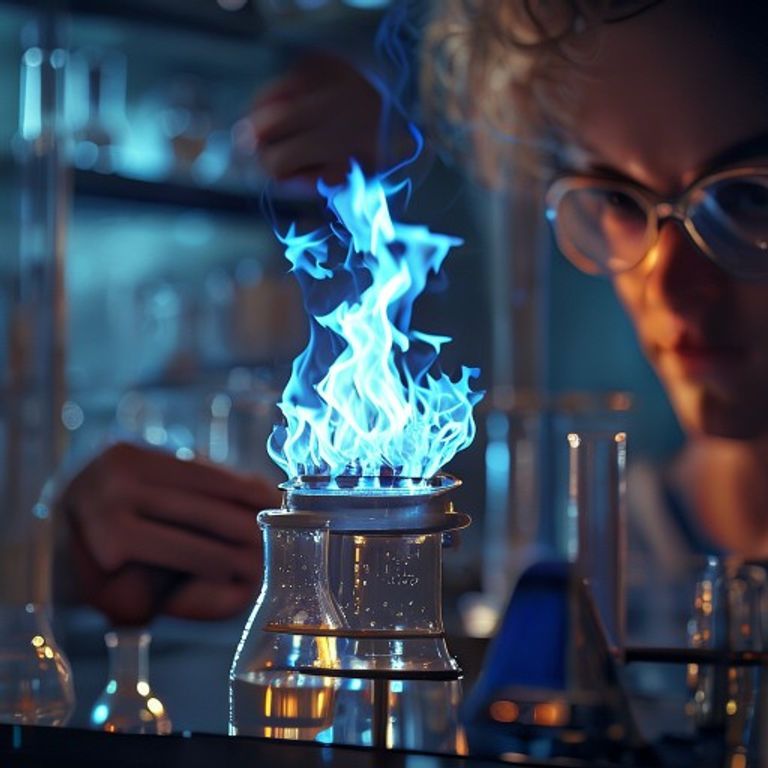
- Non-Luminous (Blue) Flame:
- Appearance: Shorter, stable, almost invisible light blue cone (or multiple cones).
- Air Holes: Partially open.
- Temperature: Hotter than luminous (around 1200-1500°C).
- Characteristics: More complete combustion, less soot.
- Uses: General heating, warming solutions.
- Roaring (Blue Cone) Flame:
- Appearance: A clear, distinct inner blue cone and a fainter outer blue cone. Often makes a “roaring” sound.
- Air Holes: Fully open.
- Temperature: Hottest (up to 1500-1700°C for the hottest point). The tip of the inner blue cone is typically the hottest point.
- Characteristics: Most complete combustion, no soot.
- Uses: Sterilization (e.g., flaming inoculating loops), strong heating of substances, bending glass. This is often our go-to for serious work.
Learning to recognize and adjust for these different flame types is a hallmark of Bunsen burner mastery.
Choosing Your Bunsen: Is There a ‘Best’ One for Chemistry Lab?
While most Bunsen burners look similar, there are a few variations. The standard Bunsen burner is excellent for general use. However, you might encounter:
- Teclu Burners: These have a conical air adjustment instead of a cylindrical collar, allowing for finer control over the gas-air mixture, leading to a more precise flame.
- Meker Burners: These have a wider barrel with a grid at the top. This produces a more uniform and hotter flame over a larger area, often preferred for high-temperature applications or when a broad heating zone is needed.
For most introductory chemistry labs, a standard Bunsen burner is perfectly adequate. The “best” one truly depends on the specific heating requirement of your scientific experiments.
Troubleshooting Common Bunsen Burner Issues
Sometimes, things don’t go perfectly. Here are a few common issues and how to fix them:
- Bunsen Burner Not Lighting:
- Check Gas Supply: Is the main gas tap on the bench open? Is the gas hose connected properly? Is there actual gas flowing to the bench?
- Igniter Issue: Is your striker sparking well, or is your lighter out of fuel?
- Air Holes: Sometimes if the air holes are wide open, too much air can prevent ignition. Close them almost completely before trying to light it.
- Flame is Too Yellow and Smoky:
- This means there’s not enough air for complete combustion. Slowly open the air holes by rotating the collar until the flame turns blue.
- Flame “Lifts Off” the Barrel or Blows Out:
- This usually indicates too much air or too much gas pressure. Try closing the air holes slightly or reducing the gas flow from the tap.
- Flame Strikes Back / Lights Inside the Barrel (Backfire):
- This is dangerous! It happens when the gas-air mixture ignites inside the barrel. You’ll hear a popping sound, and the flame might be very small, orange, and near the gas jet.
- Immediately turn off the gas tap! Let the burner cool down.
- Causes: Usually too much air in the mixture, or the barrel has become very hot.
- Solution: After it cools, ensure the air holes are mostly closed, then re-light. Adjust slowly.
Don’t be afraid to troubleshoot, but always prioritize safety when doing so!
FAQ About Bunsen Burners
Q: What is the hottest part of a Bunsen burner flame?
A: The hottest part of a roaring, non-luminous flame is typically just above the tip of the inner blue cone.
Q: Can I use a Bunsen burner with any gas?
A: Bunsen burners are designed for specific fuel gases (like natural gas or LPG). Using the wrong type of gas can be dangerous and inefficient. Always check your burner’s specifications and the lab’s gas supply.
Q: Why is my Bunsen burner flame yellow even with the air holes open?
A: This could be due to insufficient gas pressure, an obstruction in the gas jet or air holes, or simply not enough air entering for complete combustion. Ensure connections are secure, air holes are clear, and try slowly opening the air holes more.
Q: How do I clean a Bunsen burner?
A: Typically, Bunsen burners don’t require extensive cleaning. If the air holes get blocked by dust or debris, you can use a pipe cleaner or a small wire to clear them. Always ensure it’s disconnected from the gas supply before cleaning.
Q: Is it okay to leave a Bunsen burner lit and unattended?
A: Absolutely NOT. Never leave a lit Bunsen burner unattended, even for a moment. It’s a significant fire hazard.
Conclusion
The Bunsen burner is an incredible tool that allows us to explore the world of chemistry and physics through controlled heating. From understanding its basic parts to mastering the art of safe ignition and flame adjustment, we’ve covered the essentials. Remember, practice makes perfect, but safety comes first. Always wear your goggles, be mindful of your surroundings, and never hesitate to ask for help if you’re unsure. With these tips, you’re well on your way to becoming a confident and competent user of this indispensable piece of laboratory equipment. Happy (and safe) experimenting!