


Mastering Mold Spot Plating Terminology: A Practical Guide for Repair Professionals

Introduction
When a mold shows a spot defect, the first thing we do is reach for the right plating solution. But before we dip the part into the bath, we need to speak the same language as the rest of the team. That’s why understanding Mold Spot Plating Terminology is as important as the plating process itself. In this article, I’ll walk you through the most common terms, explain how they connect to real‑world applications, and share a few practical tips you can start using today.
What Is Selective Plating in Mold Repair?
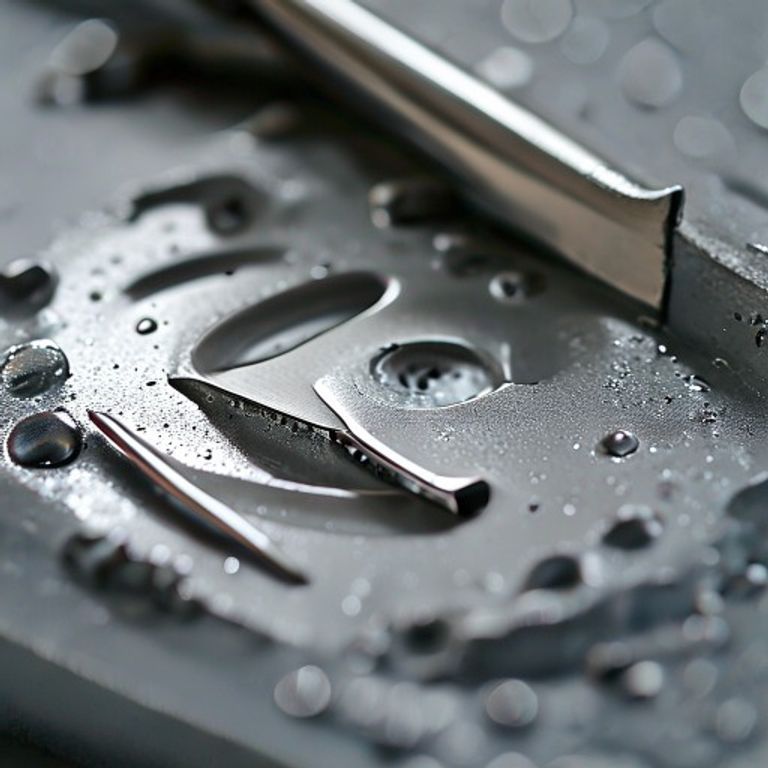
Selective plating, also known as brush plating or spot plating, is a technique where metal is deposited only on the damaged area of a mold. Think of it like using a paintbrush to touch up a scratch on a car rather than repainting the whole vehicle. This method offers three big advantages:
- Dimensional restoration: Only the worn spot is built up, preserving the original geometry.
- Corrosion resistance: The new metal layer shields the exposed substrate from the environment.
- Cost efficiency: Less material and shorter cycle times mean lower overall expenses.
In practice, we first mask the surrounding area, then apply a conductive paint, and finally run a low‑current electrodeposition to fill the defect.
Glossary of Brush Plating Terms for Molds
Here’s a quick reference sheet that I keep on my workbench. Feel free to copy it into your own notes.
- Electrodeposition: The process of depositing metal ions from an electrolyte onto a conductive surface using electric current.
- Masking material: A heat‑resistant tape or silicone that protects non‑target areas during plating.
- Conductive paint: A slurry that creates a temporary electrical path on non‑metallic surfaces.
- Current density (A/dm²): The amount of current per unit area; crucial for controlling deposit thickness and hardness.
- Throw‑power: The ability of the plating bath to deposit metal at a distance from the anode; higher throw‑power gives more uniform spots.
- Hardness testing (Rockwell, Vickers): Methods to verify that the plated layer meets the required wear resistance.
- Surface finish defects: Issues like pitting, porosity, or uneven gloss that indicate a problem with the plating parameters.
Professional Vocabulary for Mold Electroplating
When we talk to suppliers or write a repair report, using the right jargon helps avoid misunderstandings. Some terms you’ll hear often include:
- Nickel‑phosphorus (Ni‑P) alloy: A popular plating material for its hardness and corrosion resistance.
- Copper strike: A thin copper layer applied before the main plating to improve adhesion.
- Bath composition: The exact mix of metal salts, acids, and additives that define the plating characteristics.
- pH control: Maintaining the correct acidity level to ensure consistent deposition.
- Temperature regulation: Most baths operate between 45‑55 °C; deviations can cause cracking or poor throw‑power.
Understanding Mold Surface Treatment Definitions
Before any plating, the mold surface must be prepared. The steps are often described with these terms:
- Degreasing: Removing oils and contaminants using solvents or alkaline cleaners.
- Acid pickling: Etching the surface to eliminate oxides and create a micro‑roughness for better metal bonding.
- Rinse‑dry cycle: Preventing water spots that could become corrosion nuclei.
- Pre‑plating inspection: Measuring the defect depth with a micrometer to set the target thickness.
Common Terminology for Mold Restoration Plating
When the job is done, we often need to document the outcome. These are the phrases you’ll see in a final report:
- Deposit thickness: Measured in microns; typically 25‑75 µm for spot repairs.
- Adhesion rating: Qualitative score (e.g., “Excellent”) based on a pull‑test.
- Surface roughness (Ra): A numeric value indicating the smoothness of the plated area.
- Dimensional tolerance: The allowable deviation from the original mold geometry after plating.
Practical Tips for Better Spot Plating Results
Now that the jargon is clear, here are some hands‑on suggestions you can apply right away:
- Always calibrate your current density meter before each batch; a 5 % error can double the deposit thickness.
- Use a high‑throw‑power bath for deep or recessed defects – it ensures the metal reaches the bottom of the spot.
- After plating, perform a quick hardness test (Rockwell B) to verify that you’ve hit the target range (65‑75 HRB for Ni‑P).
- Document the pre‑ and post‑plating measurements with photos; this helps with future audits.
- Think of plating like selecting the right exploring the diverse test tube uses – the tool you pick determines the quality of the result.
Conclusion
Mastering mold spot plating terminology isn’t just about sounding professional; it’s a shortcut to fewer errors, faster communication, and higher quality repairs. By familiarizing yourself with the key terms, keeping a handy glossary, and applying the practical tips above, you’ll be able to tackle spot defects with confidence and consistency.
FAQ
What is the difference between brush plating and traditional electroplating?
Brush plating deposits metal only where the brush contacts the surface, while traditional electroplating immerses the entire part in the bath, coating all exposed areas.
How thick should a spot‑plated layer be?
Typical thickness ranges from 25 µm to 75 µm, depending on the defect depth and required wear resistance.
Can I use the same bath for different mold materials?
Yes, but you may need to adjust pH and current density to accommodate the varying conductivity of steel, aluminum, or copper alloys.
What hardness test is most common for Ni‑P spot plating?
Rockwell B (HRB) is widely used; a value of 65‑75 HRB indicates a good balance of hardness and ductility.
Is masking always required?
Masking protects surrounding surfaces from unintended deposition. For very small spots, a fine‑tip brush can sometimes eliminate the need for masking.







