


Déverrouillage du laboratoire Cheval de travail : Utilisations essentielles des béchers que vous devez connaître

When you picture a science lab, what comes to mind? For many of us, it’s probably a collection of shiny verrerie de laboratoire, bubbling concoctions, and perhaps a scientist in a white coat. Amidst all that fascinating matériel scientifique, one piece stands out as incredibly common yet indispensable: the beaker. Often overlooked for its apparent simplicity, the beaker is truly the unsung hero of many experiments, a versatile vessel that plays many roles.
Today, let’s dive deep into the world of this humble piece of verrerie de laboratoire. We’ll explore the main uses of beaker, discussing not just what they are, but also how to use them effectively and safely. Think of it as our friendly guide to maximizing the potential of this essential lab tool.
The Versatile Workhorse: What Are Beakers Used For in a Laboratory?
Alors, what are beakers used for in a laboratory? While they might look like simple glass cups, beakers are designed for a multitude of tasks, especially in chemistry and biology. Here are some of the common applications of beakers in chemistry and beyond:
- Mélange et mélange: This is probably the most common use. Beakers, with their wide mouths, are perfect for easily combining liquids and solids, or for stirring solutions with a stirring rod. Their cylindrical shape allows for good mixing without too much splashing.
- Holding and Storing: Need a temporary container for a solvent, a reagent, or even just distilled water? Beakers are excellent for holding various liquids and solids during an experiment. Just remember, they aren’t ideal for long-term storage due to their wide opening and potential for evaporation or contamination.
- Solutions de chauffage : Made from heat-resistant borosilicate glass (like Pyrex or Kimax), beakers can be placed on a hot plate or heated with a Bunsen burner (using a wire gauze). This makes them perfect for warming up reagents, dissolving solids, or carrying out reactions that require elevated temperatures.
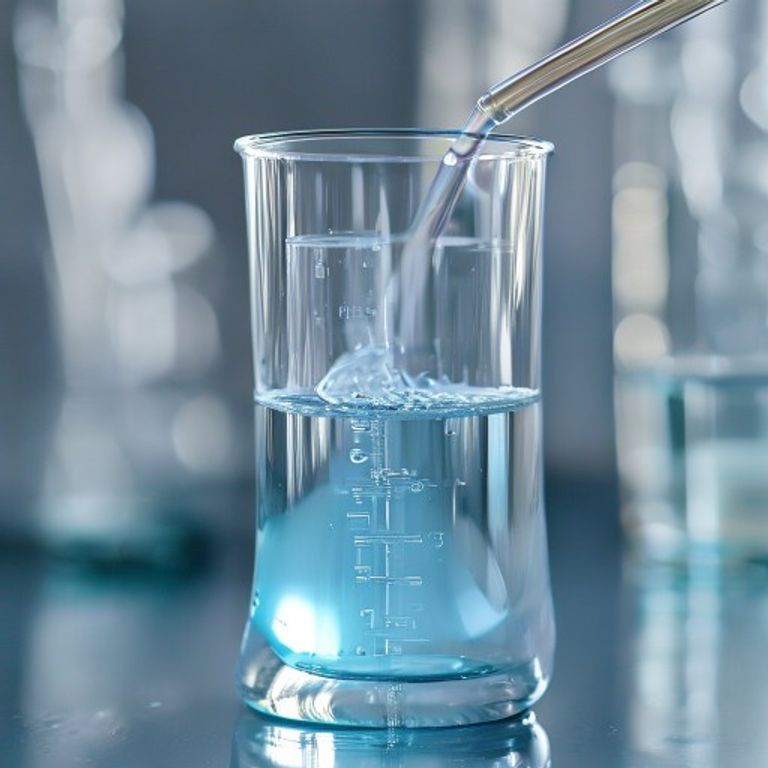
- Rough Measurements: While not precise, beakers usually have graduations (lines indicating volume) on their side. These are great for getting an approximate volume when precision isn’t critical. For example, if you just need “about 100 mL” of water, a beaker does the trick. However, for accurate measurements, we always turn to graduated cylinders or volumetric flasks.
- Transfert de liquides : Their pouring lip (spout) makes transferring liquids from one container to another quite smooth, minimizing spills.
Beyond Basic Mixing: How to Properly Use a Beaker for Mixing and More
Connaître uses of beaker is one thing, but knowing how to properly use a beaker for mixing and other tasks is key to success in the lab. It’s not just about dumping things in; there’s a technique!
- Mixing Liquids: For effective mixing, use a glass stirring rod. Stir gently but thoroughly, ensuring all components are fully integrated. If you’re mixing two liquids, adding one slowly to the other while stirring can prevent splashing and ensure a homogeneous solution.
- Dissolution des solides: When dissolving a solid, add the solvent gradually and stir until the solid disappears. Heating can often speed up the dissolution process, but always be mindful of the solution’s boiling point.
- Pouring: Always use the pouring lip. It’s designed to direct the flow of liquid, preventing drips down the side of the beaker. When pouring, hold the stirring rod against the lip to guide the liquid, especially when transferring to a narrow-mouthed container.
- Handling Solids: When adding solid chemicals to a beaker, we usually use a clean spatule de laboratoire to carefully scoop and transfer the material, avoiding spillage and ensuring precise measurements (if using a balance).
Beakers vs. Flasks: Understanding the Differences in Using Beakers vs Flasks
It’s easy to confuse beakers with flasks, especially if you’re new to the lab. However, understanding the differences in using beakers vs flasks is crucial for choosing the right tool for the job.
- Shape Matters: Beakers have straight sides and a wide mouth, making them excellent for mixing, pouring, and general holding. Flasks, like Erlenmeyer flasks, have a narrow neck and a conical or round body. This narrow neck is brilliant for preventing splash-back during vigorous stirring or when heating solutions to boiling. It also reduces evaporation.
- Functionality: While both can hold and mix liquids, flasks are often preferred for titrations, distillations (especially round-bottom flasks), or reactions where minimizing evaporation or controlling vapor escape is important. Beakers, with their open design, are more about accessibility and ease of use for general purposes like preparing solutions or carrying out simple reactions.
- Précision: Neither beakers nor standard Erlenmeyer flasks are designed for highly accurate volume measurements. For precision, we rely on tools like volumetric flasks or graduated cylinders.
Safety First: Essential Safety Precautions for Handling Beakers
Working with any matériel scientifique requires adherence to safety protocols, and beakers are no exception. Here are some safety precautions for handling beakers:
- Porter un EPI : Always wear safety goggles to protect your eyes from splashes, especially when mixing or heating. Lab coats and gloves are also highly recommended.
- Poignée avec soin : Beakers are made of glass and can break. Always pick them up by the body, not the rim. Avoid placing them on uneven surfaces where they might tip over.
- Sécurité au chauffage: When heating a beaker, use a wire gauze on a tripod over a Bunsen burner or place it on a hot plate. Never heat a completely sealed beaker, as pressure buildup can cause it to explode. Always use beaker tongs or heat-resistant gloves to handle hot beakers.
- Déversements chimiques: If a beaker containing chemicals breaks or spills, immediately follow your lab’s spill cleanup procedures. For small spills, absorb with appropriate material and dispose of safely.
- Disposal: After use, properly clean the beaker. If it contained hazardous chemicals, dispose of the waste according to lab regulations before cleaning. Broken glass should always go into a designated broken glass waste container.
Conclusion
From simple mixing to sophisticated chemical reactions, the beaker truly earns its title as the lab’s workhorse. Its versatility, ease of use, and compatibility with various laboratory processes make it an indispensable tool for students, educators, and professional scientists alike. By understanding the primary uses of beaker and adhering to proper handling and safety measures, we can ensure our experiments run smoothly and safely. So next time you’re in the lab, take a moment to appreciate this humble yet mighty piece of glassware!
FAQ
Q1: Puis-je utiliser un bécher pour des mesures précises?
No, beakers are generally not designed for accurate volume measurements. Their graduations are approximate. For precise measurements, you should use a graduated cylinder, volumetric flask, or pipette.
Q2: Why do beakers have a pouring lip?
The pouring lip (or spout) is designed to facilitate smooth pouring of liquids, helping to prevent drips and spills down the side of the beaker. It acts like a guide for the liquid flow.
Q3: What material are most lab beakers made from?
Most lab beakers are made from borosilicate glass (e.g., Pyrex or Kimax), which is highly resistant to thermal shock and chemical corrosion. This allows them to be heated and used with various chemicals without breaking easily.
Q4: Can I heat a beaker directly over a flame?
While borosilicate glass is heat-resistant, it’s generally recommended to heat a beaker indirectly using a wire gauze on a tripod over a Bunsen burner. This distributes the heat more evenly and reduces the risk of thermal shock and breakage. Direct flame heating should be done cautiously.







