


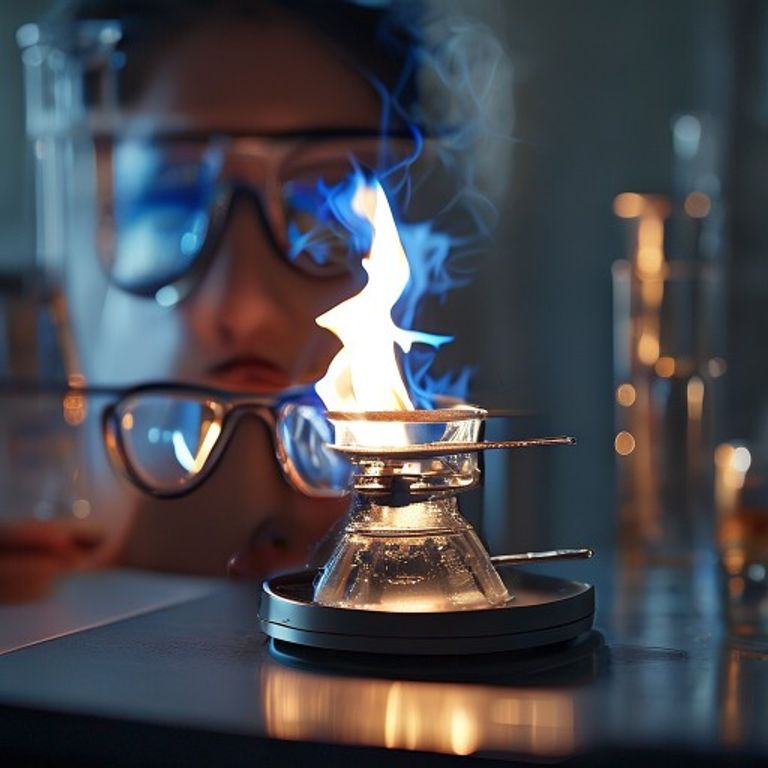
Master the Flame: Votre guide essentiel pour une utilisation sûre des brûleurs Bunsen dans le laboratoire

Hello, fellow science enthusiasts and lab adventurers! Today, we’re diving into a fundamental piece of laboratory equipment that’s been heating things up (literally!) for over a century: the Bunsen burner. Maybe you’ve seen one, or perhaps you’re about to use it for the first time. Either way, understanding proper Bunsen burner usage is crucial not just for successful experiments, but most importantly, for laboratory flame safety. Think of it like learning to drive a car – you wouldn’t just hop in and go, right? You need to know the rules, the controls, and how to stay safe. That’s exactly what we’ll cover here for your Bunsen burner.
I remember my first time using a Bunsen burner; it felt a bit intimidating. All that open flame! But with the right guidance, it quickly became second nature. So, let’s demystify this powerful tool together, ensuring you know how to safely use a Bunsen burner in a lab, how to get that perfect flame, and even a bit about its Bunsen burner maintenance and cleaning guide.
Safety First: Your Non-Negotiable Lab Rule
Before we even think about turning on the gas, let’s talk safety. This isn’t just a suggestion; it’s an absolute must. When working with any open flame, laboratory flame safety should be your top priority. Here’s what we always need to remember:
- Protection des yeux: Always wear safety goggles for Bunsen burner work. A stray spark or splash could cause serious damage.
- Tie Back Hair and Loose Clothing: Long hair, scarves, or baggy sleeves are highly flammable. Tie them back or secure them.
- Espace de travail clair : Remove any flammable materials from the immediate vicinity. Papers, solvents, or even your backpack should be well away from the burner.
- Know Your Exits and Equipment: Be aware of the nearest fire extinguisher, fire blanket, and emergency shower. Hopefully, you’ll never need them, but it’s vital to know where they are.
- Check Your Equipment: Before connecting, always inspect the gas hose for cracks or damage. A leaky hose is a fire hazard!
Understanding Your Bunsen Burner: The Basics
A Bunsen burner might look simple, but it has a few key parts that work together to produce a flame:
- Base: Provides stability.
- Entrée de gaz: Where the gas hose connects.
- Barrel (Chimney): The vertical tube where the gas and air mix.
- Collar (Air Vent/Regulator): A rotating ring at the bottom of the barrel that adjusts the air intake. This is crucial for Bunsen burner flame adjustment techniques.
- Needle Valve (Gas Regulator): Often found on the gas line or the burner itself, it controls the flow of gas. This is part of your gas flow control on Bunsen burners.
Steps for Lighting a Bunsen Burner Correctly
Now that we’re safe and know our parts, let’s get that flame going. Follow these steps for lighting a Bunsen burner correctly:
- Connect the Hose: Securely attach the rubber tubing from the gas tap to the gas inlet of your Bunsen burner.
- Close the Air Vent: Rotate the collar until the air holes are almost completely closed. This ensures an easily ignitable, luminous yellow flame initially.
- Open the Gas Tap: Turn the gas tap fully open. You should hear a faint hiss of gas.
- Ignite: Immediately bring a lit striker or lighter to the top of the barrel. The gas should ignite with a soft, luminous yellow flame. If it doesn’t light within a few seconds, turn off the gas, wait a moment for the gas to disperse, and try again. Never leave gas flowing without ignition.
Achieving the Perfect Flame: Bunsen Burner Flame Adjustment Techniques
Once your burner is lit, you’ll likely have a large, yellow, smoky flame. This is called a ‘safety flame’ or ‘luminous flame’. It’s easy to see but not ideal for heating because it’s cooler and produces soot. We want a ‘roaring blue flame’ for efficient heating. This is where Bunsen burner flame adjustment techniques come into play:
- Adjust Air Intake: Slowly open the air vent (rotate the collar) to allow more air into the barrel. You’ll notice the flame becoming shorter, bluer, and less luminous.
- Adjust Gas Flow: Use the needle valve or the gas tap to adjust the height of the flame. A taller flame generally means more Bunsen burner heat output.
The ideal flame is a non-luminous (no yellow), steady blue flame with two distinct cones. The hottest part is at the tip of the inner blue cone. If the flame blows out, you’ve added too much air. If it’s too yellow and smoky, you need more air.
Common Experiments Using a Bunsen Burner
The Bunsen burner is a workhorse in the lab, used for countless tasks. Some common experiments using a Bunsen burner include:
- Liquides de chauffage: Whether it’s water in a beaker or a solution in a test tube, the Bunsen burner provides controlled heating. For heating larger volumes, we often use types de béchers.
- Sterilizing Equipment: Flaming the mouth of a test tube or sterilizing an inoculating loop.
- Chemical Heating: Many reactions require the addition of heat to proceed. This is a common application of chemical heating with Bunsen burner.
- Évaporation: Speeding up the evaporation of solvents.
Bunsen Burner Maintenance and Cleaning Guide
Just like any tool, a Bunsen burner benefits from a little care. Regular Bunsen burner maintenance and cleaning guide ensures its longevity and safe operation. Periodically, check for:
- Propreté: Soot can accumulate on the barrel. Wipe it down.
- Clear Air Vents: Ensure the air holes are not blocked.
- Hose Condition: Replace cracked or hardened gas hoses immediately.
Safe Shutdown
When you’re done, turn off the gas at the main tap first. The flame will go out as the gas supply dwindles. Then, close the needle valve (if present) on the burner itself. Allow the burner to cool before handling.
Conclusion
Using a Bunsen burner might seem daunting at first, but with practice and strict adherence to safety protocols, you’ll be a pro in no time. Remember to always prioritize laboratory flame safety, understand how to adjust your flame for the task at hand, and perform regular checks. It’s a powerful tool that, when used correctly, opens up a world of experimental possibilities in the lab. So go forth, experiment safely, and master that flame!
FAQ About Bunsen Burner Usage
Q: What should I do if the flame goes out while the gas is still on?
A: Immediately turn off the gas at the main tap. Wait for any residual gas to disperse before attempting to relight it. Always ensure proper gas and air mixture when relighting.
Q: Why is my Bunsen burner flame yellow and smoky?
A: A yellow, smoky flame indicates incomplete combustion due to insufficient air. You need to open the air vent (collar) more to allow more oxygen to mix with the gas. This will make the flame bluer and hotter.
Q: Can I leave a Bunsen burner unattended?
A: Absolutely not! An open flame should never be left unsupervised. Always remain present and observant when a Bunsen burner is lit.
Q: Quelle est la partie la plus chaude d'une flamme de brûleur Bunsen?
A: The hottest part of a properly adjusted roaring blue flame is at the tip of the inner blue cone.
Q: How do I know if the gas hose is safe to use?
A: Inspect the hose for any cracks, cuts, or signs of wear. It should be flexible, not stiff or brittle. If you see any damage, replace it immediately.







