


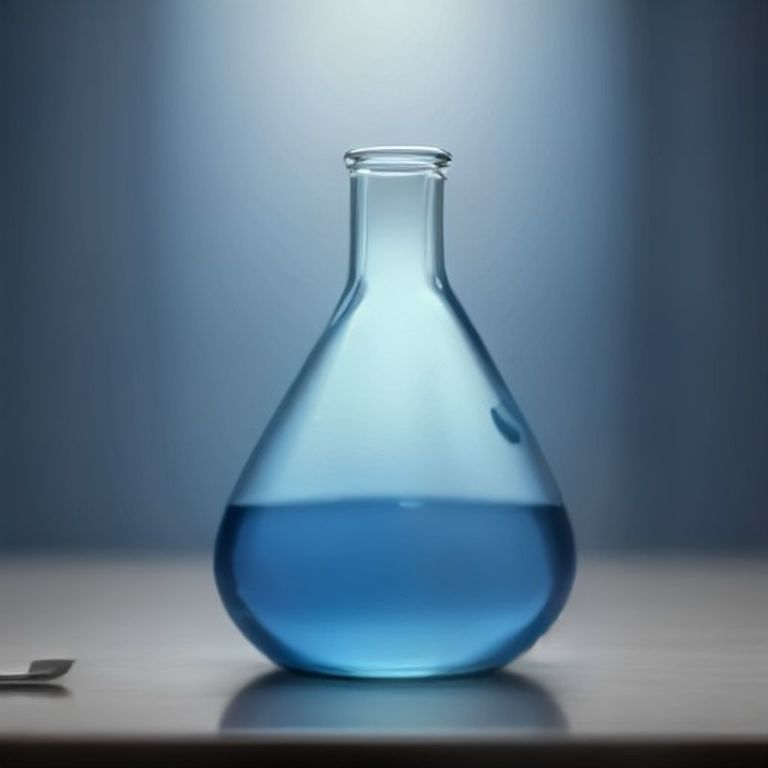
Unlocking Precision: Your Essential Guide to Volumetric Flask Chemistry

Hello, fellow science enthusiasts! Have you ever wondered how scientists achieve such incredibly accurate measurements in the lab, especially when preparing solutions for crucial experiments? It’s not just magic; it’s often thanks to a very special piece of laboratory glassware called the volumetric flask. Today, we’re diving deep into the world of volumetric flask chemistry – understanding what these flasks are, why they’re so important, and how we can use them to prepare solutions with pinpoint accuracy.
Think of it like baking a delicate cake. You wouldn’t just eyeball the flour and sugar, would you? You’d use precise measuring cups and spoons to ensure the perfect texture and taste. In chemistry, especially in analytical chemistry, that level of precision is even more critical. A tiny error can completely throw off an experiment, leading to unreliable results. That’s where our trusty volumetric flask comes into play, ensuring we get our concentrations just right.
What Exactly is a Volumetric Flask?
At first glance, a volumetric flask might look like just another bottle with a long, thin neck. But it’s so much more! It’s a piece of glassware designed to hold a very specific, precise volume of liquid at a particular temperature, usually 20°C. We typically see them made from glass, though some plastic versions exist for specific applications.
The defining feature of a volumetric flask is its single calibration mark, or graduation line, etched around the neck. This mark indicates the exact volume it contains when filled to that point. Unlike a measuring cylinder, which is used for approximate volume measurement, a volumetric flask is all about accuracy. They come in various sizes, from tiny 1 mL flasks all the way up to 5000 mL (5 Liters), catering to different experimental needs. You might encounter Class A flasks, which offer the highest accuracy and are usually marked with “A,” or Class B, which are slightly less precise but still suitable for many general laboratory uses.
Why Precision Matters: The Heart of Analytical Chemistry
In many areas of chemistry, especially in analytical chemistry and quality control, preparing solutions with an exact concentration is paramount. Imagine trying to determine the amount of a pollutant in a water sample using a solution that isn’t accurately prepared – your results would be meaningless! The volumetric flask is our go-to tool for this because it allows us to create standard solutions with known, reliable concentrations.
Whether we’re preparing a reagent for a titration, making a calibration curve for a spectrophotometer, or simply diluting a stock solution, the volumetric flask helps us ensure that every molecule counts. It’s the foundation upon which many complex chemical analyses are built. Without it, the reliability of our experimental data would be significantly compromised.
Your Step-by-Step Guide to Using a Volumetric Flask Correctly
So, how do we use a volumetric flask to achieve that coveted precision? It’s a process that requires a little patience and attention to detail. Let’s break down how to use a volumetric flask:
- Prepare Your Solute: First, accurately weigh the solid solute you need (or measure the liquid solute). Transfer it completely into a beaker.
- Dissolve the Solute: Add a small amount of solvent (often distilled water) to the beaker and stir to dissolve the solute. Make sure everything is fully dissolved!
- Transfer to the Flask: Carefully pour the dissolved solution from the beaker into your clean volumetric flask using a funnel.
- Rinse for Completeness: This step is crucial! Rinse the beaker and the funnel several times with small portions of the solvent, adding each rinse to the volumetric flask. This ensures all traces of your solute make it into the flask.
- Fill Most of the Way: Add solvent to the flask until it’s about two-thirds to three-quarters full.
- Mix Gently: Stopper the flask and gently invert it a few times to start mixing the solution. This prevents precipitation later.
- Bring to the Mark: Now for the delicate part. Continue adding solvent, drop by drop, until the bottom of the meniscus (the curved surface of the liquid) is precisely aligned with the calibration mark. Ensure your eye is at the same level as the mark to avoid parallax errors.
- Final Mixing: Stopper the flask tightly and invert it slowly at least 10-15 times. This ensures your solution is homogenous and the concentration is uniform throughout.
Calibrating for Confidence: Ensuring Accuracy
While most volumetric flasks come pre-calibrated from the factory, sometimes for extremely critical work or with older glassware, you might need to perform a calibration check. Calibrating a volumetric flask accurately involves determining its exact volume by weighing the mass of pure water it holds at a specific temperature. Since the density of water at various temperatures is known, we can calculate the true volume. This isn’t something we usually do daily, but it’s a vital quality control step in advanced labs.
Common Pitfalls and How to Avoid Them
Even with the best intentions, errors when using a volumetric flask can creep in. Here are some common mistakes and how we can avoid them:
- Parallax Error: Not viewing the meniscus at eye level can lead to overfilling or underfilling. Always view at eye level!
- Incomplete Dissolution/Transfer: If the solute isn’t fully dissolved or all of it isn’t transferred, your final concentration will be off. Rinse thoroughly!
- Temperature Effects: Volumetric flasks are calibrated at a specific temperature (usually 20°C). Significant temperature differences can cause expansion or contraction of the glass and liquid, affecting the volume. Try to work at or near the calibration temperature.
- Improper Mixing: Just filling to the mark isn’t enough; the solution needs to be homogenous. Always invert repeatedly for thorough mixing.
- Dirty Glassware: Residues inside the flask can interfere with the solution or lead to inaccurate volumes. Always ensure your flask is scrupulously clean and rinsed with distilled water before use.
Conclusion
As we’ve seen, the volumetric flask is far more than just a bottle; it’s a cornerstone of precise laboratory glassware and essential for accurate solution preparation in chemistry. By understanding its purpose, following proper techniques, and being aware of potential pitfalls, we can confidently prepare solutions that are exactly what our experiments demand. So next time you’re in the lab, remember the humble volumetric flask and the powerful precision it brings to our scientific endeavors!
Frequently Asked Questions About Volumetric Flasks
Q1: What is the main difference between a volumetric flask and a measuring cylinder?
A volumetric flask is designed for highly accurate measurement of a single, specific volume, indicated by its calibration mark, and is primarily used for preparing standard solutions. A measuring cylinder, on the other hand, is used for measuring approximate volumes of liquids and is less precise than a volumetric flask.
Q2: Can I heat a volumetric flask?
Generally, no. Volumetric flasks are typically not designed for heating. Heating can cause the glass to expand, altering the flask’s calibrated volume and potentially breaking it. Always ensure solutions are at or near room temperature before bringing them to volume in a volumetric flask.
Q3: What is the meniscus, and why is it important when using a volumetric flask?
The meniscus is the curved surface of a liquid in a container. When measuring volumes in a volumetric flask, it’s crucial to read the bottom of the meniscus at eye level against the calibration mark. This ensures an accurate and reproducible volume measurement, minimizing parallax error.
Q4: What are the different types of volumetric flasks?
The main types are Class A and Class B. Class A volumetric flasks offer the highest accuracy and are used for precise analytical work. Class B flasks are less accurate but are suitable for general laboratory purposes where ultra-high precision isn’t required. They also come in various capacities, like 10 mL, 25 mL, 50 mL, 100 mL, 250 mL, 500 mL, and 1000 mL.







