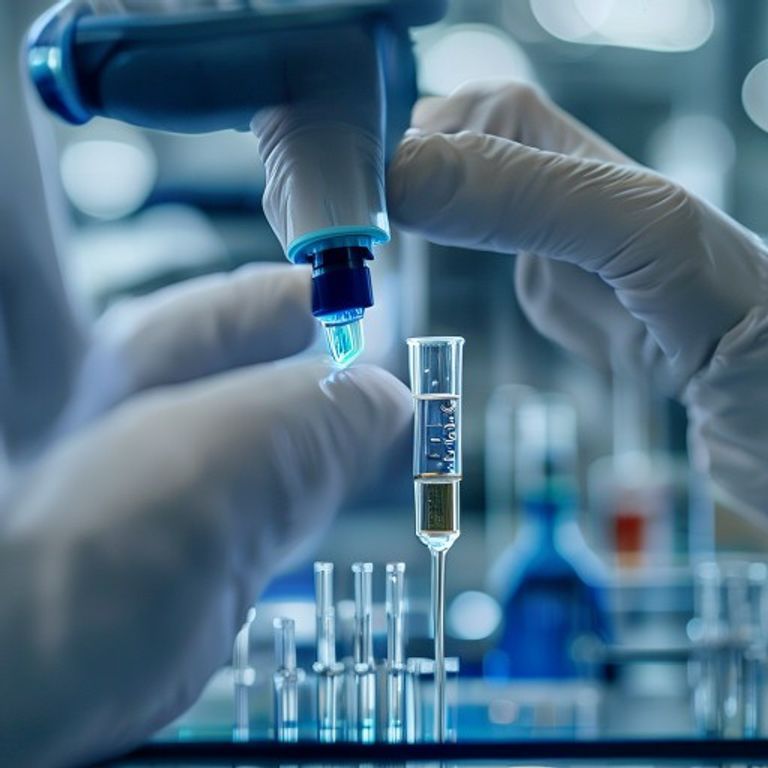
The Secret to Precision: Unveiling How Pipettes Work in Your Lab

Have you ever watched a scientist in a lab accurately transfer a tiny, precise amount of liquid from one container to another? It looks almost magical, doesn’t it? The unsung hero behind this meticulous task is often a simple, yet incredibly clever, tool: the pipette. But have you ever stopped to wonder, how do pipettes work to achieve such astounding accuracy? Today, we’re going to pull back the curtain and explore the fascinating working principle of these essential laboratory instruments, making sense of everything from mastering test tube usage to the mechanics of unpacking the versatile uses of test tube racks.
The Core Principle: How Air Displacement Pipettes Operate
Most of the pipettes we use daily in the lab, especially the manual ones, operate on a principle called air displacement. Imagine a bicycle pump. When you push the handle down, air is forced out. When you pull it up, air is drawn in. A pipette works in a very similar way, just on a much smaller and more controlled scale.
Here’s the basic idea:
- Inside the pipette, there’s a piston that moves up and down.
- When you press the plunger button, this piston moves down, pushing out a specific volume of air from inside the pipette barrel.
- When you release the plunger, the piston moves back up, creating a vacuum (or negative pressure) inside.
- This negative pressure then draws liquid up into a disposable tip attached to the bottom of the pipette.
The beauty of this system lies in the precisely measured air cushion between the piston and the liquid sample. It ensures that the piston itself never touches the liquid, preventing contamination and making it incredibly accurate for a wide range of liquids.
Step-by-Step: How to Use a Pipette Like a Pro
Understanding the theory is one thing, but knowing how to use a pipette step by step is where the real magic happens. Let’s walk through it:
- Setting the Volume: First, twist the volume adjustment knob to select your desired volume. Always make sure you’re within the pipette’s specified range and never try to force it beyond its limits!
- Attaching the Tip: Firmly attach a clean, sterile pipette tip to the nozzle. Give it a gentle twist or push to ensure an airtight seal. A loose tip means inaccurate aspiration!
- Aspirating the Liquid (First Stop): Press the plunger down to the first stop. This is the point where you feel the initial resistance. While holding it here, immerse the tip slightly into the liquid (about 2-3 mm). Slowly release the plunger, allowing the liquid to be drawn up smoothly into the tip. Avoid pulling it up too fast, as this can create bubbles or splashes.
- Dispensing the Liquid (Second Stop): Move the pipette to your target container (maybe a test tube, microfuge tube, or well plate). Press the plunger down to the first stop again. Then, continue pressing down to the second stop. This extra push ensures that every last drop of liquid, even that tiny bit stuck to the tip’s inner wall, is expelled.
- Ejecting the Tip: While still holding the plunger down to the second stop, move the tip away from the dispensed liquid. Then, press the tip ejector button to discard the used tip into an appropriate waste container. Never reuse tips for different samples!
Manual vs. Automatic: What’s the Difference?
When we talk about how do manual pipettes work versus how do automatic pipettes work, we’re largely discussing the same air displacement principle, but with differences in user interface and features.
- Manual Pipettes: These are the most common type, where you manually press the plunger and adjust the volume by twisting a knob. They are robust, reliable, and come in fixed-volume or variable-volume models. They are perfect for everyday lab tasks where precision and ease of use are key.
- Automatic Pipettes (or Micropipettes): Often referred to as micropipettes, these are essentially advanced manual pipettes. While they still rely on human interaction for aspiration and dispensing, their internal mechanisms are designed for greater accuracy, especially for very small volumes (micro-liters). Many feature digital displays for volume, ergonomic designs to prevent strain, and multi-channel options for high-throughput work (like filling an entire 96-well plate at once!).
The Working Principle of Laboratory Pipettes: Beyond Air Displacement
While air displacement is dominant, it’s not the only type. Some specialized tasks require a different approach. For instance, viscous or volatile liquids, or those that create aerosols, are often handled by positive displacement pipettes. Instead of an air cushion, these pipettes have a piston that directly contacts the liquid inside the tip. This makes them incredibly accurate for challenging samples but means the tip is effectively part of the piston system and needs to be replaced more frequently.
Why Precision Matters: The Impact of Proper Pipetting
Understanding how does a micropipette dispense liquid with such accuracy isn’t just academic; it has real-world implications. In scientific research, medical diagnostics, and quality control, even a tiny error in liquid volume can invalidate an entire experiment, lead to incorrect diagnoses, or produce faulty products. Proper pipetting technique ensures:
- Reproducible Results: Experiments can be accurately repeated by others, confirming findings.
- Reliable Data: Your measurements are trustworthy and can be used to draw valid conclusions.
- Cost Efficiency: Less waste of expensive reagents due to incorrect measurements.
- Safety: Reduces the risk of spills and exposure to hazardous substances.
Conclusion: Your Newfound Pipetting Prowess
So, there you have it! From the simple push and release of a plunger to the intricate dance of air pressure and liquid, we’ve explored the core mechanics of how do pipettes work. Whether you’re a seasoned scientist or just starting your journey in the lab, mastering the art of pipetting is a fundamental skill that underpins so much of what we do. With this knowledge, you’re now equipped to approach your liquid handling tasks with greater confidence and, most importantly, impeccable precision. Happy pipetting!
FAQ: Your Pipetting Questions Answered
Q1: What is the “first stop” and “second stop” on a pipette?
The “first stop” is the point of initial resistance when you press the plunger, used for aspirating (drawing up) the set volume of liquid. The “second stop” is an additional push beyond the first stop, designed to expel any remaining liquid from the tip and ensure complete dispensing.
Q2: Why is proper tip attachment important?
Proper tip attachment creates an airtight seal between the pipette and the disposable tip. If the seal isn’t airtight, the air displacement mechanism won’t work correctly, leading to inaccurate liquid aspiration and dispensing. This means your measurements will be off!
Q3: How often should pipettes be calibrated?
Pipettes should be calibrated regularly to ensure their accuracy and precision. The frequency depends on factors like usage intensity, type of pipette, and laboratory guidelines, but generally, it’s recommended every 6 to 12 months, or more frequently if used for critical applications or if there’s any suspicion of malfunction.