


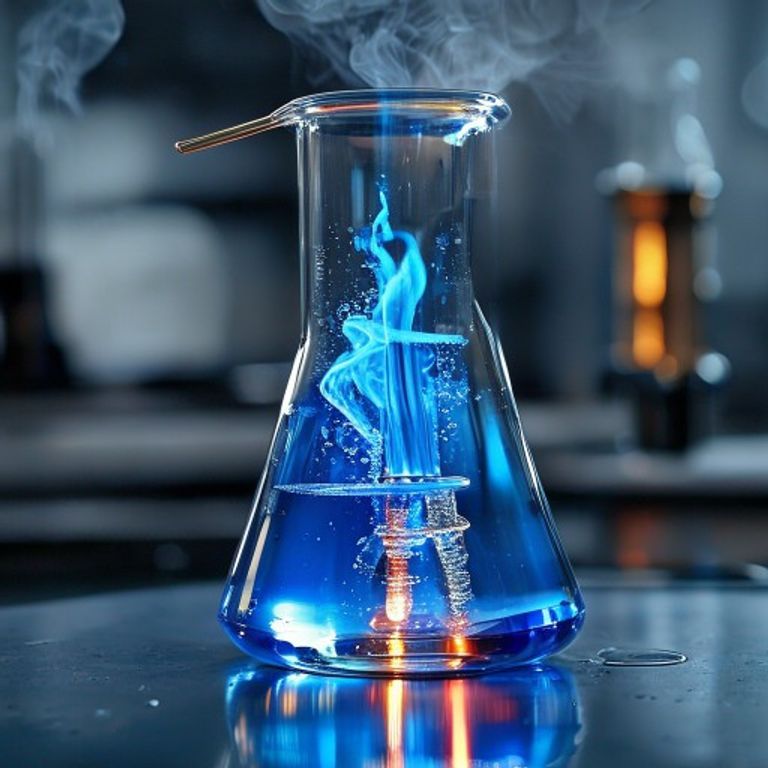
Unlocking the Power of the Erlenmeyer Flask: Practical Uses in Every Chemistry Lab

Introduction
When I first stepped into a chemistry lab, the conical shape of the Erlenmeyer flask caught my eye. It’s not just a pretty piece of glassware – it’s a workhorse that makes many everyday lab tasks easier, safer, and more accurate. In this article I’ll walk you through the main uses of an Erlenmeyer flask, from basic mixing to precise titrations, and show you why this simple vessel deserves a permanent spot on your bench.
Primary Applications of the Erlenmeyer Flask in Experiments
1. Mixing and Swirling Solutions
The narrow neck of the flask creates a vortex when you swirl it, keeping the liquid inside while preventing splashes. Think of it like a mini‑tornado in a bottle – the liquid spins around the walls and mixes uniformly without spilling. This makes the Erlenmeyer flask ideal for:
- Preparing reaction mixtures that need thorough homogenization.
- Gentle agitation of sensitive solutions that could be disturbed by vigorous shaking.
2. Heating Liquids
Because the flask’s shape distributes heat evenly, it’s perfect for gentle heating on a hot plate or over a Bunsen burner. The sloped sides reduce the surface area exposed to direct flame, lowering the risk of localized overheating or bumping. Just remember to use a stir bar or swirl periodically to avoid hot spots.
3. Conducting Titrations
Titrations demand precise volume control and clear observation of color changes. The Erlenmeyer flask’s wide base provides stability, while the narrow neck allows you to add the titrant drop‑by‑drop without losing the solution. A typical titration workflow looks like this:
- Place the analyte solution in the flask.
- Add a few drops of indicator.
- Attach the burette and slowly add the titrant while swirling.
- Stop when the endpoint color persists for a few seconds.
If you need a quick refresher on other lab tools that complement titration, check out the essential pipette uses guide – pipettes are often the first step for delivering accurate aliquots before the titration even begins.
4. Storing Small Volumes
While not a primary storage vessel, the flask’s sealed neck (with a stopper) can temporarily hold solutions that need to be kept away from contaminants. It’s especially handy for short‑term reactions that you’ll monitor over a few minutes or hours.
Why the Erlenmeyer Flask Beats the Beaker for Swirling
Both the Erlenmeyer flask and the beaker are common, but the flask’s conical design creates a natural vortex. Imagine stirring a soup in a wide bowl versus a narrow pot – the pot forces the liquid to circulate more efficiently. This means you get:
- Less splashing, which protects both you and the bench.
- More uniform mixing, crucial for reactions that depend on concentration gradients.
- Better control when adding reagents dropwise.
Practical Tips for Using an Erlenmeyer Flask
- Choose the right size. A 250 mL flask is perfect for most routine work; larger volumes may require a round‑bottom flask.
- Use a magnetic stir bar. For continuous mixing during heating, a stir bar keeps the solution moving without manual effort.
- Never fill to the brim. Leave at least 10‑15% headspace to accommodate expansion and prevent overflow.
- Cool before handling. After heating, let the flask sit on a heat‑resistant pad before touching it.
Conclusion
From gentle swirling to precise titrations, the Erlenmeyer flask is a versatile, low‑cost tool that every chemist should master. Its smart design reduces splashes, distributes heat evenly, and provides a stable platform for a variety of experiments. Next time you reach for a beaker, consider whether the conical flask could do the job more efficiently – you’ll likely find that it does.
FAQ
Q: Can I use an Erlenmeyer flask for high‑temperature reactions?
A: Yes, but stay below the glass’s softening point (usually around 600 °C) and avoid direct flame contact with the neck.
Q: Is it safe to autoclave an Erlenmeyer flask?
A: Absolutely, as long as the flask is made of borosilicate glass and the temperature stays within the manufacturer’s limits.
Q: How does an Erlenmeyer flask differ from a round‑bottom flask?
A: The round‑bottom flask is better for reflux and uniform heating, while the Erlenmeyer’s flat base offers stability for mixing and titration.
Q: Can I use the flask for solid‑liquid extractions?
A: Yes, the narrow neck helps keep solids settled while you swirl the mixture, making it easier to decant the liquid afterward.
Q: What’s the best way to clean an Erlenmeyer flask?
A: Rinse with distilled water, then wash with a mild detergent. For stubborn residues, a soak in a dilute acid (e.g., 5% HCl) works well.







