The Unsung Hero: Understanding the Essential Laboratory Mortar and Pestle Function

Introduction: The Humble Powerhouse of the Lab
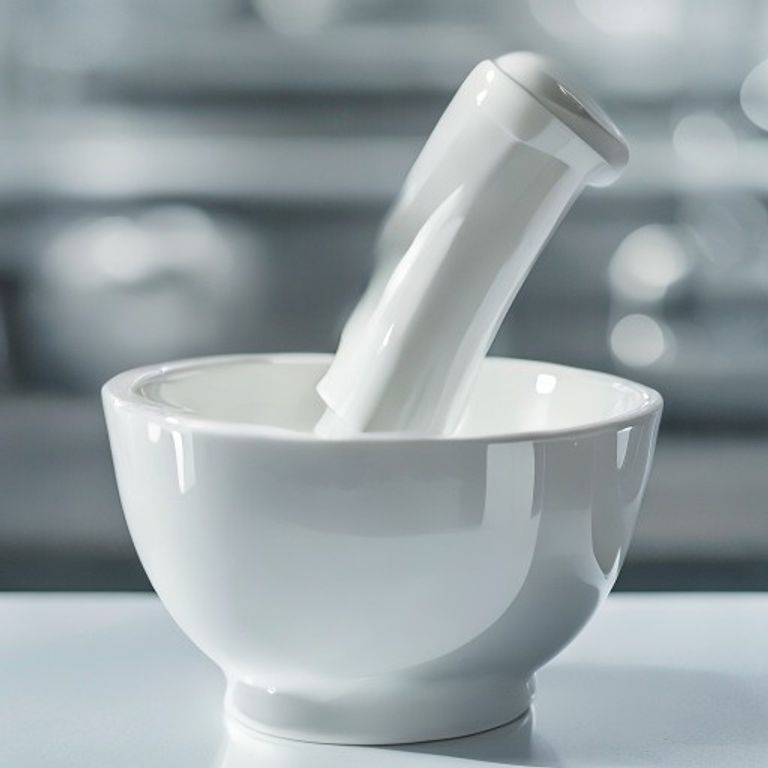
When we think of advanced laboratory equipment, often our minds jump to high-tech microscopes, centrifuges, or spectrometers. But sometimes, the most crucial tools are the simplest. Today, we’re going to shine a spotlight on one such unsung hero: the laboratory mortar and pestle. You might recognize it from cooking, but its role in scientific research is just as fundamental, if not more so. This seemingly basic duo performs a vital task that underpins countless experiments and discoveries. Let’s dive into the core laboratory mortar and pestle function and understand why it’s indispensable.
Beyond Grinding: Primary Uses of Mortar and Pestle in Chemistry Labs
At its heart, the mortar and pestle is a tool for mechanical grinding and crushing. But its applications in chemistry labs extend far beyond just breaking things down. Think of it as your first line of defense in sample preparation. Whether you’re working with plant tissues, minerals, pharmaceutical compounds, or even polymers, achieving a consistent, fine powder is often the critical first step.
- Pulverization: This is the most obvious function. We use the mortar and pestle to reduce solid samples into a fine powder. Why is this important? A smaller particle size increases the surface area, which can dramatically speed up reactions, improve dissolution rates, and enhance extraction efficiency.
- Trituration: Sometimes, we need to mix two or more solid substances thoroughly, or mix a solid with a small amount of liquid. Trituration, the process of grinding and mixing using a mortar and pestle, ensures a homogeneous mixture. This is incredibly important in pharmacy for compounding medications or in analytical chemistry for preparing standards.
- Homogenization: For biological samples, we often need to break open cells or tissues to extract intracellular components like DNA, RNA, or proteins. The gentle yet firm grinding action of the mortar and pestle can achieve this without excessively damaging delicate molecules.
- Emulsification: While less common than for solids, a mortar and pestle can also be used to create stable emulsions by finely dispersing one liquid into another, aided by vigorous trituration.
How to Grind Samples Using a Laboratory Mortar and Pestle: A Practical Guide
Grinding a sample isn’t just about mashing it vigorously; there’s a technique involved to ensure efficiency and prevent sample loss or contamination. Here’s a basic guide:
- Choose the Right Set: Mortars and pestles come in various materials (porcelain, agate, ceramic, glass). Porcelain is common for general use, while agate is preferred for very hard samples or when minimal contamination is crucial.
- Cleanliness is Key: Always ensure both the mortar and pestle are impeccably clean before use. Residues can contaminate your sample and skew your results.
- Small Portions: Don’t overload the mortar. Work with small portions of your sample at a time. This allows for more effective grinding and prevents spillage.
- Grinding Technique: Hold the pestle firmly. Apply downward pressure while rotating it in a circular motion against the inside surface of the mortar. Don’t just “pound” the sample; use a combination of crushing and shearing forces. Gradually increase the pressure and speed as the sample breaks down.
- Scraping Down: Periodically, use a spatula to scrape down any sample material clinging to the sides of the mortar or the pestle. This ensures all the material is subjected to grinding.
- Achieve Desired Fineness: Continue grinding until your sample reaches the desired particle size. This might be a coarse powder or an extremely fine, flour-like consistency.
Mastering this proper technique for mortar and pestle in laboratory settings will save you time and improve your sample quality significantly.
The Benefits of Using a Mortar and Pestle in Scientific Research
In an age of automated sample grinders and ball mills, why do we still rely on this ancient tool? The benefits are quite compelling:
- Cost-Effective: Compared to automated systems, a mortar and pestle is incredibly inexpensive and requires no power source.
- Versatility: It can handle a wide range of sample types and sizes, from delicate plant leaves to robust mineral fragments.
- Precise Control: We have direct control over the grinding force and duration, allowing for fine-tuning based on the sample’s properties and the desired outcome. This is especially useful for heat-sensitive samples, where automated grinders might generate too much heat.
- Minimal Sample Loss: With careful technique, sample loss can be minimized, which is crucial when working with rare or expensive materials.
- Easy to Clean: Most mortars and pestles are relatively easy to clean, reducing the risk of cross-contamination between samples.
Conclusion: A Timeless Tool for Modern Science
From essential beaker uses in every modern lab to the precision of a pipette, every piece of lab equipment has its place. The laboratory mortar and pestle, despite its simplicity, remains an indispensable tool in virtually every scientific discipline. Its ability to efficiently prepare samples by pulverizing, triturating, and homogenizing makes it a foundational instrument for research and analysis. Understanding its function and mastering the proper technique ensures that we can extract the most accurate and reliable data from our samples, paving the way for new discoveries. So, next time you see a mortar and pestle in the lab, remember it’s not just a rock and a bowl – it’s a gateway to scientific advancement!
Frequently Asked Questions (FAQ)
Q1: What materials are laboratory mortars and pestles typically made from?
A1: They are commonly made from porcelain, agate, ceramic, or glass. Porcelain is good for general use, agate for very hard samples or contamination-sensitive work, and glass for clear visibility or specific chemical resistances.
Q2: Can I use a kitchen mortar and pestle for lab work?
A2: It’s generally not recommended. Laboratory mortars and pestles are made with specific materials and finishes to prevent contamination, withstand various chemicals, and provide optimal grinding surfaces. Kitchen versions might leach substances, be difficult to sterilize, or lack the necessary hardness.
Q3: How do I clean a laboratory mortar and pestle?
A3: For most samples, washing with detergent and water, followed by a thorough rinse with distilled or deionized water, is sufficient. For stubborn residues or highly sensitive work, specific solvents might be used, followed by rinsing and often drying in an oven or air-drying in a dust-free environment.
Q4: What’s the difference between pulverization and trituration?
A4: Pulverization specifically refers to the process of reducing a solid substance into a fine powder. Trituration, while often involving pulverization, also encompasses the thorough mixing of two or more substances (solids or a solid with a small amount of liquid) to achieve a homogeneous blend.
Q5: Are there alternatives to using a mortar and pestle for sample grinding?
A5: Yes, depending on the sample and desired outcome, alternatives include ball mills, cryogenic grinders, tissue homogenizers, blenders, and automated grinding machines. However, the mortar and pestle often remains the go-to for its control, simplicity, and versatility.