


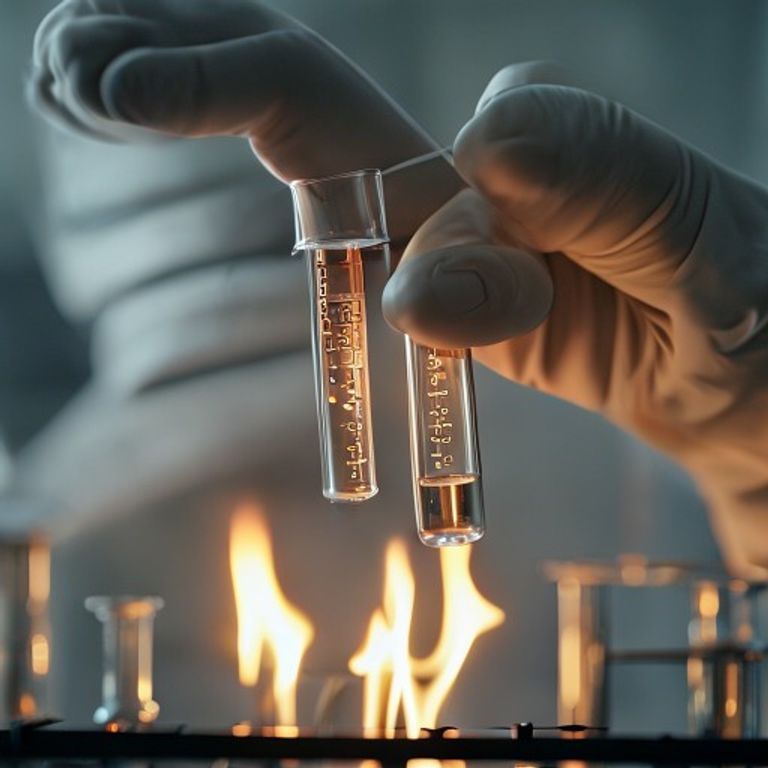
The Unsung Grip: Unveiling the Critical Test Tube Holder Function in Every Lab

In the bustling world of laboratory safety, where precision and caution are paramount, it’s easy to overlook the simple yet indispensable tools that keep experiments running smoothly and safely. Today, we’re shining a spotlight on one such unsung hero: the test tube holder. Have you ever wondered what is the purpose of a test tube holder? Or perhaps why do we use a test tube holder when our bare hands seem capable? Let’s dive in and uncover the vital test tube holder function that makes it an essential part of any scientific endeavor.
Think of it this way: just as a chef needs an oven mitt to handle hot pans, a scientist needs a test tube holder to manage the often-volatile contents of a test tube. It’s more than just a fancy pair of tongs; it’s a fundamental piece of laboratory equipment designed for safety, control, and precision in an environment where even a small mistake can have big consequences.
The Core Purpose: Why Every Lab Needs a Test Tube Holder
At its heart, the primary test tube holder function boils down to one word: safety. When we’re working with chemicals, heat, or substances that shouldn’t come into direct contact with our skin, a test tube holder becomes our protective extension. Let’s break down its key roles:
1. Guarding Against Heat: A Scientist’s Best Friend for Heating
Imagine needing to heat a liquid in a test tube over a Bunsen burner. Without a holder, you’d risk severe burns. This is where the importance of test tube holder for heating truly shines. It allows us to:
- Maintain a safe distance from the flame and hot glass.
- Control the angle and movement of the test tube, ensuring even heating and preventing “bumping” (sudden, violent boiling).
- Protect our hands from incidental splashes if a chemical reaction becomes too vigorous.
2. Preventing Contamination: Keeping Experiments Pure
Our hands, even freshly washed, carry oils, dust, and microorganisms. When we’re conducting sensitive chemical reactions, introducing these contaminants can skew results or even ruin an experiment entirely. By using a test tube holder, we minimize direct contact with the test tube’s surface, preserving the integrity of our samples and ensuring accurate observations. It’s like ensuring your delicate ingredients don’t pick up unwanted flavors in a precise recipe.
3. Enhancing Control and Precision: A Steady Hand
Beyond just safety, a test tube holder also gives us better control over our glassware handling. Whether we’re pouring liquids, mixing solutions, or observing a subtle color change, a steady grip is crucial. The holder provides a firm, ergonomic way to manipulate test tubes, reducing the risk of accidental drops, spills, or inaccurate measurements. This is especially vital when adding reagents drop by drop or swirling to encourage a chemical reaction.
Mastering the Grip: How to Use a Test Tube Holder in a Lab
Knowing how to use a test tube holder in a lab correctly is just as important as knowing its purpose. Here’s a quick guide to safely holding test tubes with holder:
- Choose the Right Spot: Position the holder near the top of the test tube, but below the rim. Avoid gripping too high (it might slip) or too low (your hand will still be too close to heat or chemicals).
- Apply Gentle but Firm Pressure: The holder’s jaws should grip the test tube securely enough so it doesn’t slip, but not so tightly that you risk cracking the glass, especially if it’s already hot or has internal stress.
- Maintain Control: Always keep the test tube angled slightly away from yourself and others, especially when heating. This directs any potential splashes or fumes away from faces.
- Use Smooth Movements: Avoid jerky motions. When transferring or mixing, move the test tube smoothly and deliberately.
Beyond the Basics: Essential Tips for Safe Handling
While the test tube holder is straightforward, a few extra tips can enhance your laboratory safety:
- Inspect Before Use: Always check your test tube holder for any damage, such as loose rivets or warped jaws, before you begin. A faulty holder is a safety hazard.
- Never Leave Unattended: Do not leave a test tube clamped in a holder over a flame or with reactive chemicals unattended.
- Cleanliness is Key: Ensure the holder is clean before and after use to prevent cross-contamination between experiments.
Conclusion
So, there you have it! The humble test tube holder, often just another piece of equipment in the drawer, plays a truly indispensable role in the laboratory. From protecting us from burns during heating to ensuring the purity of our chemical reactions, its function is multifaceted and critical. Understanding what is the purpose of a test tube holder and how to use a test tube holder in a lab correctly empowers us to conduct experiments safely, precisely, and with confidence. Never underestimate the power of the unsung grip – it truly is a cornerstone of responsible science.
FAQ
Q: What is the primary function of a test tube holder?
A: The primary function is to safely hold and manipulate test tubes, especially when they are hot, contain hazardous chemicals, or need to be kept free from contamination.
Q: Can I use my bare hands to hold a test tube if it’s not hot?
A: While technically possible, it’s generally not recommended in a laboratory setting. Using a test tube holder minimizes the risk of dropping the test tube, reduces the chance of contamination from your hands, and maintains good laboratory safety practices.
Q: How do I choose the right size of test tube holder?
A: Most standard test tube holders are adjustable and can accommodate a range of common test tube sizes. The key is to ensure the jaws can grip the test tube securely without needing excessive force.
Q: Where should I grip the test tube with the holder?
A: You should grip the test tube near the top, typically about one-third of the way down from the opening. This provides a secure hold while keeping your hand a safe distance from the contents or heat source.







