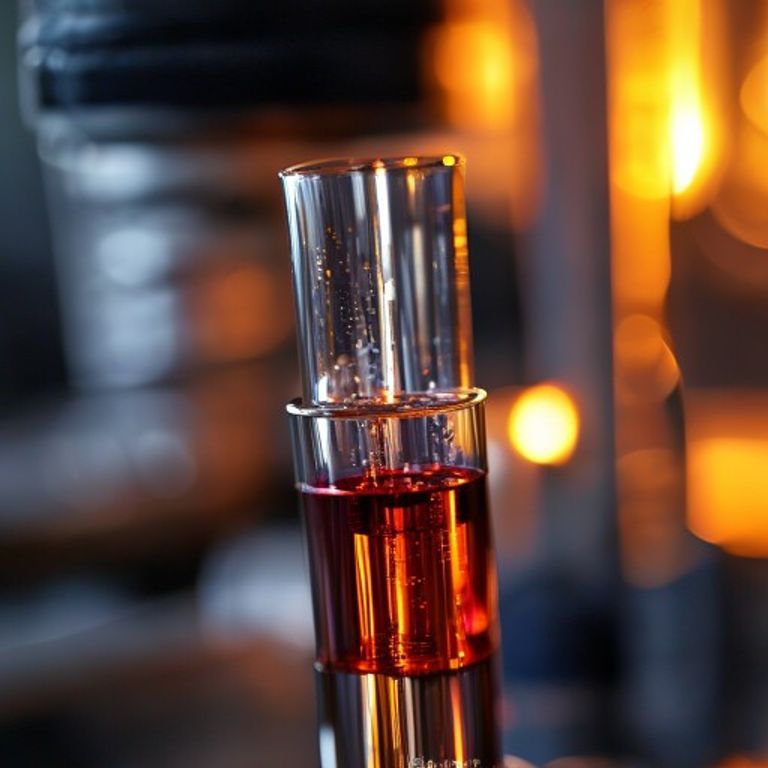
The Test Tube Holder: Your Essential Tool for Safe and Precise Lab Work

In the bustling world of chemistry labs, where precision and safety are paramount, sometimes the simplest tools are the most critical. You might glance over it, perhaps thinking it’s just a pair of fancy tongs, but trust me, the test tube holder is an unsung hero. It’s not just a piece of metal or wood; it’s our reliable partner in handling delicate experiments, especially when things get hot!
When we’re dealing with reactive chemicals or heating substances with a laboratory test tube, a momentary lapse in judgment or an accidental slip can lead to serious consequences. This is precisely what a test tube holder is used for—to prevent those accidents and keep us safe. Let’s dive deeper into why this unassuming tool is an indispensable part of our lab kit and how to use it like a pro.
What Exactly is a Test Tube Holder?
Imagine a sturdy clothespin, but instead of holding laundry, it’s designed to securely grip a test tube. That’s essentially the core concept of a test tube holder. Most commonly, you’ll find them made from spring steel or wood, sometimes with a rubber or cork lining on the jaws to provide an even better, non-slip grip without damaging the glass. They feature a handle for us to hold and a clamping mechanism at the other end to firmly grasp the laboratory test tube.
Why We Can’t Do Without It: The Core Functions
The purpose of a test tube holder in chemistry goes far beyond mere convenience. It’s fundamentally about safety and control. Here are the primary functions:
- Safe Heating: This is arguably its most crucial role. When we need to heat chemicals using a bunsen burner, the contents of the test tube, and the glass itself, can reach extreme temperatures. Trying to hold a hot test tube with bare hands is a recipe for burns and shattered glass. The holder allows us to keep a safe distance from the heat source and the hot material.
- Preventing Contamination: Our hands, no matter how clean, can introduce oils, dirt, or other contaminants into a precise experiment. Using a holder minimizes direct contact with the test tube, preserving the purity of our samples.
- Secure Handling: Test tubes can be slippery, especially if there’s any residue on them. A good holder provides a firm grip, reducing the risk of dropping and breaking the tube or spilling hazardous chemicals.
- Controlled Movement: Whether we’re moving a tube from a rack to a heating station, or carefully swirling its contents, the holder gives us better control and dexterity than if we were to handle it directly, ensuring accurate and steady movements.
So, the next time you ask yourself, “why use a test tube holder for heating?“, remember it’s all about keeping our hands safe and our experiments stable.
Mastering the Grip: How to Use a Test Tube Holder Safely
Using a test tube holder might seem intuitive, but there’s a technique to doing it correctly and safely. Here’s a quick guide:
- Choose the Right Size: Ensure the holder can comfortably grip your specific test tube. Too loose, and it’ll slip; too tight, and you might crack the glass.
- Positioning is Key: Grip the test tube about two-thirds of the way up from the bottom. This provides a balanced hold and prevents the tube from toppling forward or backward, especially when heated from below. Avoid gripping too close to the top (risks dropping) or too close to the bottom (risks holding the hot part).
- Gentle but Firm: Squeeze the holder just enough to secure the test tube. Don’t apply excessive pressure, as test tubes are made of glass and can break.
- Keep it Moving (When Heating): If you’re heating the test tube with a bunsen burner, gently move the test tube back and forth through the flame, angling it slightly. This ensures even heating and prevents superheating, which can cause the liquid to erupt violently. Always point the mouth of the test tube away from yourself and others.
- Resting the Tube: Never lay a hot test tube down directly on a lab bench. Always place it back into a test tube rack or a designated cooling area.
Following these steps ensures that you’re not just using the tool, but you’re using it effectively and, most importantly, safely.
Choosing Your Lab Partner: Types of Test Tube Holders
While the basic function remains the same, test tube holders come in a few variations:
- Spring Steel Holders: These are the most common, known for their durability and strong grip. They often have curved jaws.
- Wooden Holders: Lighter and less heat-conductive than metal, some prefer these for their feel, though they might not offer the same grip strength as spring steel.
- Clamp-Style Holders (for stands): Sometimes, you’ll see a holder attached to a retort stand. These offer a hands-free solution for prolonged heating or reactions, providing maximum stability.
Beyond the Burner: Other Scenarios for Your Holder
While heating is its star role, the function of a test tube holder in the laboratory extends to other critical tasks. We use it for transferring tubes between racks, swirling contents for mixing (especially if the liquid is corrosive or odorous), or even holding tubes upright during a reaction that requires constant observation or addition of reagents. It’s truly a versatile piece of chemistry lab equipment that champions safety.
FAQ: Your Test Tube Holder Questions Answered
Q: What is a test tube holder used for?
A: A test tube holder is primarily used to securely grip and handle test tubes, especially when heating chemicals with a bunsen burner, transferring them, or mixing their contents, thereby ensuring safety and preventing direct contact with potentially hot or hazardous substances.
Q: What is the purpose of a test tube holder in chemistry?
A: Its main purpose in chemistry is to provide a safe and controlled way to manipulate test tubes, particularly during heating processes, to protect the user from burns, chemical exposure, and to prevent accidental breakage or spills of chemicals.
Q: How do you hold a test tube when heating?
A: When heating, grip the test tube with the holder about two-thirds of the way from the bottom. Hold it at an angle, gently moving it back and forth through the flame to ensure even heating. Always point the open end of the test tube away from yourself and others.
Q: Why is it important to use a test tube holder when heating chemicals?
A: It’s crucial for laboratory safety. Heating chemicals can make the glass test tube extremely hot, causing severe burns if touched directly. The holder allows you to maintain a safe distance and control the tube’s movement, preventing accidents like spills or shattering from uneven heating.
Kesimpulan
So, there you have it. The humble test tube holder might not be the flashiest piece of chemistry lab equipment, but its importance cannot be overstated. From protecting our hands during intense heating sessions to ensuring the accuracy of our experiments by preventing contamination, it’s a non-negotiable item for any responsible scientist. Always remember to use it correctly and prioritize laboratory safety. A little grip goes a long way in the lab!