


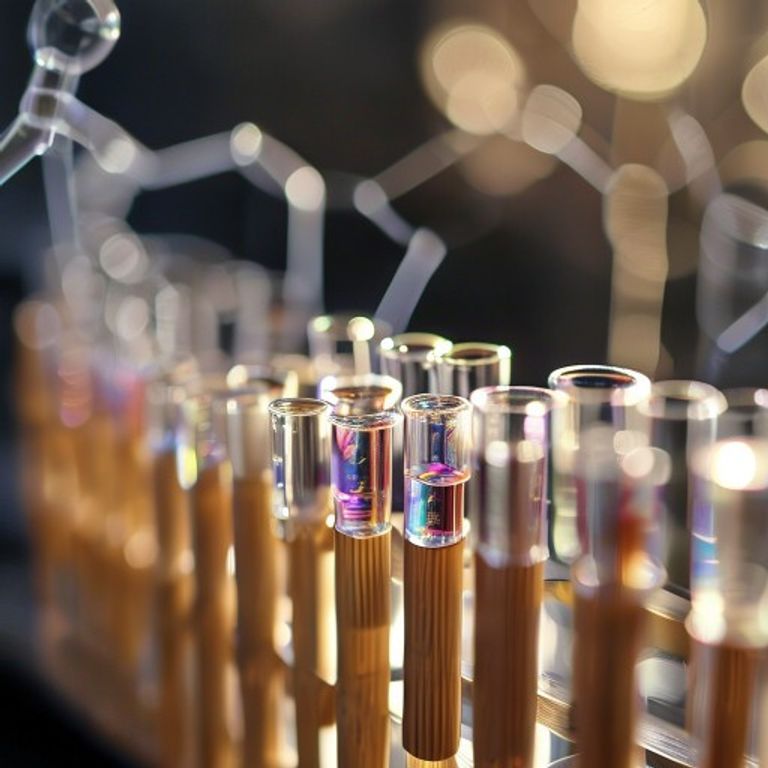
Master the Lab: Your Ultimate Guide to Test Tubes, from Basics to Best Practices

Ah, the humble test tube! It’s one of those iconic pieces of laboratory equipment that instantly brings to mind images of bubbling potions and groundbreaking discoveries. From high school chemistry classes to advanced research labs, this simple, slender piece of glassware is an absolute workhorse. Today, we’re going to dive deep into the world of the test tube, exploring everything from its fundamental uses to how we can safely handle it like a pro. Think of it as your essential guide to understanding this unsung hero of the scientific world.
What is a Test Tube Used For? The Core of Chemical Reactions
So, what is a test tube used for, really? Its primary purpose is incredibly versatile: holding, mixing, and heating small quantities of liquids or solids. Imagine you’re a chef in a tiny, precise kitchen. A test tube is your miniature mixing bowl or saucepan, perfect for preparing small samples without wasting precious ingredients. This makes it ideal for observing chemical reactions, performing qualitative analyses, or conducting small-scale experiments where only a few milliliters of a substance are needed.
- Mixing Solutions: Its narrow shape allows for easy mixing by gentle swirling or inversion (with a stopper, of course!).
- Heating Samples: Many experiments require heating small volumes, and test tubes are designed to withstand direct heat when made from appropriate materials.
- Observing Reactions: The clear walls provide an excellent view of color changes, precipitation, or gas evolution.
- Culturing Microorganisms: Specific types of test tubes are used in microbiology for growing bacterial or cell cultures.
Definition of a Test Tube in Science: More Than Just a Tube
Let’s get a bit more formal. The definition of a test tube in science describes it as a common piece of laboratory glassware consisting of a finger-like length of glass or plastic tubing, open at the top and closed (usually rounded) at the bottom. They typically range from 10 to 20 mm in diameter and 50 to 200 mm in length, holding anywhere from a few milliliters to tens of milliliters of liquid. It’s designed for simple tasks, making it a staple in any scientific setting, from school labs to advanced research facilities.
What Material is a Test Tube Made Of? Glass vs. Plastic
When we talk about what material is a test tube made of, we’re primarily looking at two main options: glass and plastic.
Glass Test Tubes
Most classic test tubes are made from borosilicate glass, like Pyrex or Kimax. Why borosilicate? Because it’s incredibly resistant to thermal shock, meaning it won’t crack when heated rapidly or exposed to sudden temperature changes. It also has excellent chemical resistance, which is crucial when handling a variety of reactive substances. Glass test tubes are reusable and can be sterilized, making them a sustainable choice for many experiments.
Plastic Test Tubes
Plastic test tubes, usually made from polypropylene or polystyrene, are a fantastic alternative for specific applications. They are lighter, virtually unbreakable, and often disposable, which is great for reducing contamination risks or when working with biohazardous materials. However, they generally can’t withstand high temperatures or strong solvents as well as glass, so it’s important to choose the right material for your experiment.
Different Types of Test Tubes Explained
While the basic design remains consistent, there are a few different types of test tubes explained by their specific uses:
- Standard Test Tubes: These are your everyday, run-of-the-mill tubes, perfect for general mixing and reactions.
- Boiling Tubes: Larger and thicker-walled than standard test tubes, these are specifically designed to withstand vigorous boiling of liquids. They have a wider opening to allow gases to escape easily, preventing pressure build-up.
- Culture Tubes: Often slightly smaller and sometimes with a screw cap, these are used in microbiology for culturing microorganisms. The caps help maintain sterility and prevent evaporation.
How to Safely Use a Test Tube: Our Top Tips
Safety first! Knowing how to safely use a test tube is paramount to a successful (and injury-free) experiment. We always want to protect ourselves and those around us.
- Wear PPE: Always don your safety goggles! Splashes can happen, and your eyes are precious. Gloves are also a good idea when handling chemicals.
- Use a Test Tube Holder: When heating, never hold a test tube directly with your hand. Use a test tube holder or clamp it to a stand.
- Heat Gently and Evenly: If you’re heating a liquid, angle the test tube away from yourself and others. Gently move it through the flame to ensure even heating and prevent “bumping” (sudden boiling and splashing).
- Never Point Towards Anyone: This is crucial! Hot liquids or reacting chemicals can eject forcefully.
- Don’t Overfill: Leave space at the top for expansion during heating or mixing.
- Clean Thoroughly: After use, clean glass test tubes thoroughly to prevent contamination in future experiments. Plastic tubes are often disposable.
Conclusion
From simple mixing to complex chemical reactions, the test tube remains an indispensable tool in science. Its straightforward design belies its incredible utility and versatility, enabling countless experiments and discoveries. By understanding its materials, types, and most importantly, how to use it safely, we can all contribute to a more efficient and secure laboratory environment. So next time you see a test tube, give a little nod to this quiet hero of scientific progress!
FAQ
Q: Can I put a test tube directly on a hot plate?
A: Generally, no. Test tubes are designed for direct flame heating (if made of borosilicate glass) or in a water bath, but their rounded bottom doesn’t allow for efficient heat transfer on a flat hot plate. Use a beaker or flask with a flat bottom for hot plate heating, or a specialized test tube block heater.
Q: How do I clean a used test tube?
A: For glass test tubes, start by rinsing out any residue. Use a test tube brush with soap and water to scrub the inside thoroughly. Rinse multiple times with distilled water. If stubborn residues remain, appropriate cleaning solutions (e.g., dilute acid or base) may be needed, followed by thorough rinsing. Air dry them upside down in a test tube rack.
Q: Are test tubes and beakers interchangeable?
A: Not really. While both are used for holding liquids, test tubes are for smaller volumes, designed for reactions, and often for heating or observing specific changes. Beakers are typically wider, have spouts for pouring, and are used for larger volumes, general mixing, and less precise measurements.







