


Le guide ultime pour les utilisations de béchers : des laboratoires scolaires à la chimie avancée

Présentation
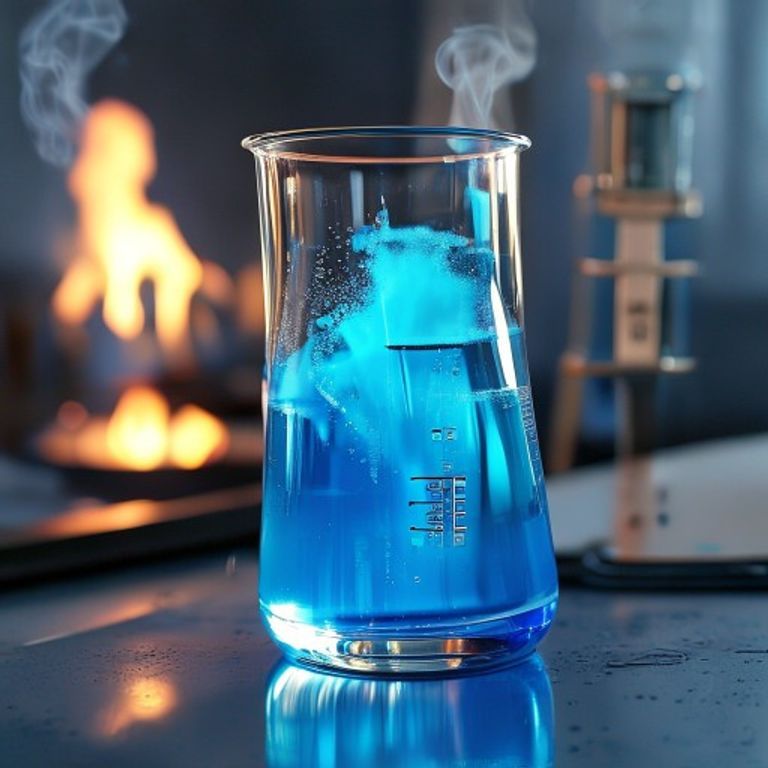
Quand je suis entré dans un laboratoire de chimie, le premier morceau de verre qui a attiré mon attention était l'humble bécher. Ça pourrait être simple.—juste un récipient cylindrique avec un bec—Mais sa polyvalence en fait un cheval de bataille dans n'importe quel laboratoire. Dans ce guide, je vais vous guider dans les utilisations les plus courantes de bécher, pourquoi ils sont préférés pour mélanger des liquides, et comment ils s'intègrent dans l'écosystème plus large de la verrerie de laboratoire.
Pourquoi Béakers Sont le choix aller-à-pour le mélange des liquides
Mélanger des liquides est une étape fondamentale dans presque chaque expérience. Les béchers excellent à cette tâche pour plusieurs raisons pratiques:
- Ouverture large: Facile à ajouter des réactifs, remuer avec une tige de verre ou insérer un thermomètre.
- Fond plat: Fournit la stabilité sur les plaques chaudes et les bancs de travail.
- Marques graduées: Bien que pas aussi précis qu'un cylindre gradué, ils donnent un signal visuel rapide du volume.
- Résistance à la chaleur: La plupart des béchers sont faits de verre borosilicaté, permettant le chauffage direct sur un brûleur Bunsen.
En raison de ces caractéristiques, les béchers sont souvent le premier récipient que vous atteindrez lorsque vous devez combiner, chauffer ou observer une réaction.
Utilisation courante des béchers en chimie
1. Chauffage et ébullition simples
Les béchers peuvent être placés directement sur une plaque chaude ou sur une flamme. Leurs parois épaisses distribuent la chaleur uniformément, réduisant ainsi le risque de points chauds qui pourraient provoquer des réactions inégales. Si vous avez besoin d'une source de chaleur constante, envisagez d'associer votre bécher à un brûleur Bunsen. Pour plus de détails sur le chauffage sûr, consultez le guide Utilisations essentielles du brûleur Bunsen.
2. Mesures préliminaires
Alors qu'un cylindre gradué offre une plus grande précision, les béchers sont pratiques pour des contrôles de volume rapides et approximatifs. Les lignes de graduation faibles vous aident à estimer la quantité de liquide avec lequel vous travaillez sans avoir besoin d'une pièce de verre séparée.
3. Réactions de mélange et de stirring
En raison de leurs larges bouches, vous pouvez facilement insérer une barre de brassage magnétique ou une tige de brassage de verre. Cela rend les béchers parfaits pour les réactions nécessitant une agitation constante, comme la dissolution des sels ou la préparation de solutions de titration.
4. Détention d ' échantillons pour observation
Les béchers sont fréquemment utilisés comme conteneurs temporaires lorsque vous devez observer des changements de couleur, la formation précipitée ou l'évolution du gaz. Leurs murs clairs vous laissent regarder la réaction en temps réel.
5. Transfert entre conteneurs
Lors du déplacement des liquides d'une fiole vers un bécher (ou vice-versa), le bec aide à contrôler l'écoulement et réduit le déversement. Ceci est particulièrement utile dans les laboratoires scolaires où les élèves maîtrisent encore les techniques de pipetage.
Utilisation de béchers dans les expériences de sciences scolaires
Dans une classe, les béchers servent de plate-forme d'introduction aux scientifiques en herbe. Voici quelques activités scolaires typiques où les béchers brillent:
- Préparation de solutions d'eau salée pour les essais de conductivité.
- Mélanger du vinaigre et du bicarbonate de soude pour démontrer la production de gaz.
- Observer l'effet de la température sur les vitesses de réaction en chauffant un bécher d'eau.
- Créer des indicateurs simples en dissolvant l'extrait de chou rouge.
Parce qu'ils sont peu coûteux et durables, les béchers peuvent résister à l'erreur occasionnelle qui est inévitable dans un environnement d'apprentissage.
Utilisations spécialisées : lorsque les béchers s'associent à d'autres articles en verre
Même si les béchers sont polyvalents, ils travaillent souvent en tandem avec d'autres outils :
- Flasques Erlenmeyer: Transférer un mélange de réaction d'un bécher dans une fiole Erlenmeyer pour le stockage ou la transformation ultérieure.
- Pipettes: Utilisez une pipette pour ajouter des gouttes précises d'un réactif dans un bécher. Pour une plongée plus profonde dans la précision de la manipulation des liquides, lisez pipettes.
- Spatules de laboratoire: Faire fondre les réactifs solides dans un bécher sans contaminer l'échantillon. En savoir plus sur la sélection du bon outil dans le guide des spatules de laboratoire.
- Measuring cylinders: For higher accuracy after an initial rough measurement in a beaker, pour the liquid into a measuring cylinder.
Conseils pour maximiser l'efficacité des béchers
Here are some practical pointers I’ve gathered over the years:
- Label your beakers: Use waterproof markers or lab tape to avoid mix‑ups.
- Avoid thermal shock: Gradually heat the beaker; never pour cold liquid into a hot beaker.
- Use a beaker mat: Protect the benchtop and provide a non‑slip surface.
- Choisissez la bonne taille: A 250 mL beaker is perfect for small reactions, while a 1 L beaker handles larger volumes.
Conclusion
Beakers might not have the flashiness of a fancy flask, but their simplicity is their strength. From high‑school experiments to advanced research, they provide a reliable platform for heating, mixing, and observing chemical reactions. By understanding the various beaker uses and pairing them wisely with other lab tools, you’ll streamline your workflow and reduce the chance of errors.
FAQ
Q: Can I use a beaker for precise volume measurement?
A: Beakers are best for approximate volumes. For precise work, switch to a graduated cylinder or a volumetric flask.
Q: Are all beakers heat‑resistant?
A: Most laboratory beakers are made of borosilicate glass, which tolerates high temperatures. However, always check the manufacturer’s specifications.
Q: Comment nettoyer un bécher après une réaction?
A: Rinse with distilled water, then use a brush and mild detergent if residues remain. For stubborn stains, soak in a diluted acid solution (e.g., 10% HCl) and rinse thoroughly.
Q: What size beaker should I choose for a 500 mL solution?
A: Use a 1 L beaker to give yourself headroom and prevent overflow during stirring or heating.
Q: Can I use a beaker as a makeshift container for solid samples?
A: Yes, but ensure the beaker is clean and dry to avoid contamination.







