


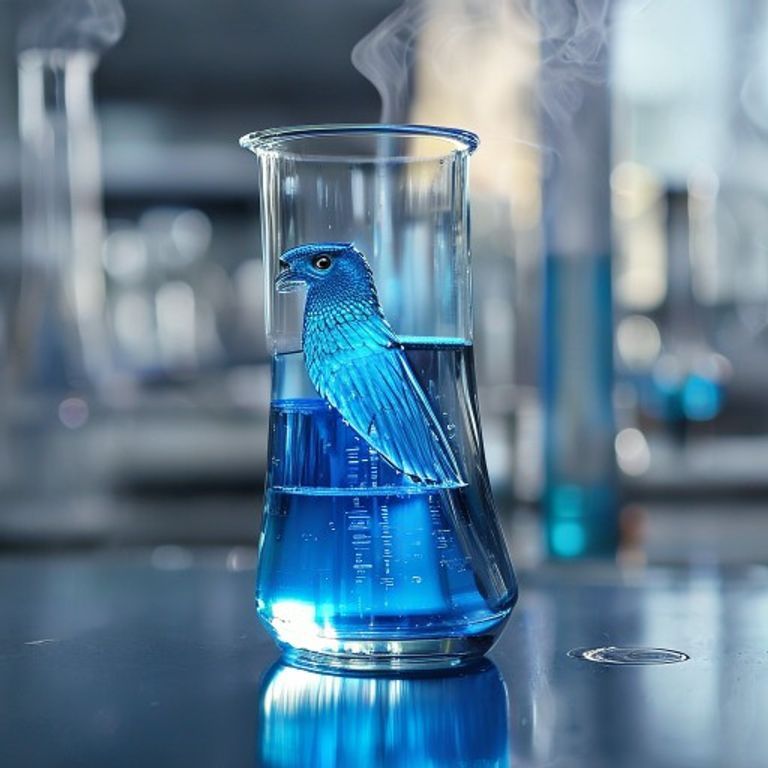
Beaker Science 101: Unraveling the Secrets of This Laboratory Workhorse

Introduction: The Unsung Hero of Every Lab
Walk into any science laboratory, whether it’s a high school chemistry class or a cutting-edge research facility, and you’re bound to see them everywhere: beakers. These seemingly simple pieces of laboratory equipment are so ubiquitous, we often take them for granted. But did you know there’s an entire world of “beaker science” waiting to be explored? We’re not just talking about a fancy cup; this humble piece of glassware is a true workhorse, playing a crucial role in countless scientific endeavors.
In this article, we’ll dive deep into the fascinating world of beakers. We’ll explore their common uses, different types, how to measure liquid volume (and why you shouldn’t rely too heavily on it!), a brief history, and, most importantly, the safety precautions we should always observe. So, let’s get ready to unlock the secrets of this indispensable lab tool!
The Beaker: A True Multitasker in the Lab
Think of a beaker like the versatile mixing bowl in your kitchen – it’s good for almost everything, but not necessarily for super precise tasks. The common uses of beakers in science labs are incredibly varied, making them a staple for almost any experiment. We primarily use them for:
- Holding Liquids: From water to complex chemical solutions, beakers are perfect for simply holding substances. They come in various sizes, allowing us to manage different volumes with ease.
- Mixing and Stirring: Their wide mouth makes it easy to add ingredients and stir solutions, whether manually with a stirring rod or with a magnetic stirrer. When we perform chemical reactions, a beaker often serves as the reaction vessel.
- Heating Liquids: Most laboratory beakers are made from borosilicate glass (like Pyrex or Kimax), which is designed to withstand high temperatures. This means we can safely heat liquids over a Bunsen burner or on a hot plate.
- Transferring Liquids: Beakers are great for pouring liquids from one container to another, thanks to their spouts.
- Collecting Filtrates: After filtering a solution, a beaker is often used to collect the filtered liquid.
It’s clear that when it comes to general lab tasks, the beaker is our go-to friend. It’s simple, robust, and incredibly flexible.
Decoding Beaker Types and Their Applications
While a beaker might seem like just a beaker, there are actually a few types of beakers and their applications that we frequently encounter. The most common are:
- Griffin Beakers: These are the most common type, recognized by their flat bottom and a spout for pouring. They come in a wide range of sizes, from a few milliliters to several liters, and are primarily used for general mixing, heating, and holding.
- Berzelius Beakers: Taller and narrower than Griffin beakers, Berzelius beakers typically lack a spout. Their design is better suited for titration experiments or when we need to cover the beaker to minimize evaporation.
- Crystallizing Dishes: Although technically not always called a “beaker,” these are often wide, shallow glass dishes that sometimes fall under the broader category of beaker-like containers, used for growing crystals or evaporating solvents.
Most beakers are made of borosilicate glass, which offers excellent thermal resistance and chemical inertness. However, we also find plastic beakers (often polypropylene) for situations where breakage is a concern or where heat isn’t involved, like collecting waste or holding non-corrosive solutions.
Not Just for Holding: Understanding Beaker Measurements
One common misconception in beaker science is that the volume markings on the side are for precise measurements. While beakers do have graduated markings, they’re really only for approximate measurements, much like a measuring cup for cooking. The margin of error on a typical beaker can be as high as 5-10%, which is often too significant for accurate experiments.
For true accuracy in volume measurement, especially in precise experiments, we often turn to more specialized tools. If you’re looking to achieve laboratory precision with graduated cylinders, we have an essential guide that dives deep into their proper use. Understanding how to measure liquid volume with a beaker primarily involves knowing its limitations. We use the markings as a rough guide, for instance, when we need “about 100 mL” of a solution, rather than exactly 100.00 mL.
A Glimpse into the Past: The Evolution of Beakers
The history and evolution of laboratory beakers is, in a way, the history of chemistry itself. Early chemists and alchemists certainly used vessels for mixing and heating, though they might not have looked exactly like the beakers we know today. The modern beaker design, particularly the Griffin beaker with its spout, became prevalent in the 19th century as scientific methodology became more standardized. The development of borosilicate glass in the early 20th century further revolutionized laboratory glassware, making beakers more robust and versatile for heating and chemical resistance.
Safety First: Handling Beakers with Care
Even though beakers are common, we must never forget safety precautions when using beakers in experiments. Here are a few essential tips:
- Handle with Care: Glassware can break. Always inspect beakers for cracks or chips before use. If a glass beaker breaks, clean it up immediately and dispose of it in a designated broken glass container.
- Heating Safely: When heating a beaker over a flame, always use a wire gauze with a ceramic center to distribute heat evenly. Never heat a dry beaker directly. Use beaker tongs or heat-resistant gloves when handling hot beakers.
- Chemical Compatibility: Ensure the beaker material is compatible with the chemicals you are using. While borosilicate glass is highly resistant, some strong bases or acids can etch it over time.
- Avoid Overfilling: Don’t fill a beaker to the very brim, especially if you plan to mix or heat its contents. This prevents spills and splashes. A good rule of thumb is to fill it to about 75-80% capacity.
- Proper Storage: Store beakers securely to prevent them from falling and breaking.
By following these simple rules, we ensure a safe and productive laboratory environment for everyone.
Conclusion: The Enduring Legacy of the Beaker
From simple holding tasks to complex chemical reactions, the humble beaker truly is an indispensable part of beaker science and laboratory work. We’ve seen how its versatility, coupled with its robust design, makes it an enduring favorite among scientists and students alike. While it might not be the most precise measuring tool, its strengths in mixing, heating, and general containment are unmatched. So, the next time you spot a beaker in the lab, take a moment to appreciate this unsung hero – it’s doing more work than you might think!
FAQ: Your Beaker Science Questions Answered
Q: What is the primary purpose of a beaker in a lab?
A: Beakers are primarily used for holding, mixing, and heating liquids. They are excellent for general laboratory procedures where approximate volume measurements are sufficient.
Q: Are beakers accurate for measuring liquid volume?
A: No, beakers are generally not considered accurate for precise volume measurements. Their markings are approximate, and for accuracy, we should use tools like graduated cylinders or volumetric flasks.
Q: Can I heat a plastic beaker?
A: It depends on the type of plastic. Most common plastic beakers (e.g., made of polypropylene) can withstand moderate heat, but they are not suitable for direct flame heating or high temperatures. Always check the manufacturer’s specifications.
Q: What’s the difference between a beaker and an Erlenmeyer flask?
A: A beaker has straight sides and a wide mouth, making it easy for pouring and mixing. An Erlenmeyer flask has a conical body and a narrow neck, which is ideal for swirling liquids without spilling, and for reducing evaporation, especially during titrations.
Q: How do I clean a beaker after an experiment?
A: Most beakers can be cleaned with soap and water using a test tube brush. For stubborn residues, specific laboratory detergents or solvents might be required. Always rinse thoroughly with distilled water.







