


Beyond the Beaker: Unveiling the Precise World of Volumetric Flask Uses in Your Lab

In the fascinating world of chemistry, accuracy isn’t just a bonus; it’s the bedrock of reliable results. We often talk about precise measurements, but what tools truly help us achieve that?
If you’ve spent any time in a lab, you’ve probably encountered a variety of glassware. But among them, one stands out for its unwavering commitment to exactness: the volumetric flask. Today, we’re going to dive deep into the essential volumetric flask uses, exploring why this seemingly simple piece of equipment is an absolute superstar when it comes to precision.
The Star of Precision: What Exactly is a Volumetric Flask?
Imagine you’re baking a cake, and the recipe calls for exactly 250ml of milk, not a drop more or less, to get that perfect consistency. In the lab, especially in analytical chemistry equipment, our “recipes” demand even greater exactness. This is where the volumetric flask shines.
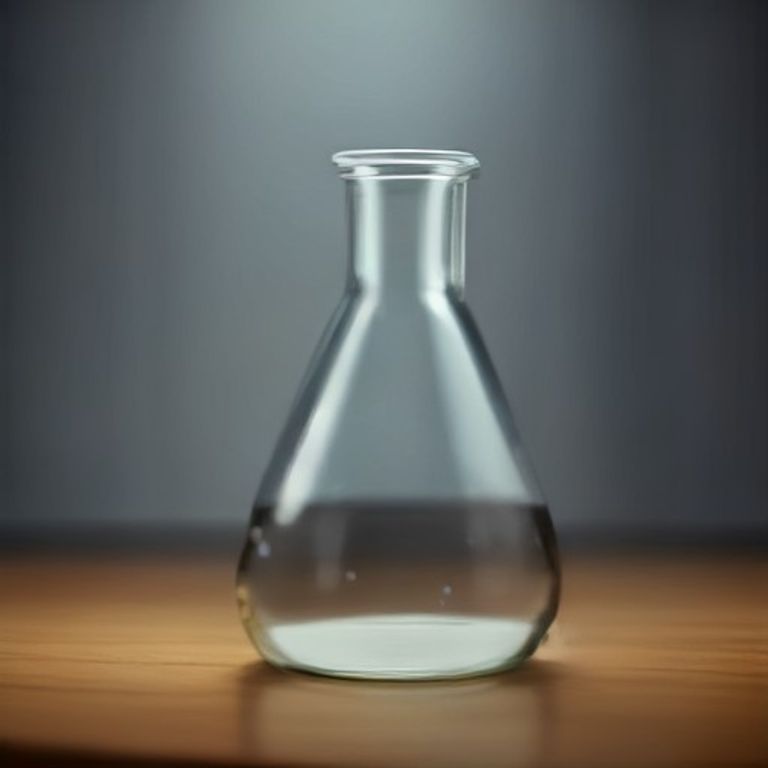
Unlike a beaker or an Erlenmeyer flask, which are great for mixing or holding liquids, a volumetric flask has a very specific design. It features a flat bottom, a round body, and a long, narrow neck with a single calibration mark etched around the neck. This mark signifies a precise volume at a specific temperature, usually 20°C.
So, why are volumetric flasks highly accurate? It’s all about that single calibration mark and the narrow neck. A small change in the height of the liquid in the narrow neck corresponds to a very small change in volume, making it incredibly sensitive to achieving the exact intended volume. It’s like using a super-fine measuring spoon instead of a regular tablespoon when every milligram counts.
Primary Mission: Standard Solution Preparation
One of the most frequent and critical volumetric flask uses is in the standard solution preparation. A standard solution is one with a precisely known concentration, and it’s absolutely vital for many chemical analyses, like titrations or spectrophotometry.
Here’s how we typically prepare one:
- We accurately weigh a specific amount of solute (the substance we want to dissolve).
- We carefully transfer this solute into the volumetric flask, often using a funnel to avoid spills.
- We add a portion of the solvent (usually distilled water) to dissolve the solute, swirling gently.
- Once dissolved, we then add more solvent, slowly, until the bottom of the meniscus (the curved surface of the liquid) perfectly aligns with the calibration mark on the neck of the flask. This ensures a truly precise volume measurement.
- Finally, we stopper the flask and invert it several times to ensure thorough mixing.
This meticulous process guarantees that the resulting solution has the exact concentration we need, which is fundamental for reliable experimental results.
The Art of Dilution: How to Use a Volumetric Flask for Dilutions
Beyond preparing standard solutions from scratch, another crucial task for these flasks is dilutions. If you have a concentrated stock solution and you need a less concentrated one, knowing how to use a volumetric flask for dilutions is key.
Let’s say we have a 1.0 M solution and we need to make 100 mL of a 0.1 M solution. This involves calculating the dilution factor. We would carefully pipette the required volume of the concentrated solution into our clean volumetric flask. Then, just like with standard solution preparation, we fill the flask with the appropriate solvent up to the calibration mark. This ensures that the diluted solution also has an accurately known concentration.
This method is far superior to trying to dilute in a beaker or graduated cylinder, as their wider mouths and less precise markings just can’t deliver the same level of accuracy required for critical work.
Beyond Solutions: Other Crucial Volumetric Flask Purpose in Laboratory
So, what are volumetric flasks used for in chemistry beyond just preparing simple solutions? Their high accuracy makes them invaluable in several other scenarios:
- Preparing Reagents: Many laboratory reagents need to be made to an exact concentration for experiments to work correctly and reproducibly.
- Creating Calibration Curves: In instrumental analysis (like using a spectrophotometer), we often need to prepare a series of solutions with known, varying concentrations to create a calibration curve. Volumetric flasks are essential for this precise task.
- Sample Preparation: For certain types of analysis, a sample might need to be dissolved and diluted to a specific, known volume before it can be analyzed.
The advantages of using a volumetric flask for precise measurements really boil down to reliability and reproducibility. When we know our volumes are exact, we can trust our calculations and our experimental outcomes. This saves time, reduces errors, and ultimately leads to better science.
Tips for Mastering Your Volumetric Flask
To ensure you get the most out of this precision tool, here are a few practical tips:
- Cleanliness is Key: Always ensure your flask is scrupulously clean and dry before use. Residues can affect accuracy.
- Temperature Matters: Volumetric flasks are calibrated at a specific temperature (usually 20°C). Significant temperature fluctuations can affect the volume of the liquid and the glass itself, leading to inaccuracies. Try to work at or near the calibration temperature.
- Read the Meniscus Correctly: Always read the bottom of the meniscus at eye level to avoid parallax error.
- Never Heat: Do not heat a volumetric flask directly. The glass is not designed for heating and doing so can permanently alter its calibration. Dissolve solids in a beaker first if heating is required, then transfer the cooled solution.
- Handle with Care: These are precision instruments; treat them gently to avoid scratches or damage that could affect their accuracy.
Conclusion
As we’ve explored, the volumetric flask might not be the flashiest piece of lab burner equipment, but its role in ensuring scientific accuracy is truly indispensable. From preparing crucial standard solutions to meticulously diluting samples, its design for unparalleled precision makes it a go-to for anyone who values reliable data.
Next time you see a volumetric flask, you’ll know it’s not just another container, but a precision instrument dedicated to making every measurement count. So, let’s embrace the exactness and elevate our lab work with the mighty volumetric flask!
FAQ
Q1: Can I heat a liquid in a volumetric flask?
A: No, you should never heat liquids directly in a volumetric flask. They are calibrated at a specific temperature (usually 20°C), and heating can cause the glass to expand and permanently alter its calibrated volume, rendering it inaccurate.
Q2: What is the difference between a volumetric flask and an Erlenmeyer flask?
A: The main difference lies in their purpose. A volumetric flask is designed for highly precise volume measurements and preparing solutions to an exact concentration. An Erlenmeyer flask, while useful for mixing and reactions, is not designed for precise volume measurement; its markings are approximate.
Q3: Why is it important to read the meniscus at eye level?
A: Reading the meniscus at eye level prevents what’s called “parallax error.” If you read from above or below, the apparent volume will be incorrect, leading to an inaccurate measurement.
Q4: What should I do if I accidentally overfill a volumetric flask past the calibration mark?
A: If you overfill, you must start over. It’s impossible to accurately remove excess liquid to return to the exact calibration mark without affecting the concentration of the dissolved solute. Discard the solution and begin the preparation process again with a clean flask.
Q5: Are volumetric flasks available in different sizes?
A: Yes, volumetric flasks come in a wide range of sizes, typically from 1 mL up to 2000 mL (2 Liters), allowing for precise preparation of various solution volumes.







