


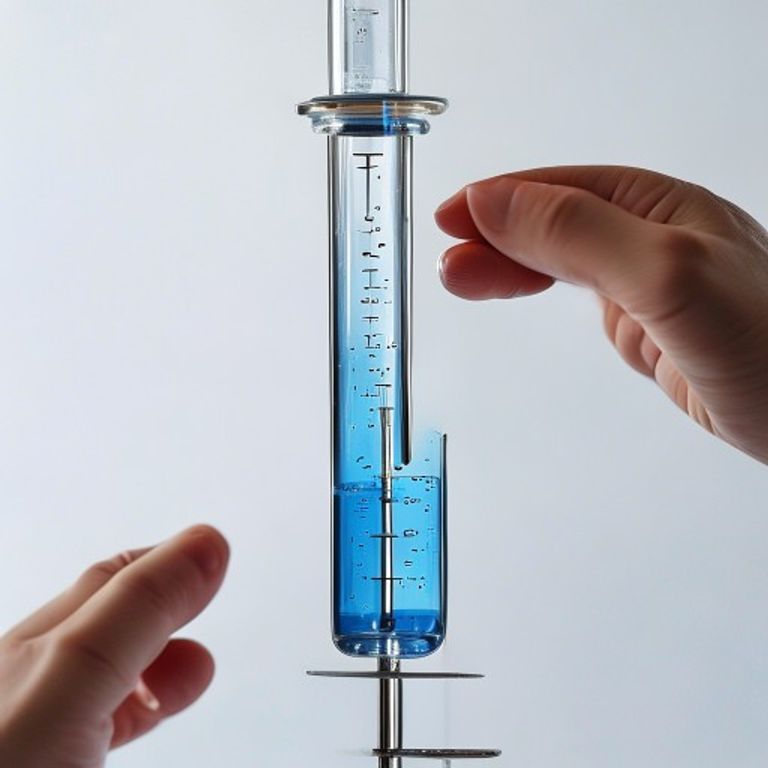
Master the Lab: Your Essential Guide to Flawless Burette Use

Ever found yourself in a chemistry lab, staring at that long, slender glass tube with markings, wondering how to get perfectly accurate results? You’re not alone! That’s the trusty burette, an indispensable tool for precise measurements in volumetric analysis. While other lab equipment, like a graduated cylinder, can measure liquid volumes, the burette is specifically designed for unparalleled precision, especially when we need to add a solution drop by drop. Today, we’re going to dive deep into everything about burette use, from the proper technique for burette reading to avoiding common mistakes. Think of me as your personal lab assistant, guiding you through each step to ensure your experiments are a success!
Why Precision Matters: Understanding the Burette’s Role
Imagine baking a cake. If you add too much flour or too little sugar, the final product won’t be quite right, right? The same principle applies in chemistry, especially in processes like volumetric analysis where exact quantities are crucial. A burette is our go-to instrument for accurately dispensing variable volumes of liquid, often in a titration experiment. It’s like a super-accurate measuring spoon that can add just the right amount, drop by drop, to achieve a specific chemical reaction endpoint. This level of control is what makes the burette so vital for quantitative analysis.
Getting Started: Steps for Filling and Rinsing a Burette
Before we can even think about adding our analyte, proper preparation is key. Think of it like washing your hands before cooking; it’s essential for a clean process!
- Rinsing: First, ensure your burette is squeaky clean. Rinse it thoroughly with distilled water, rotating it to make sure water touches all internal surfaces. Drain completely. Then, rinse it two to three times with a small amount (5-10 mL) of the solution you’ll be using. This “conditioning rinse” coats the inside of the burette with the solution, preventing dilution or contamination from any residual water. Drain the conditioning rinse through the stopcock.
- Filling: Close the stopcock. Using a funnel, carefully fill the burette above the zero mark with your standard solution. Make sure the tip of the burette is also filled and free of air bubbles. You can do this by quickly opening the stopcock and letting a small amount of solution flow out. This ensures the initial volume measurement is accurate.
The Art of Measurement: Proper Technique for Burette Reading
Reading a burette correctly is where accuracy truly comes into play. It’s not just about glancing at the numbers; it’s about observing the meniscus reading with precision. The meniscus is the curved surface of the liquid. For most aqueous solutions, it curves downwards.
- Eye Level: Always read the burette at eye level to avoid parallax error (where the apparent position of the meniscus changes depending on your viewing angle).
- Bottom of the Meniscus: For clear solutions, we always read the volume from the bottom of the meniscus.
- Estimation: Burettes are usually marked to 0.1 mL. You should estimate one decimal place further, so typically to 0.01 mL. For example, if the meniscus is between 25.4 mL and 25.5 mL, and it’s slightly above the midpoint, you might read it as 25.42 mL.
Mastering the Drop: How to Use a Burette for Titration
Now for the main event: titration! This is where we precisely add our standard solution from the burette to an analyte (the solution being tested) in a flask, usually until a color change indicates the reaction is complete.
- Initial Reading: Record your initial volume reading accurately to two decimal places.
- Dispensing: Place your flask containing the analyte and indicator directly under the burette tip. Open the stopcock and let the solution flow into the flask. Swirl the flask continuously to ensure proper mixing.
- Approaching the Endpoint: As you get closer to the endpoint (indicated by the indicator’s color change becoming more persistent), slow down the addition. Start adding drop by drop.
- Reaching the Endpoint: The moment a single drop causes a permanent color change (persisting for at least 30 seconds), close the stopcock immediately. This is your endpoint.
- Final Reading: Record the final volume reading, again to two decimal places.
Avoiding Pitfalls: Common Mistakes When Using a Burette
Even seasoned chemists can make a slip-up! Here are some common mistakes to watch out for:
- Air Bubbles: Forgetting to remove air bubbles from the burette tip before starting. This leads to inaccurate volume readings as the bubble displaces liquid.
- Improper Rinsing: Not rinsing the burette with the solution to be dispensed, which can dilute your standard solution.
- Parallax Error: Reading the meniscus from above or below eye level.
- Over-Titrating: Adding too much solution past the endpoint. Always go slowly near the end!
- Leaky Stopcock: A leaking stopcock can lead to erroneous readings. Ensure it’s properly greased (if glass) or clean (if PTFE).
Crunching the Numbers: Calculating Volume from Burette Data
Once you have your initial and final readings, calculating the dispensed volume is straightforward:
Volume dispensed = Final volume reading - Initial volume reading
For example, if your initial reading was 1.25 mL and your final reading was 26.85 mL, the volume dispensed would be 26.85 mL – 1.25 mL = 25.60 mL. This dispensed volume is crucial for subsequent calculations in your volumetric analysis.
Kesimpulan
There you have it! Using a burette doesn’t have to be intimidating. With a little practice and attention to detail, you’ll be performing precise titrations like a pro. Remember the steps for filling and rinsing a burette, the proper technique for burette reading, and how to spot common mistakes. Mastering these fundamentals will not only boost your confidence in the lab but also ensure the accuracy and reliability of your experimental results. Happy titrating!
FAQ
Q1: Why is it important to remove air bubbles from the burette tip?
A1: Air bubbles in the tip will eventually be dispensed with the solution, leading to an inaccurate volume measurement. The reported volume will be higher than the actual volume of liquid dispensed.
Q2: Can I use tap water to rinse a burette?
A2: No, you should always use distilled water for initial rinsing. Tap water contains minerals and impurities that can interfere with your experiment or leave residues on the burette’s inner surface.
Q3: What’s the difference between a burette and a pipette?
A3: Both are used for precise liquid measurement, but a pipette measures and transfers a fixed, specific volume (e.g., 10.00 mL), while a burette dispenses variable volumes with high precision, allowing you to add liquid drop by drop until a reaction is complete.







