


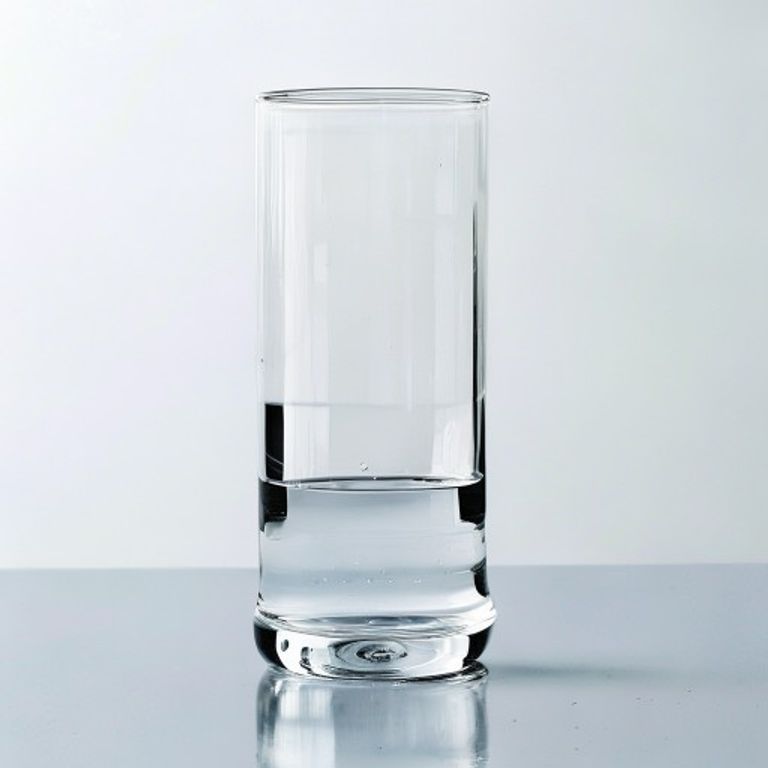
Mastering the Graduated Cylinder: Accurate Liquid Measurement Made Simple

Introduction
When we step into a lab, the first thing we often see is a row of glassware, each promising a different level of precision. Among them, the graduated cylinder might look modest, but it’s a real workhorse for measuring liquid volume. In this article, I’ll walk you through what a graduated cylinder measures, how to read it accurately, its common lab uses, proper measuring technique, and why it outperforms a beaker when precision matters.
What Does a Graduated Cylinder Measure?
A graduated cylinder is designed to measure the volume of liquids – from a few milliliters up to several liters, depending on the size. The cylinder is marked with a series of lines (graduations) that indicate specific volumes, allowing you to determine the amount of liquid inside with a high degree of accuracy.
How to Read a Graduated Cylinder Accurately
Reading a cylinder might seem straightforward, but a few subtle steps make the difference between a rough estimate and a precise measurement:
- Eye level is key: Position your eye at the same height as the meniscus to avoid parallax error.
- Identify the meniscus: Most liquids form a concave meniscus. Read the bottom of the curve for water‑based solutions; for mercury (convex), read the top.
- Use the smallest division: If the cylinder is marked in 1 mL increments, estimate the fraction (e.g., 0.2 mL) between the lines.
- Record the temperature: Volume can expand or contract with temperature; note it if extreme accuracy is required.
Graduated Cylinder Uses in the Laboratory
Beyond basic volume measurement, graduated cylinders serve several practical roles:
- Preparing solutions where exact concentrations are critical.
- Transferring known volumes to other glassware such as flasks or beakers.
- Calibrating other equipment – think of it as a reference standard for liquid volume.
- Teaching students the concept of meniscus and precision measurement.
If you’re looking for a broader foundation in lab basics, the basic chemistry guide offers a solid start for beginners.
Proper Technique for Measuring Liquid with a Graduated Cylinder
Here’s my step‑by‑step routine that guarantees consistent results:
- Choose the right size: Use a cylinder that holds about 2‑4 times the volume you need. This maximizes accuracy.
- Rinse the cylinder: If you’re measuring a new liquid, rinse with a small amount of that liquid to avoid cross‑contamination.
- Pour slowly: Tilt the source container and let the liquid flow down the side of the cylinder to reduce splashing.
- Let the liquid settle: Wait a few seconds for the surface to become still before taking the reading.
- Read and record: Follow the eye‑level tips above, then write down the volume immediately.
- Clean after use: Rinse with distilled water and dry to keep the graduations clear.
Why Is a Graduated Cylinder More Accurate Than a Beaker?
Both are made of similar glass, but their design focuses differ:
- Graduated markings: Cylinders have finely spaced, calibrated lines, while beakers often have only rough volume estimates.
- Shape: The uniform cylindrical shape provides a consistent cross‑sectional area, reducing error caused by uneven walls.
- Meniscus visibility: The narrow diameter makes the meniscus easier to see and read precisely.
When you need the precision of titration or exact solution preparation, the ultimate guide to burette function reinforces why using the right glassware matters.
Tips for Enhancing Precision
- Always use a clean, dry cylinder.
- Avoid temperature extremes; let the cylinder equilibrate to room temperature.
- For viscous liquids, use a pipette to transfer into the cylinder, then read.
- Record measurements in a lab notebook immediately to prevent forgetting.
Conclusion
Even though it may look simple, the graduated cylinder is a cornerstone of accurate liquid measurement in any lab. By mastering how to read the meniscus, applying proper technique, and understanding its advantages over a beaker, you’ll boost the reliability of your experiments and save time on troubleshooting. So next time you reach for a beaker, remember: the graduated cylinder is the quiet champion of precision.
FAQ
Q: Can I use a graduated cylinder for measuring solids?
A: Not recommended. Solids can settle unevenly and damage the graduations. Use a balance instead.
Q: How often should I calibrate my graduated cylinder?
A: If you notice wear or after a major impact, compare its readings with a certified volumetric flask or a calibrated pipette.
Q: Is it okay to use a plastic graduated cylinder?
A: Plastic cylinders are fine for non‑reactive liquids, but they may expand slightly with temperature, affecting precision.
Q: What’s the difference between a graduated cylinder and a volumetric flask?
A: A volumetric flask is calibrated for a single, exact volume (e.g., 100 mL) and offers higher accuracy, while a graduated cylinder provides a range of volumes with slightly lower precision.
Q: How do I read a cylinder with a convex meniscus?
A: For liquids like mercury, read the top of the meniscus rather than the bottom.







