


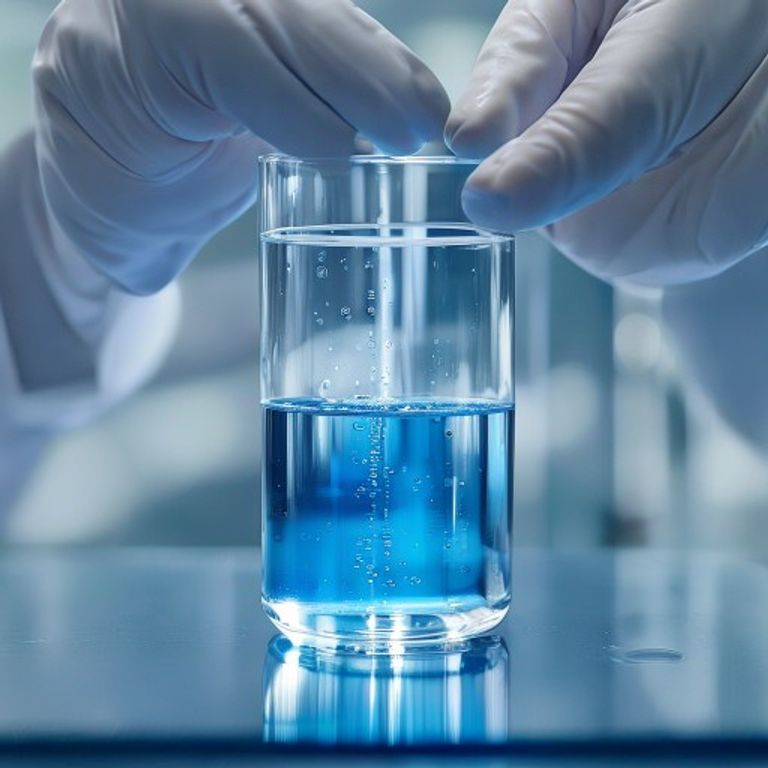
Mastering the Graduated Cylinder: Your Ultimate Guide to Accurate Liquid Measurement

Introduction: Why Precise Measurement Matters in Your Lab
Pernahkah Anda merasa sedikit terintimidasi saat melihat tumpukan alat-alat kaca di lab? Jangan khawatir, kita semua pernah mengalaminya! Salah satu alat yang mungkin sering Anda temui adalah graduated cylinder. Meskipun terlihat sederhana, mastering the graduated cylinder for accurate liquid measurement is a fundamental skill in any scientific setting, from a high school chemistry class to a professional research laboratory. It’s like learning to measure ingredients precisely when baking; a little bit off can make a big difference in the final result.
In this guide, we’re going to break down everything you need to know about
how to use a graduated cylinder
effectively. We’ll cover what it is, why it’s so important for
measuring liquid volume with a graduated cylinder
, and give you practical, step-by-step instructions so you can become a pro at liquid measurement. So, grab your lab coat (or just a comfy chair!), and let’s dive into the world of precise liquid handling.
What Exactly is a Graduated Cylinder?
Think of a graduated cylinder as a tall, narrow, cylindrical container, usually made of glass or plastic, with markings along its side. These markings, or graduations, indicate specific volumes. Unlike beakers or Erlenmeyer flasks, which are great for holding or mixing liquids, graduated cylinders are specifically designed for
volume measurement
with a much higher degree of accuracy.
Imagine you need exactly 50 mL of water for an experiment. A beaker might get you close, but a graduated cylinder will give you that precise amount, ensuring your results are reliable. This makes it an indispensable piece of
laboratory equipment
, especially in chemistry where even slight variations can impact reactions.
Why Accuracy is Key: What Graduated Cylinders Are Used For
In science, precision isn’t just a fancy word; it’s the backbone of reliable data. If your measurements are off, your experiment results will be too. That’s why
how to use a graduated cylinder
correctly is so vital.
So,
what are graduated cylinders used for in chemistry
and other sciences? Mainly, they are used for:
- Preparing Solutions: When you need to dilute a chemical or create a solution of a specific concentration, accurate volume is crucial.
- Measuring Reactants: Ensuring the correct amount of each substance is used in a chemical reaction.
- Collecting Data: Measuring the volume of liquid produced or consumed during an experiment.
- Quality Control: In industries, they ensure products meet specific volume standards.
While graduated cylinders offer good
precision and accuracy
, it’s worth noting that for extremely high precision, like in titrations, you might use a burette. If you’re curious about other tools for precision in your lab, check out The Ultimate Guide to Burette Function: Mastering Precision in Your Lab.
Your Step-by-Step Guide to Using a Graduated Cylinder Properly
Ready to get hands-on? Here’s a simple guide to ensure you’re using your graduated cylinder like a pro:
1. Choose the Right Size
Graduated cylinders come in various sizes (e.g., 10 mL, 50 mL, 100 mL, 250 mL). Always select a cylinder whose capacity is slightly larger than the volume you need to measure. Trying to measure 5 mL in a 100 mL cylinder will be less accurate than using a 10 mL cylinder.
2. Place on a Level Surface
Before you add any liquid, make sure your graduated cylinder is on a flat, stable surface. This prevents spills and ensures you’re starting with an accurate zero point.
3. Pour the Liquid Carefully
Slowly pour your liquid into the cylinder. If you’re measuring a precise amount, stop just below your target volume. For example, if you need 50 mL, stop around 49 mL.
4.
How to Read a Graduated Cylinder Accurately
(The Meniscus Magic!)
This is where many beginners make mistakes, so pay close attention! When liquids are in a narrow container like a graduated cylinder, the surface of the liquid isn’t perfectly flat. It forms a curve called a
meniscus
.
- For most liquids (like water), the meniscus will curve downwards.
- To read the volume accurately, you need to read the bottom of this curve.
- Crucially, get your eye level with the bottom of the meniscus. Don’t look down from above (which makes the volume seem higher) or up from below (which makes it seem lower). Think of it like looking straight at the speedometer in a car, not at an angle.
To add liquid slowly and precisely to reach your target, use a dropper or a Pasteur pipette. This allows you to add drop by drop until the bottom of the meniscus touches your desired mark.
5. Record Your Measurement
Once you’ve read the volume accurately, record it immediately. Remember to include the units (e.g., 49.5 mL). Always read to one decimal place beyond the smallest marking on the cylinder to ensure the best
precision and accuracy
possible.
Precautions When Using a Graduated Cylinder in Lab
Safety and accuracy go hand-in-hand. Here are a few tips for
proper technique for using a graduated cylinder
:
- Cleanliness is Next to Godliness: Always use a clean, dry graduated cylinder. Residues from previous experiments can contaminate your new sample or affect the meniscus shape.
- Handle with Care: Most graduated cylinders are made of glass and can break. Hold them securely and place them gently on surfaces.
- Avoid Heating: Graduated cylinders are not typically designed for heating. The glass might crack, and the expansion could affect the accuracy of the markings.
- Do Not Mix Directly: While you measure with them, graduated cylinders aren’t ideal for mixing solutions. The narrow opening makes stirring difficult and risks spillage. Use a beaker or flask for mixing.
Common Mistakes to Avoid
- Parallax Error: This is the most common mistake, which we covered: reading the meniscus from above or below eye level. Always bring your eyes to the same level as the meniscus.
- Using the Wrong Size: Trying to measure a tiny volume in a large cylinder will always lead to inaccuracy.
- Not Drying Properly: Residual water droplets inside can dilute your solution or alter your measurement.
- Speed vs. Accuracy: Rushing the measurement process. Take your time, especially when approaching the target volume.
Conclusion: Confident Measurements, Reliable Results
Congratulations! You’ve just walked through the essentials of
how to use a graduated cylinder
. It might seem like a lot of detail for a simple piece of
glassware
, but trust me, these small details make all the difference in scientific work. By understanding the proper technique for using a graduated cylinder, how to read a graduated cylinder accurately, and taking necessary precautions, you’re well on your way to conducting more reliable experiments and gaining more accurate insights.
Remember, practice makes perfect. The more you use a graduated cylinder, the more intuitive it will become. So, next time you’re in the lab, approach that graduated cylinder with confidence!
FAQ: Your Questions Answered
Why is the meniscus important when reading a graduated cylinder?
The meniscus is the curve that forms at the surface of a liquid in a narrow container. It’s important because it’s the standard point from which we take a reading to ensure consistency and accuracy. For most liquids (like water), you read the bottom of the meniscus.
Can I heat liquids in a graduated cylinder?
Generally, no. Graduated cylinders are not designed for heating. The glass may crack, and heating can cause the cylinder to expand, leading to inaccurate volume measurements.
What’s the difference between a beaker and a graduated cylinder?
Beakers are primarily for holding, mixing, and heating liquids, offering rough volume estimations. Graduated cylinders are specifically designed for precise
volume measurement
and are much more accurate for that purpose.
How do I choose the correct size graduated cylinder?
Choose a graduated cylinder that is slightly larger than the volume you need to measure. For example, if you need 23 mL, a 25 mL or 50 mL cylinder would be appropriate, not a 10 mL or 100 mL one.
What is parallax error and how can I avoid it?
Parallax error occurs when you read the meniscus from an angle (either too high or too low), leading to an inaccurate measurement. To avoid it, always bring your eye level directly even with the bottom of the meniscus when taking a reading.







