The Unsung Hero: Mastering the Chemistry Lab Tripod for Safe & Efficient Experiments

Ever walked into a chemistry lab and noticed that simple, three-legged metal stand? You know, the one that usually sits patiently on the lab bench, ready for action. That unassuming piece of laboratory equipment is called a chemistry lab tripod, and while it might not look as exciting as a fancy microscope or a colorful chemical reaction, it’s an absolute workhorse! In this article, we’re going to unpack why this humble chemistry lab tripod is so vital, how to use it like a pro, and why it’s truly an unsung hero in countless experiments.
What Exactly is a Chemistry Lab Tripod?
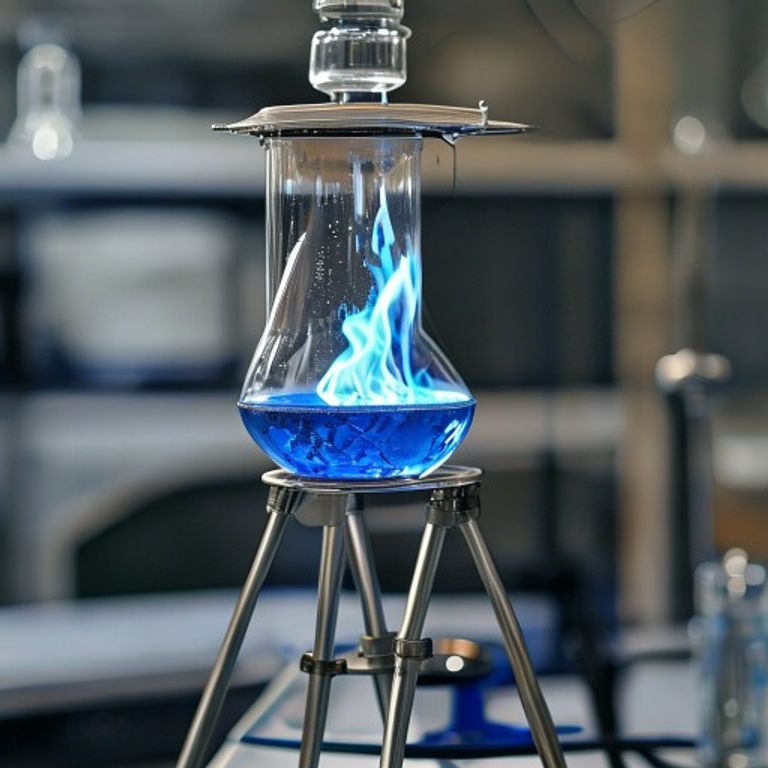
Think of a tripod as the sturdy three-legged stool for your lab glassware. It’s typically made of metal (often iron or aluminum) to withstand high temperatures and provide robust support. Its design is intentionally simple: three legs converging at the top, creating a stable platform. But it’s not just the tripod itself that does the heavy lifting; it almost always works in tandem with a wire gauze. This gauze, usually made of metal mesh with a ceramic center, sits on top of the tripod, forming the actual surface where we place our beakers or flasks for heating.
The Purpose of a Tripod in a Chemistry Lab: Why We Need It
So, what’s the main gig for our three-legged friend? The primary purpose of a tripod in a chemistry lab is to provide stable support for heating various types of glassware, especially when using a Bunsen burner. Imagine trying to heat a beaker full of liquid directly with a Bunsen burner in your hand – not only would it be incredibly unsafe and unstable, but you’d also risk uneven heating, spills, and burns. The tripod eliminates all these risks by:
- Providing Stability: Its three-leg design offers a wide, stable base, preventing glassware from tipping over.
- Elevating Glassware: It raises the glassware to the perfect height above the Bunsen burner flame, allowing for efficient and controlled heating.
- Supporting Wire Gauze: It acts as the stand for the wire gauze, which then evenly distributes heat to the bottom of the beaker or flask, preventing direct flame contact that could crack the glass.
Without a chemistry tripod stand for heating, many fundamental lab procedures would be impossible or incredibly dangerous. It’s truly foundational for practical chemistry.
Setting Up for Success: How to Use a Tripod with a Bunsen Burner
Okay, let’s get practical! Setting up a tripod for beaker heating is straightforward, but precision and safety are key. Here’s how we do it:
- Position the Tripod: Place the tripod on a stable, heat-resistant surface, usually your lab bench, directly over where you intend to place your Bunsen burner.
- Add the Wire Gauze: Carefully place the wire gauze on top of the tripod. Make sure it sits securely and doesn’t wobble. The ceramic center of the gauze should be facing upwards, as this helps distribute the heat more evenly and protects the glass from direct flame impingement.
- Place Your Glassware: Gently set your beaker or flask (containing your liquid or solid) onto the center of the wire gauze. Ensure it’s balanced and stable.
- Introduce the Bunsen Burner: Slide the Bunsen burner underneath the tripod. Adjust its position so that the top of the burner tube is directly below the center of the wire gauze. We want the flame to hit the ceramic center for optimal heat transfer.
- Light and Adjust: Light your Bunsen burner (remembering proper safety procedures!). Adjust the air hole to achieve a clear, blue, non-luminous flame. This is the hottest and most efficient flame for heating. Position the burner so the tip of the inner blue cone of the flame just touches the bottom of the wire gauze.
There you have it! Your tripod with Bunsen burner setup is ready to go. Always keep an eye on your experiment and never leave a heated setup unattended.
Understanding the Parts of a Laboratory Tripod
While seemingly simple, knowing the parts of a laboratory tripod helps us appreciate its design and function:
- The Legs: Typically three, these are the foundation, providing stability. They are angled outwards to create a broad base.
- The Ring/Platform: This is the circular or triangular top frame where the legs converge. It’s designed to hold the wire gauze securely.
- The Material: As mentioned, usually iron or aluminum, chosen for their heat resistance, strength, and durability.
It’s a marvel of simple, functional engineering designed for a specific purpose: safe and effective heating in the lab.
Beyond Just Heating: Considerations and Safety
While heating is its primary role, the tripod, in conjunction with other laboratory equipment, can also support other apparatus. For instance, a retort stand with clamps can be set up alongside a tripod to hold other components above the heated glassware, forming a more complex distillation or reflux setup. Always remember:
- Check for Stability: Before heating, give the setup a gentle nudge to ensure everything is stable.
- Use Wire Gauze: Always use a wire gauze with a ceramic center to prevent direct flame contact and ensure even heating.
- Wear PPE: Safety goggles are a must! Lab coats and gloves are also highly recommended.
- Ventilation: Ensure adequate ventilation, especially when heating chemicals that might produce fumes.
Conclusion
So, the next time you see that humble chemistry lab tripod, give it a nod of appreciation. It may not be the flashiest piece of gear, but its role is indispensable. From providing stability to enabling safe and controlled heating, this simple tool is a true foundation for countless scientific discoveries and practical experiments. Mastering its use is a fundamental skill for anyone stepping into the fascinating world of chemistry. It’s the unsung hero, silently supporting the progress of science, one heated beaker at a time!
FAQs about the Chemistry Lab Tripod
Q1: Can I use a tripod without a wire gauze?
A1: It’s strongly advised not to. Direct flame can cause glassware to crack due to uneven heating and can also pose a safety risk. The wire gauze diffuses the heat and provides a better surface for the glassware.
Q2: What is the ceramic center on the wire gauze for?
A2: The ceramic center helps to distribute the heat from the Bunsen burner flame more evenly across the bottom of the beaker or flask, preventing hotspots that could crack the glass. It also protects the glass from direct, intense flame.
Q3: Can I use a tripod to heat anything other than liquids?
A3: Yes, you can. Tripods are suitable for heating solids in appropriate glassware (like crucibles or evaporating dishes placed on clay triangles on top of the tripod), or for heating sand baths. Always ensure the container is suitable for heating and the setup is stable.
Q4: How do I clean a chemistry lab tripod?
A4: Tripods are generally very low maintenance. A simple wipe with a damp cloth to remove any spills or residue is usually sufficient. For stubborn marks, a mild lab detergent can be used, followed by rinsing and drying.