


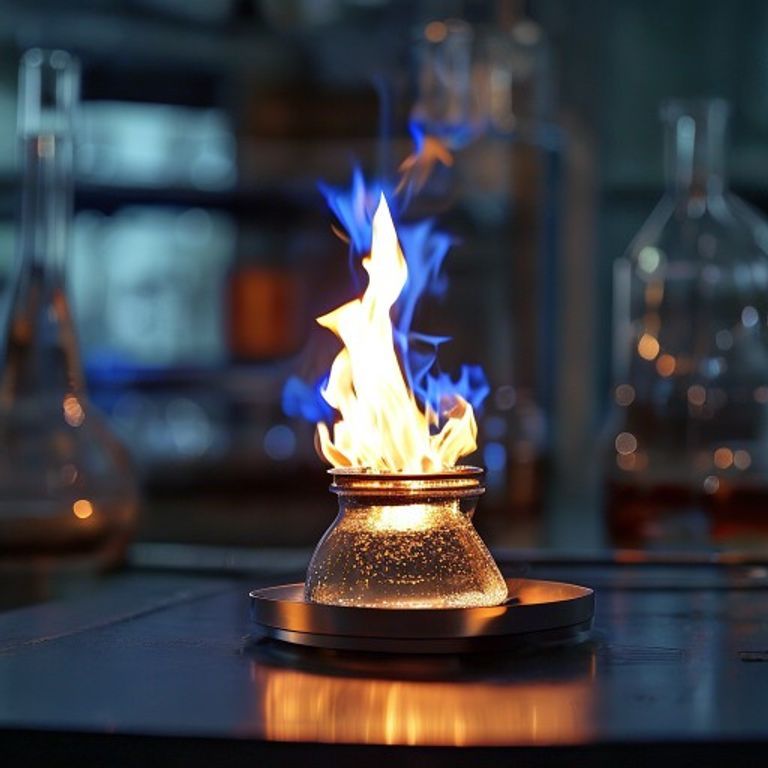
Unleash the Heat Safely: Your Essential Guide to Mastering the Bunsen Burner

Unleash the Heat Safely: Your Essential Guide to Mastering the Bunsen Burner
Ah, the Bunsen burner! For anyone who’s ever stepped foot in a chemistry lab, this iconic piece of equipment is instantly recognizable. It’s like the trusty Swiss Army knife of laboratory heating – simple, effective, and absolutely essential for countless experiments. But have you ever stopped to truly appreciate its genius, or perhaps wondered if you’re using it to its full potential?
Here at [Your Blog Name/My Perspective], we believe that understanding your tools makes you a better scientist, even if you’re just starting out. Today, we’re diving deep into the world of the Bunsen burner, covering everything from its anatomy to how to light it safely, understand its flames, and even troubleshoot common issues. Think of this as your practical, no-nonsense guide to becoming a Bunsen burner pro!
Anatomy of a Bunsen Burner: Understanding Its Parts
Before we ignite anything, let’s get acquainted with our fiery friend. A Bunsen burner might look basic, but each part plays a crucial role in its function. Imagine it like a mini gas stove for your lab bench. Here are the key components:
- Base: This sturdy, heavy part keeps the burner stable and upright. You definitely don’t want your heat source wobbling!
- Gas Inlet: This is where the gas supply from the lab bench connects to the burner, usually via a rubber tubing.
- Gas Jet/Nozzle: Tucked away inside the barrel, this small opening releases the gas at high speed, drawing air in.
- Barrel/Chimney: The vertical tube where the gas and air mix before combustion. This is where the magic happens!
- Collar/Air Vent: A movable ring at the bottom of the barrel with openings (air vents). This is your secret weapon for controlling the flame type.
- Needle Valve (optional): Some Bunsen burners have a needle valve at the base to fine-tune the gas flow, offering more precise control over the flame height.
Understanding these parts is the first step towards safe and effective use. Think of the collar as the “air conditioning” for your flame – you adjust it to get the perfect mix!
Mastering the Flame: How to Light a Bunsen Burner Safely
Lighting a Bunsen burner isn’t just about flicking a match; it’s a careful process that prioritizes safety above all else. We want to heat our experiments, not ourselves or the lab! Here’s our step-by-step guide:
- Check Your Setup: Ensure the rubber tubing is securely attached to both the gas inlet of the burner and the gas tap on the bench. Check for cracks or damage in the tubing.
- Close the Air Vent: Rotate the collar to fully close the air vents. This will give you a large, luminous, and relatively cool orange flame initially.
- Prepare Your Match/Striker: Have your spark lighter or lighted match ready. We always light the gas *after* it’s flowing, not before.
- Turn on the Gas: Turn the gas tap on fully. You should hear a faint hiss.
- Ignite Immediately: Bring the flame of your lighter to the top edge of the Bunsen burner barrel. The gas should ignite with a soft pop, producing a yellow-orange flame.
- Adjust the Air Vent: Slowly open the air vent (rotate the collar) until the flame turns blue and a distinct inner cone appears. This is the hot, non-luminous flame you typically want for heating.
- Adjust Gas Flow (if applicable): If your burner has a needle valve, you can fine-tune the gas flow to control the flame height.
Remember, always stand back a little when lighting, and never leave an ignited burner unattended. Safety first, always!
Decoding the Flame: Types and Their Applications
Not all flames are created equal, and knowing the difference is key to success in the lab. The type of flame you get depends entirely on how much air you allow into the barrel via the collar. Let’s explore:
- Safety Flame (Yellow/Orange, Luminous):
- Appearance: Tall, wispy, bright yellow or orange, often smoky.
- Air Vent: Fully closed.
- Temperature: Relatively cool (around 900°C), not efficient for heating.
- Use: Primarily as a “standby” flame when you need to momentarily pause heating, but don’t want to extinguish the burner. The yellow color is easy to see, making it a good visual indicator. Be aware it produces soot!
- Heating Flame (Blue, Non-Luminous):
- Appearance: Shorter, blue, with a distinct inner cone. It’s often hard to see in bright light.
- Air Vent: Partially open.
- Temperature: Hotter (around 1500°C), ideal for general heating.
- Use: This is your go-to flame for most experiments. The hottest part is just above the tip of the inner blue cone.
- Roaring Flame (Short, Pale Blue, Loud):
- Appearance: Very short, intense pale blue, often makes a roaring sound.
- Air Vent: Fully open.
- Temperature: Hottest (up to 1700°C for some burners).
- Use: Used for very rapid heating or when extremely high temperatures are required, such as flame sterilization of inoculating loops. However, it can be unstable and sometimes blow out.
When heating glassware like beakers or flasks, we often place them on a tripod stand with a wire gauze to distribute the heat evenly and prevent breakage.
Common Bunsen Burner Hiccups and How to Fix Them
Even the most reliable lab equipment can have its off days. Don’t panic if your Bunsen burner isn’t cooperating; most issues have simple fixes!
- No Flame When Lit:
- Cause: Gas tap not fully open, or gas supply to the bench is off.
- Solution: Check the gas tap; ensure it’s fully open. If still no gas, inform your instructor/supervisor.
- Yellow/Sooty Flame Won’t Turn Blue:
- Cause: Air vents are closed or obstructed.
- Solution: Rotate the collar to open the air vents. If they’re stiff, try gently wiggling it. Sometimes dust or debris can block them; ensure the burner is clean.
- Flame “Lifts Off” the Barrel or Roars Excessively:
- Cause: Too much air mixed with the gas, or gas flow is too high.
- Solution: Partially close the air vent or reduce the gas flow (if your burner has a needle valve). This indicates an over-aerated flame.
- Flame “Strikes Back” (burns inside the barrel):
- Cause: Insufficient gas supply, or too much air for the gas flow.
- Solution: Immediately turn off the gas! Let the burner cool, then check the gas supply and air vent settings. This can damage the burner and produce harmful fumes.
FAQ: Quick Answers to Your Bunsen Burner Questions
- Q: Why is a blue flame better than a yellow flame for heating?
A: A blue flame is hotter and produces much less soot because it has a better air-to-gas mixture, allowing for complete combustion. - Q: Where is the hottest part of a Bunsen burner flame?
A: The hottest part is typically at the tip of the inner blue cone of a non-luminous flame. - Q: What should I do if the flame goes out unexpectedly?
A: Immediately turn off the gas tap and assess the situation. Re-light it carefully, following the safety steps. - Q: Can I use any gas with a Bunsen burner?
A: Bunsen burners are typically designed for natural gas or LPG (liquefied petroleum gas). Always ensure your burner is rated for the gas supply in your lab.
Conclusion
The Bunsen burner, a seemingly simple piece of laboratory safety equipment, is a powerful and versatile tool when used correctly. By understanding its parts, mastering the safe lighting procedure, and recognizing the different flame types, you’re not just heating chemicals; you’re conducting science safely and efficiently. Remember, practice makes perfect, and always keep safety at the forefront of your mind. So go forth, ignite with confidence, and let your experiments blaze a trail!







