


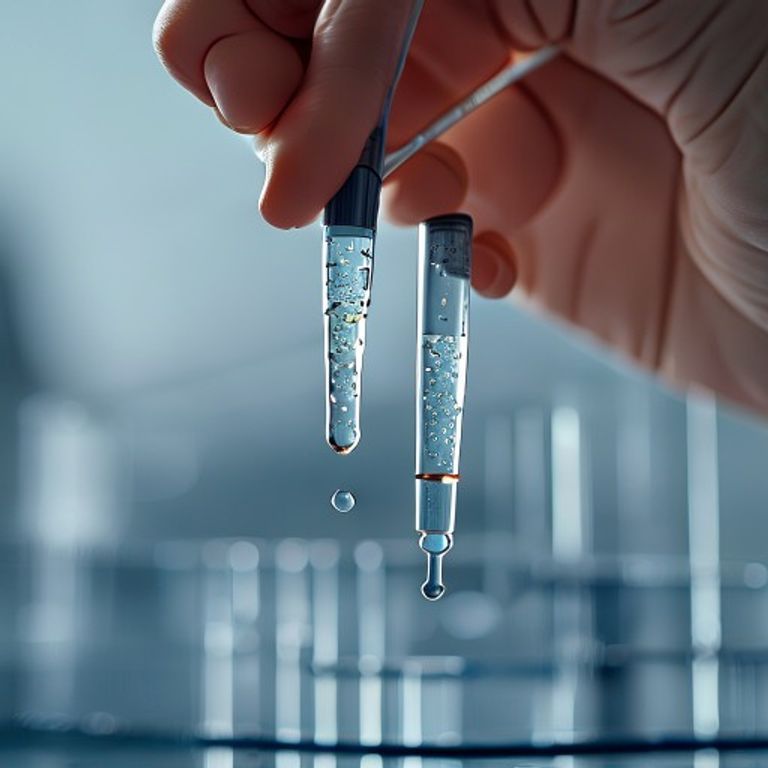
Understanding Pipet Function: How to Master Precise Liquid Transfer in the Lab

Introduction
When we step into a chemistry lab, the first tool that greets us is often a humble pipet. Whether you’re measuring a few microliters of enzyme solution or transferring milliliters of reagent, the pipet function is the backbone of accurate liquid handling. In this article, I’ll walk you through how a pipet works, why its function matters, and share practical tips so you can dispense with doubt and focus on your experiments.
How Does a Pipet Work?
Think of a pipet as a tiny, adjustable syringe. When you press the plunger, air (or a piston) creates a vacuum that draws liquid up through the tip. Releasing the plunger lets the liquid flow out in a controlled manner. The key components are:
- Tip: Disposable or reusable, it defines the volume range.
- Plunger: Moves up and down to create suction and dispense.
- Volume adjustment dial: Sets the exact amount you want to transfer.
This simple mechanism is what gives us the precision we need for quantitative work.
What Is the Function of a Micropipette?
Micropipettes are the workhorses for low‑volume tasks (1 µL‑1000 µL). Their function goes beyond just moving liquid; they ensure:
- Reproducibility: Same volume every time, critical for assays.
- Minimal contamination: Disposable tips prevent cross‑talk between samples.
- Speed: You can pipette dozens of wells in seconds.
When you master the how pipettes work, you’ll notice how these tiny devices keep your data reliable.
Pipet Function in Liquid Transfer
Accurate liquid transfer hinges on three pillars:
- Calibration: Regularly check that the displayed volume matches the actual delivered volume.
- Technique: Pre‑wet the tip, use a consistent angle, and avoid air bubbles.
- Maintenance: Keep the plunger smooth and replace worn tips.
For example, imagine you’re preparing a standard curve. If each point is off by just 2 µL, the whole curve skews, and your conclusions could be wrong. That’s why understanding the pipet’s function in liquid transfer is non‑negotiable.
Proper Pipet Usage Function: Step‑by‑Step Guide
1. Set the Desired Volume
Turn the dial until the display reads your target volume. Double‑check that you’re within the pipet’s optimal range (usually 10‑100 % of its capacity).
2. Attach a Fresh Tip
Press the pipet into a sterile tip until you hear a click. This ensures an airtight seal.
3. Pre‑Wet the Tip
Draw up and dispense the liquid a couple of times. This coats the inner surface and reduces volume loss.
4. Aspirate the Sample
Press the plunger to the first stop, immerse the tip just below the liquid surface, and slowly release the plunger. A steady motion prevents bubbles.
5. Dispense the Sample
Touch the tip to the side of the receiving vessel, press to the second stop, and then release the plunger. This extra push expels any residual liquid.
6. Eject the Tip
Press the tip ejector button to discard the used tip safely.
Analytical Pipet Function Explanation
In analytical chemistry, the pipet’s function is often scrutinized during method validation. Parameters like repeatability and intermediate precision are directly tied to how well you can trust the pipet to deliver the same volume repeatedly. Calibration curves, titrations, and spectrophotometric assays all rely on that trust.
Linking Pipet Knowledge with Other Lab Tools
While pipets are essential, they work hand‑in‑hand with other volumetric devices. Understanding how a graduated cylinder complements pipetting can boost overall accuracy. For a deeper dive, check out the guide on practical uses of graduated cylinders. Together, these tools form a precision ecosystem in any laboratory.
Conclusion
Mastering the pipet function isn’t about memorizing numbers; it’s about building a reliable routine. By knowing how a pipet works, keeping it calibrated, and following proper technique, you turn a simple plastic tip into a powerhouse of accuracy. Next time you pick up a micropipette, remember: every drop counts, and the right function makes all the difference.
FAQ
What is the difference between a glass pipet and a plastic micropipette?
Glass pipets are often used for larger volumes and can be cleaned and reused, while plastic micropipettes are disposable, provide higher precision for low volumes, and reduce contamination risk.
How often should I calibrate my pipet?
At a minimum, perform a calibration check monthly, or before critical experiments. If you notice drift or after heavy use, recalibrate immediately.
Can I use the same tip for viscous liquids?
Viscous liquids can cling to the tip walls, causing volume errors. Use low‑retention tips and consider a slower aspiration speed.
What causes air bubbles during aspiration?
Rapid plunger release, submerging the tip too deep, or using a damaged tip can introduce bubbles. Slow, steady movements prevent this.
Is it okay to pipette directly from a vortexed tube?
Yes, but make sure the liquid is homogeneous. If particles settle quickly, gently mix before aspiration to ensure consistent concentration.







