


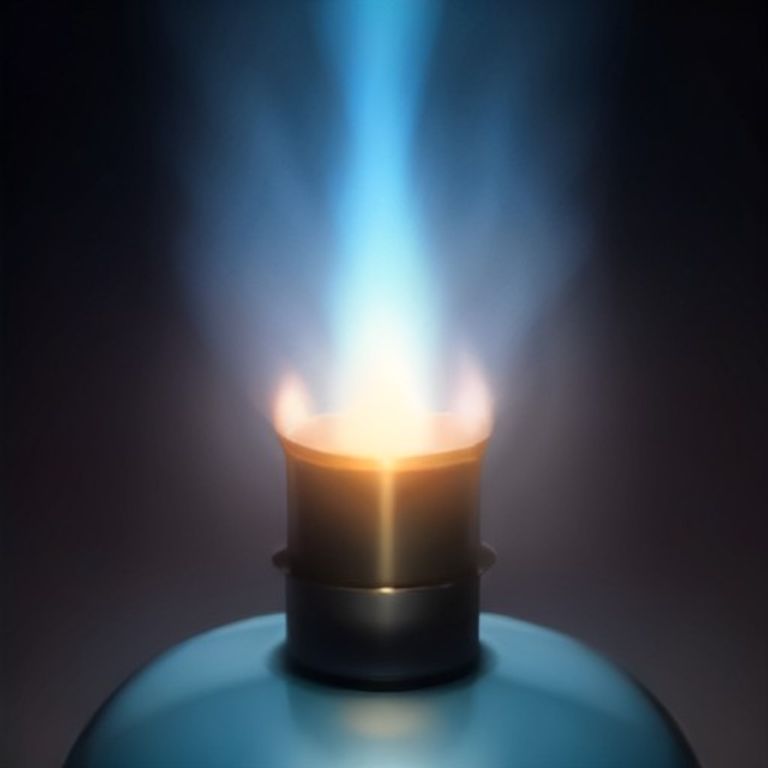
Master the Flame: Your Ultimate Guide to Bunsen Burner Safety, Parts, and Perfect Flames

Halo, Sobat Eksperimen! Pernahkah kamu merasa sedikit terintimidasi saat melihat Bunsen burner menyala di laboratorium? Jangan khawatir, kamu tidak sendirian. Alat yang satu ini memang ikonik, tapi juga seringkali disalahpahami. Padahal, dengan pemahaman yang tepat, Bunsen burner adalah teman terbaik kita di lab, sumber panas yang sangat efisien dan terkontrol untuk berbagai reaksi dan sterilisasi.
Dalam panduan lengkap ini, kita akan menyelami semua hal tentang Bunsen burner. Kita akan bongkar bagian-bagiannya, belajar bagaimana menyalakannya dengan aman, memahami jenis-jenis apinya yang berbeda, sampai cara mengatasi masalah umum yang mungkin kita temui. Tujuannya sederhana: agar kamu bisa menggunakan Bunsen burner dengan percaya diri, efektif, dan yang paling penting, aman.
What Exactly is a Bunsen Burner?
Think of a Bunsen burner as your lab’s personal, highly controllable mini-fireplace. Invented by Robert Bunsen in the mid-19th century, this ingenious piece of laboratory equipment revolutionized chemistry by providing a steady, adjustable heat source that was much safer and cleaner than previous methods. It works by mixing a controlled amount of gas supply (typically natural gas or LPG) with air, allowing for complete combustion and a clean, hot flame.
Parts of a Bunsen Burner Diagram: Knowing Your Tool
Before we even think about lighting it, let’s get familiar with the anatomy of our Bunsen burner. Knowing each part helps us understand how it works and, crucially, how to use it safely. Imagine it like a simple mechanical toy; each piece has a job!
- Base: The sturdy bottom that keeps the burner stable on the workbench. It’s usually heavy to prevent tipping.
- Gas Inlet/Nozzle: Where the gas hose connects, bringing fuel to the burner.
- Gas Jet: A small opening inside the barrel where the gas emerges at high speed.
- Barrel/Chimney: The vertical metal tube where gas mixes with air. This is where the flame appears.
- Air Vent/Collar: A rotating ring near the base of the barrel that allows us to control the amount of air mixing with the gas. This is key to adjusting our flame.
- Needle Valve (optional): Some burners have a needle valve at the base to finely adjust the gas flow.
Understanding these parts of a Bunsen burner diagram is the first step towards mastering its operation. It’s like knowing the accelerator and brake pedal in a car!
How to Use a Bunsen Burner Safely: Your Lab Superhero Checklist
Safety first, always! Using a Bunsen burner requires respect and attention. Here’s a step-by-step guide on how to use a Bunsen burner safely:
- Preparation is Key:
- Clear your workspace: Remove all flammable materials.
- Wear safety goggles: Protect your eyes from heat and any potential splashes.
- Tie back long hair and secure loose clothing.
- Check the gas hose: Ensure it’s securely connected to both the Bunsen burner and the gas tap, and check for any cracks or damage.
- Make sure the air vent is closed (or nearly closed).
- Lighting Up:
- Turn on the gas tap fully. You should hear a faint hiss.
- Bring a lit striker or match from the side, slightly above the top of the barrel. The gas will ignite with a yellow, luminous flame.
- If it doesn’t light immediately, turn off the gas, wait a moment, and try again. Never leave the gas on without a flame.
- Adjusting the Flame:
- Once lit with a yellow flame, slowly open the air vent/collar.
- You’ll see the flame change from yellow and sooty to a blue, non-luminous flame. This is the desired working flame.
- Adjust the gas flow (if your burner has a needle valve or via the main gas tap) to control the height of the flame.
- Working with the Flame:
- Never leave a lit Bunsen burner unattended.
- When heating substances, always use appropriate glassware. For instance, when heating solutions in a conical flask, ensure even heating by gently swirling it. Speaking of glassware, have you ever wondered about the versatile uses of The Mighty Conical Flask in a lab? It’s more than just a container!
- Use a test tube holder or retort stand with a clamp when heating test tubes. It’s truly The Unsung Hero of Your Lab: Unveiling the Mighty Test Tube Holder, keeping our hands safe from intense heat.
- Turning Off:
- Close the air vent completely, returning to a yellow flame. This prevents “strike-back” (the flame going back down into the burner).
- Turn off the main gas tap.
- Allow the burner to cool down completely before touching or storing it.
Bunsen Burner Flame Types and Temperatures: Decoding the Colors
Not all flames are created equal! The color and shape of your Bunsen burner flame tell us a lot about its temperature and efficiency. There are two primary Bunsen burner flame types and temperatures:
- Luminous (Safety) Flame:
- Appearance: Yellow, tall, often flickering, and produces soot.
- Air Vent: Mostly or fully closed.
- Temperature: Cooler, around 300-500°C.
- Use: Primarily for indicating that the burner is lit and for “stand-by” mode. It’s called a safety flame because it’s easily visible.
- Non-Luminous (Working) Flame:
- Appearance: Blue, well-defined, with distinct inner and outer cones. It should be virtually soot-free.
- Air Vent: Open, allowing more air to mix with the gas.
- Temperature: Much hotter. The hottest part is at the tip of the inner blue cone, reaching up to 1500-1600°C (depending on the gas type).
- Use: For heating, sterilizing, and initiating chemical reactions.
Remember, the goal is usually the non-luminous blue flame for most lab work, as it’s cleaner and provides more intense, controllable heat.
Troubleshooting Bunsen Burner Issues: Quick Fixes
Sometimes, our Bunsen burner might not cooperate. Don’t panic! Most troubleshooting Bunsen burner issues are simple to fix:
- Yellow, Sooty Flame (even with air vent open): This means insufficient air. Check if the air vent is fully open. Sometimes, dust or debris can block the air intake – a gentle tap might help, or a quick clean when cool.
- Flame “Blows Out”: Too much air or gas pressure might be too low. Reduce the air intake slightly or ensure your gas supply is adequate.
- Flame Goes Down into the Barrel (Strike-back): This is dangerous! It usually happens with too much air. Immediately turn off the gas tap. Wait for the burner to cool before attempting to relight it with the air vent closed.
- No Flame When Lighting: Is the gas on? Is the hose connected properly? Is there a kink in the hose? Is the gas tap fully open? These are simple checks that often solve the problem.
Conclusion
Jadi, begitulah, teman-teman! Bunsen burner mungkin terlihat sederhana, tapi kekuatannya dalam laboratorium sangat besar. Dengan memahami bagian-bagiannya, mengikuti protokol keselamatan, dan menguasai jenis-jenis apinya, kita bisa memaksimalkan potensi alat ini untuk eksperimen yang sukses dan aman.
Ingat, praktek membuat sempurna. Semakin sering kita menggunakan Bunsen burner dengan benar dan hati-hati, semakin percaya diri kita akan menjadi. Selalu prioritaskan keselamatan, dan semoga eksperimenmu selalu berjalan lancar dan menghasilkan penemuan-penemuan menarik!
FAQ (Frequently Asked Questions)
- Q: What is the hottest part of a Bunsen burner flame?
- A: The hottest part is typically at the tip of the inner blue cone of the non-luminous (working) flame, reaching temperatures up to 1500-1600°C depending on the gas.
- Q: Why is a yellow flame not ideal for experiments?
- A: A yellow flame (luminous flame) is cooler, produces soot, and indicates incomplete combustion. This soot can contaminate experiments and make observations difficult. It’s primarily used as a safety indicator when the burner is on standby.
- Q: Can I use any type of gas with a Bunsen burner?
- A: Bunsen burners are typically designed for specific fuel gases like natural gas or LPG (propane/butane). Always ensure your burner is compatible with the available gas supply to ensure proper and safe operation.







