


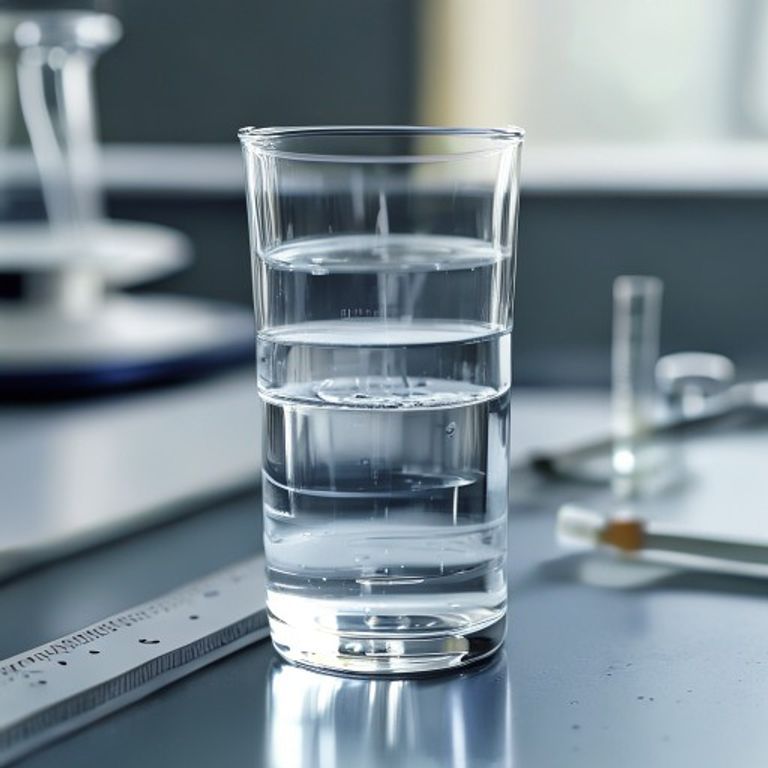
How to Accurately Measure Liquid Volume with a Graduated Cylinder

Introduction
When I first stepped into a chemistry lab, the graduated cylinder looked like a simple glass tube, but it quickly proved to be a powerhouse for precise liquid measurement. Whether you’re measuring water for a school experiment or handling chemicals for a research project, mastering the use of a graduated cylinder can save you time, reduce errors, and keep your results reliable. In this article, I’ll walk you through exactly what a graduated cylinder measures, the best way to read its markings, and practical tips for achieving accurate liquid volume every single time.
What Does a Graduated Cylinder Measure Specifically?
A graduated cylinder is designed to measure liquid volume in milliliters (mL) or sometimes in liters for larger models. Unlike beakers or flasks, which are meant for mixing, the cylinder’s narrow shape and fine graduations give you a clear view of the liquid’s meniscus, allowing you to read the volume with a precision of up to 0.1 mL for typical 100 mL cylinders.
Step‑by‑Step Guide: Measuring Liquid Volume with a Graduated Cylinder
1. Choose the Right Size
- Pick a cylinder that holds at least twice the volume you need. This reduces the relative error.
- For very small volumes, a 10 mL cylinder is ideal; for larger batches, use a 250 mL or 500 mL cylinder.
2. Clean and Dry the Cylinder
Any residue or water droplets can skew the reading. Rinse with the same solvent you’ll be measuring, then let it air‑dry or wipe gently with a lint‑free cloth.
3. Add the Liquid Slowly
Use a funnel or a pipette to pour the liquid. Adding it slowly helps avoid splashing and reduces the formation of bubbles, which can affect the meniscus.
4. Read the Meniscus Correctly
The meniscus is the curved surface of the liquid. For most liquids (water, most solvents), you’ll see a concave meniscus. Align your eye level with the bottom of the curve and read the nearest graduation mark. This is the best way to read a graduated cylinder measurement. If you’re dealing with a convex meniscus (e.g., mercury), read the top of the curve instead.
5. Record the Volume
Write down the volume to the appropriate number of significant figures. For a cylinder calibrated to 0.1 mL, record at least three significant figures (e.g., 23.4 mL).
Tips for Achieving Accurate Liquid Measurement in a Graduated Cylinder
- Temperature matters: Volume expands with heat. If precision is critical, measure at a controlled temperature (usually 20 °C).
- Use the cylinder upright: Tilting can cause the liquid to cling to the wall, giving a false reading.
- Check for calibration: Some cylinders have a “calibration check” mark; compare it against a known volume to verify accuracy.
- Practice consistency: Always use the same technique for pouring, eye level, and recording.
Practical Applications: Graduated Cylinder Use for Measuring Chemicals
In many labs, the graduated cylinder is the go‑to tool for preparing solutions, diluting reagents, or measuring solvents. For example, when I need to prepare a 0.5 M NaCl solution, I first measure 58.5 g of NaCl, dissolve it in a small amount of water, and then transfer the solution to a 250 mL graduated cylinder. I fill it up to the 250 mL mark, ensuring the final volume is exact.
For a deeper dive into the fundamentals, you might want to explore what is a graduated cylinder and its role in lab precision. Additionally, understanding the various graduated cylinder uses can expand your toolkit beyond just measuring water.
Conclusion
Mastering the graduated cylinder is all about respecting the small details: choosing the right size, keeping it clean, reading the meniscus at eye level, and recording the volume with proper significant figures. By following these practical steps, you’ll achieve accurate liquid measurement every time, whether you’re a student, a hobbyist, or a seasoned researcher. Remember, precision in the lab starts with the right glassware and the right technique.
FAQ
What is the smallest volume I can reliably measure with a graduated cylinder?
Generally, a 10 mL cylinder can measure down to about 0.1 mL with reasonable accuracy. For volumes smaller than that, a pipette or a burette is preferable.
How do I handle temperature variations when measuring liquids?
Measure liquids at a consistent temperature, preferably 20 °C, or use a temperature‑controlled environment. Some cylinders have temperature correction charts you can apply.
Can I use a graduated cylinder for viscous liquids like glycerol?
Yes, but pour slowly and give the liquid time to settle. Viscous liquids may form a thicker meniscus, so be extra careful when aligning your eye level.
Is it okay to read the volume from the top of the cylinder?
No. Always read from the bottom of the meniscus (or top for convex meniscus) at eye level. Reading from the top of the cylinder can introduce parallax error.
Do I need to calibrate my graduated cylinder?
Most commercial cylinders are pre‑calibrated, but it’s good practice to verify accuracy periodically with a known volume, especially if the cylinder has been dropped or heavily used.







