Guide complet des pièces de brûleur Bunsen : identification, fonctions et conseils de remplacement

Présentation
Vous avez déjà regardé un brûleur Bunsen et vous êtes-vous demandé ce que chaque pièce fait? Vous n'êtes pas seul. Dans de nombreux laboratoires, le brûleur Bunsen est un produit de base, mais ses composants restent souvent un mystère. Dans cet article, je vais vous guider dans chaque partie d'un brûleur Bunsen typique, expliquer comment ils travaillent ensemble, et vous donner des conseils pratiques pour l'étiquetage et le remplacement des pièces usées. À la fin, vous vous sentirez confiant dans la manipulation de ce matériel de laboratoire classique.
Identification des composants du brûleur Bunsen
Avant de plonger dans les fonctions, laissez-nous nommer les parties que vous verrez sur un brûleur Bunsen standard:
- Base
- Entrée de gaz (ou soupape à gaz)
- Connexion du tuyau
- Barre (ou cheminée)
- Trous d ' air (colliers)
- Vis de réglage de flamme
- Pointe du brûleur
Pensez au brûleur comme un petit orchestre : chaque composant joue une note spécifique, et ensemble ils produisent une flamme propre et contrôlable.
Pièces d'un diagramme de brûleur de Bunsen expliqué
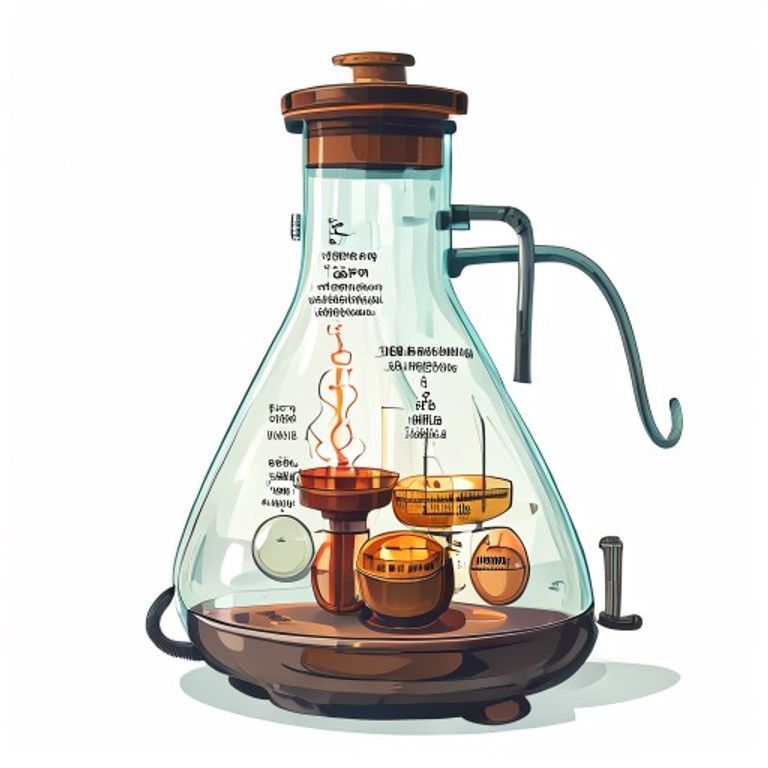
Un diagramme clair rend l'apprentissage plus rapide. Imaginez un croquis avec vue latérale où chaque partie est numérotée. La base assure la stabilité, l'entrée de gaz se connecte à la source de gaz, et le raccord de tuyau fixe les tubes flexibles. Le baril canalise le mélange gaz-air vers le haut, tandis que les trous d'air au col régulent la quantité d'air qui se mélange avec le gaz. La vis de réglage de la flamme ajuste la taille de la flamme, et l'extrémité du brûleur est l'endroit où la flamme émerge finalement.
Fonction de chaque pièce de brûleur Bunsen
Comprendre le rôle de chaque pièce vous aide à résoudre les problèmes rapidement.
- Base: Conserve le brûleur sur le banc, empêchant les bascules accidentelles.
- Entrée de gaz/vanne: Régule le débit de carburant (généralement du méthane ou du propane) depuis la conduite de gaz.
- Connexion du tuyau: Une liaison sûre et étanche entre le brûleur et l'alimentation en gaz.
- Barrel (cheminée): agit comme un conduit, permettant au mélange gaz-air de remonter avant l'allumage.
- Trous d'air (colliers): Les fentes réglables qui laissent l'air se mélanger au gaz; les ouvrir plus crée une flamme bleue plus chaude.
- Vis de réglage de flamme: Finissez la hauteur de la flamme sans changer le débit de gaz.
- Conseil du brûleur: Le point de sortie où le mélange enflammé forme la flamme visible.
Lorsque le rapport air-carburant est juste, vous obtenez cette flamme bleue propre idéale pour le chauffage. Trop peu d'air, et la flamme devient jaune et suie—un indicateur que quelque chose doit être ajusté.
Étiquetage Bunsen Burner Parts pour les étudiants
Les laboratoires d'enseignement ont souvent besoin d'étiquettes claires. Voici une méthode rapide:
- Imprimez un diagramme simple avec des pièces numérotées.
- Attachez de petits autocollants amovibles à côté de chaque composant sur le brûleur réel.
- Utilisez des étiquettes codées en couleur (p. ex. rouge pour l'entrée de gaz, bleu pour les trous d'air) pour faciliter l'apprentissage visuel.
Les élèves peuvent assortir les autocollants au diagramme, renforçant la mémoire par une interaction pratique. Cette approche fonctionne bien avec d'autres outils de laboratoire—comme le guide essentiel du support du tube d'essai—construire un état d'esprit de sécurité complet.
Pièces de rechange pour brûleur Bunsen Common
Avec le temps, l'usure est inévitable. Voici les pièces que vous aurez probablement besoin de remplacer:
- Conseil du brûleur: Peut devenir obstrué ou corrodé; l'échange rétablit une flamme propre.
- Col à air (sleeve réglable): Peut fissurer ou perdre sa capacité à réguler le débit d'air.
- Tuyau et connecteur: Recherchez des fissures ou des fuites; un tuyau frais assure un approvisionnement en gaz sûr.
- Bouton de soupape à gaz: If it sticks or leaks, replace the entire valve assembly.
Always purchase OEM (original equipment manufacturer) parts to guarantee a proper fit. Keeping a small stock of spare tips and collars can save you a lot of downtime during busy lab sessions.
Conseils pratiques pour maintenir votre brûleur Bunsen
Maintenance is easier than you think. Follow these simple steps after each use:
- Turn off the gas valve completely.
- Allow the burner to cool, then wipe the exterior with a lint‑free cloth.
- Inspect the air holes; clean any debris with a soft brush.
- Check the hose for cracks—replace if you see any signs of wear.
- Store the burner upright on a stable surface, away from direct sunlight.
These habits not only extend the life of your burner but also keep your lab environment safe.
FAQ
Quelle est la différence entre un bleu et une flamme jaune?
A blue flame indicates a proper mix of gas and air, producing a hotter, cleaner burn. A yellow flame means incomplete combustion—usually due to insufficient air—resulting in soot and lower temperatures.
Puis-je utiliser un brûleur Bunsen au gaz naturel?
Yes, but you may need to adjust the air‑fuel ratio. Natural gas has a different composition than propane, so fine‑tuning the air collar is essential.
Combien de fois dois-je remplacer la pointe du brûleur?
Typically every 1–2 years, depending on usage. If you notice irregular flame shape or soot buildup that cleaning doesn’t fix, it’s time for a new tip.
Est-il sûr d'utiliser un brûleur Bunsen sans pare-flammes ?
Most modern burners include built‑in safety features, but using a flame arrestor adds an extra layer of protection, especially in high‑risk environments.
Où puis-je en savoir plus sur l'équipement de laboratoire connexe?
Check out the article on beaker uses in chemistry labs for a deeper dive into other essential tools you’ll encounter alongside the Bunsen burner.
Conclusion
Knowing each part of a Bunsen burner—and how they work together—turns a simple flame into a powerful teaching and research tool. By labeling components, keeping spare parts on hand, and following basic maintenance, you’ll ensure reliable performance and a safer lab. So the next time you light that burner, you’ll do it with confidence, knowing exactly what’s happening beneath the blue flame.