


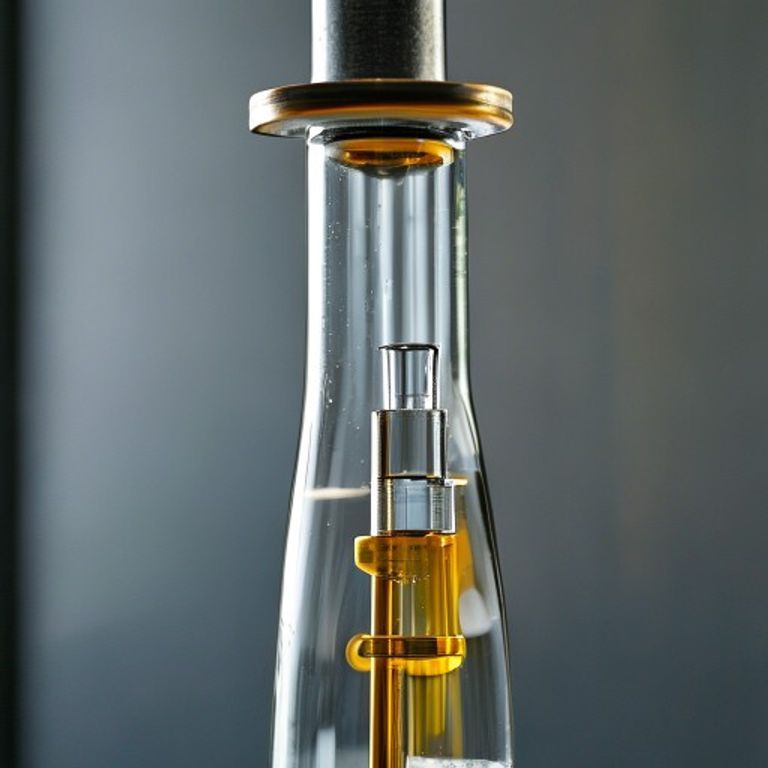
Burette 101 : Comment utiliser, lire et différencier cet outil de titrage essentiel

Présentation
Ever wondered why the burette is the star of every titration experiment? As a chemist who spends hours at the bench, I’ve learned that mastering this simple glass tube can make the difference between a flawless result and a frustrating mess. In this article we’ll explore what a burette is used for, break down its parts, walk through a step‑by‑step titration, and show you how to read it like a pro. Let’s dive in!
What Is a Burette Used For?
A burette is a piece of analyse volumétrique glassware designed to deliver precise volumes of liquid, one drop at a time. Its most common role is in fiole jaugée‑based titrations, where you need to know exactly how much titrant you added to reach the endpoint.
- Acid‑base titrations
- Redox titrations
- Complexometric (EDTA) titrations
- Standardization of solutions
Parts of a Burette and Their Function
Think of a burette as a tiny water gun with a few extra tricks. Here’s a quick rundown:
- Body (tube) – Made of borosilicate glass, calibrated in 0.1 mL increments.
- Détonateur – The valve at the bottom that controls the flow; turn it gently to release drops.
- Conseil – The narrow end where the liquid exits; a smooth tip prevents splashing.
- Graduated scale – Marks the volume; read from the bottom of the ménisque.
- Clamp and stand – Holds the burette vertically so gravity does the work.
How to Use a Burette for Titration
Here’s my go‑to routine, broken into bite‑size steps:
- Rincer la burette with the titrant solution (not water) to avoid dilution.
- Fill it just above the 0.00 mL mark, then use a funnel to remove air bubbles from the tip.
- Zero the burette by opening the stopcock and letting a few drops flow out until the bottom of the meniscus aligns exactly with the 0.00 mL line.
- Place the sample (e.g., acid in a conical flask) with an appropriate indicator.
- Start the titration – slowly turn the stopcock, swirling the flask continuously.
- Watch the endpoint – when the indicator changes color, close the stopcock immediately.
- Record the volume – note the reading on the burette; the difference from the initial reading is the volume of titrant used.
How to Read a Burette Accurately
Reading a burette is a bit like reading a ruler at eye level – you need the right angle.
- Eye level: Position your eye so the meniscus is directly in line with your sight.
- Bottom of the meniscus: Always read the lower edge of the curved surface.
- Estimate the decimal: The smallest division is usually 0.1 mL; estimate the half‑division for extra precision.
- Record both initial and final readings to calculate the exact volume delivered.
Burette vs. Pipette: The Key Differences
Both are essential, but they serve different purposes:
- Contrôle – A burette lets you add liquid dropwise; a pipette delivers a fixed volume in one go.
- Accuracy vs. Precision – Burettes excel in delivering precise incremental volumes, while pipettes are better for measuring a single exact volume.
- Utilisation typique – Use a burette for titration (variable volume) and a pipette for preparing standards or dilutions (fixed volume).
Conseils pratiques pour le travail de laboratoire quotidien
- Keep the stopcock clean; residue can cause erratic flow.
- Never use a metal clamp on a glass burette – it can crack under temperature changes.
- If you notice a cloudy meniscus, rinse with the titrant again – clarity ensures accurate reading.
- Combine your burette with other glassware like a cylindre gradué for preparing larger volumes before titration.
Conclusion
The burette may look simple, but mastering its use unlocks reliable, reproducible results in any volumetric analysis. By understanding its parts, practicing proper filling and reading techniques, and knowing when to choose it over a pipette, you’ll boost both confidence and accuracy in the lab. So the next time you set up a titration, remember: a steady hand, a clear meniscus, and a well‑maintained stopcock are your best friends.
FAQ
What is the best way to avoid air bubbles in the burette tip?
After filling, open the stopcock and let a few drops flow out. This pushes any trapped air up and out of the tip.
Can I use a plastic burette for acidic solutions?
Most plastic burettes are not resistant to strong acids or bases. Borosilicate glass is the safest choice for most titrations.
Combien de fois devrais-je calibrer ma burette?
Check the calibration at the start of each new experiment. If you notice a drift of more than 0.05 mL, re‑calibrate or replace the burette.
Is it necessary to rinse the burette with the titrant each time?
Yes. Rinsing with the titrant prevents dilution and ensures the concentration remains consistent throughout the titration.
What should I do if the stopcock leaks?
Disassemble the stopcock, clean any residue, and re‑assemble. If the leak persists, replace the stopcock or the entire burette.







