


Beyond the Grind: Mastering Mortar and Pestle Chemistry for Precision Lab Work

Introduction: The Unsung Heroes of Chemical Preparation
When we think of cutting-edge chemistry, our minds often jump to complex spectroscopy machines or intricate reaction setups. But sometimes, the most crucial tools are the simplest, the ones that have stood the test of time. Enter the mortar and pestle – a timeless duo that remains indispensable in chemistry labs worldwide. You might think it’s just about crushing things, right? Well, it’s so much more than that! For us in the lab, mastering Scoopula Uses Chemistry: The Essential Tool for Solid Reagents in the Lab and understanding the nuances of how to use mortar and pestle in chemistry lab can make all the difference in our experiments.
Imagine trying to bake a cake with whole sugar crystals and flour straight from the mill – it wouldn’t work. The ingredients need to be processed to the right consistency. The same principle applies in chemistry. Whether we’re preparing a sample for analysis, facilitating a reaction, or simply getting our solid chemicals ready, the mortar and pestle are our go-to instruments for achieving that perfect particle size. Let’s dive into the fascinating world of mortar and pestle chemistry and discover why these humble tools are anything but basic.
Why We Grind: The Purpose of Mortar and Pestle in Chemical Sample Preparation
So, why is grinding so important? The primary purpose of mortar and pestle in chemical sample preparation is to increase the surface area of a solid substance. Think of it like this: if you have a large sugar cube, only its outer surfaces are exposed. But if you crush it into fine powder, suddenly, thousands of tiny surfaces become available. In chemistry, this increased surface area leads to several crucial benefits:
- Enhanced Reactivity: Many chemical reactions occur at the surface of solid particles. A larger surface area means more contact points for reactants, leading to faster and more efficient reactions. This process is often referred to as chemical comminution.
- Improved Dissolution: When we want a solid to dissolve in a solvent, a smaller particle size means it will dissolve much quicker and more completely.
- Better Homogenization: If we’re mixing different solid components, grinding them together ensures a uniform mixture, preventing segregation and ensuring consistent results. This is key for lab homogenization.
- Accurate Sampling: For analytical chemistry, having a uniform, finely powdered sample ensures that any small portion we take is representative of the whole, leading to more accurate test results and better powderization.
Choosing Your Grinding Partner: Best Mortar and Pestle Material for Chemical Grinding
Just like we wouldn’t use a wooden spoon to stir strong acids, the material of our mortar and pestle matters! The best mortar and pestle material for chemical grinding depends on the specific chemicals we’re working with and the desired outcome. Here are some common types we encounter:
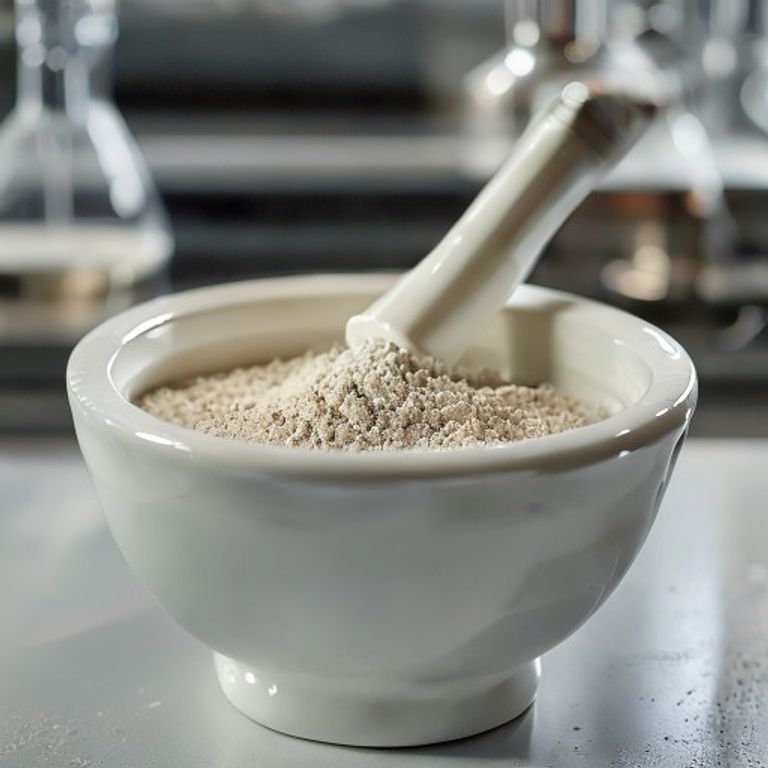
- Porcelain: This is perhaps the most common type we use in general chemistry labs. Porcelain is hard, inert to most chemicals, and affordable. Its slightly rough surface provides good friction for grinding. However, it can be brittle and might chip or scratch with very hard materials.
- Agate: For more delicate or very hard samples, we often turn to agate mortars and pestles. Agate is extremely hard and non-porous, making it excellent for avoiding contamination and achieving ultra-fine grinds. It’s ideal when minimal abrasion of the mortar material into the sample is critical.
- Glass: Glass mortars and pestles are sometimes used for very specific applications, especially when we need to visually inspect the grinding process or work with substances that might react with porcelain. They are generally less durable than porcelain or agate.
Always consider the hardness of your sample and the potential for contamination when selecting your tools. For instance, grinding a very hard material in a porcelain mortar might introduce tiny porcelain particles into your sample, which could be an issue for certain analyses.
The Art of Trituration: Grinding Solid Chemicals with Mortar and Pestle Techniques
Grinding solid chemicals with mortar and pestle isn’t just about mashing; it’s an art called trituration. Here’s how we typically approach it for optimal results:
- Start Small: We always begin with small amounts of the solid chemical. Overloading the mortar makes efficient grinding difficult and can even be unsafe.
- Gentle Crushing First: If the solid is in large chunks, we gently tap or press the pestle against it to break it into smaller pieces before circular grinding.
- Circular Motion with Pressure: Once in smaller pieces, we use a circular, grinding motion, applying moderate downward pressure with the pestle. The idea is to ‘shear’ the particles, not just mash them. We work in sections, ensuring all particles get processed.
- Scrape Down: Periodically, we scrape down any material sticking to the sides of the mortar or the pestle using a micro spatula or a larger scoopula. This ensures uniform grinding.
- Achieve Desired Fineness: We continue grinding until the desired particle size is achieved. This might mean a coarse powder or a very fine, almost dust-like consistency, depending on our experimental needs.
- Add Liquids (if applicable): Sometimes, we need to incorporate a liquid into a solid to create a paste or suspension. We add the liquid slowly, in small portions, continuing to triturate until the mixture is uniform.
Safety is paramount! Always wear appropriate personal protective equipment (PPE), including safety glasses, when grinding chemicals, especially fine powders that can become airborne.
Keeping It Clean: Cleaning and Maintaining Chemistry Mortar and Pestle Sets
A clean mortar and pestle are crucial for preventing cross-contamination in our experiments. Cleaning and maintaining chemistry mortar and pestle sets is usually straightforward:
- Immediate Cleaning: We always clean the mortar and pestle immediately after use. Dried-on chemicals are much harder to remove.
- Rinse and Scrub: For most general chemicals, a thorough rinse with tap water followed by scrubbing with soap and a brush is sufficient.
- Solvent Wash: If we’ve been grinding something insoluble in water or a particular residue remains, we might use an appropriate organic solvent (like acetone or ethanol) for cleaning. Always ensure proper ventilation when using solvents.
- Acid/Base Wash (Caution!): For stubborn inorganic residues, a dilute acid or base wash might be necessary, but this requires extreme caution and knowledge of chemical compatibility. Always follow lab safety protocols.
- Rinse Thoroughly: After any cleaning agent, we rinse the mortar and pestle meticulously with distilled or deionized water to remove all traces of soap or solvent.
- Dry Completely: We let them air dry or gently wipe them with a lint-free cloth before storing. Moisture can lead to unwanted reactions or contamination.
- Storage: Store them in a clean, dust-free environment, ideally with the pestle inside the mortar or in a dedicated drawer.
Conclusion: The Enduring Legacy of Mortar and Pestle Chemistry
From centuries past to modern high-tech labs, the mortar and pestle have proven their enduring value. They might seem simple, but their role in enabling precise chemical reactions, accurate analyses, and efficient sample preparation is undeniable. By understanding the best practices for material selection, grinding techniques, and proper maintenance, we empower ourselves to achieve better, more consistent results in all our chemical endeavors. So, next time you reach for this humble duo, remember the significant impact it has on the world of chemistry!
Frequently Asked Questions (FAQ)
Q1: Can I use the same mortar and pestle for different chemicals?
A1: Ideally, no, especially if the chemicals are very different or if trace contamination would be critical. Dedicate specific sets for certain types of compounds (e.g., organic vs. inorganic) or ensure extremely thorough cleaning between uses to prevent cross-contamination.
Q2: What’s the difference between grinding and crushing?
A2: Crushing typically involves breaking larger pieces into smaller fragments, often through impact. Grinding, or trituration, is a more refined process that reduces particle size through abrasive, shearing forces, aiming for a consistent, fine powder.
Q3: How do I know when a chemical is ground finely enough?
A3: This depends on the experiment. Often, the requirement will be stated (e.g., “fine powder,” “pass through a specific sieve”). Visually, you can inspect the powder for uniformity, or if very precise, use a microscope to check particle size distribution. A good rule of thumb is that it should feel smooth and uniform, without gritty particles, when rubbed between your fingers (if safe to touch).
Q4: Is there a safety concern when grinding volatile or hazardous chemicals?
A4: Absolutely! Grinding increases surface area and can release vapors or fine dust, increasing exposure risk. Always work in a fume hood, wear appropriate PPE (gloves, safety glasses, lab coat), and consult the chemical’s Safety Data Sheet (SDS) for specific handling precautions. For highly volatile or very hazardous materials, alternative methods might be necessary.







