


The Essential Role of Mortar and Pestle in Laboratory Sample Preparation

Introduction
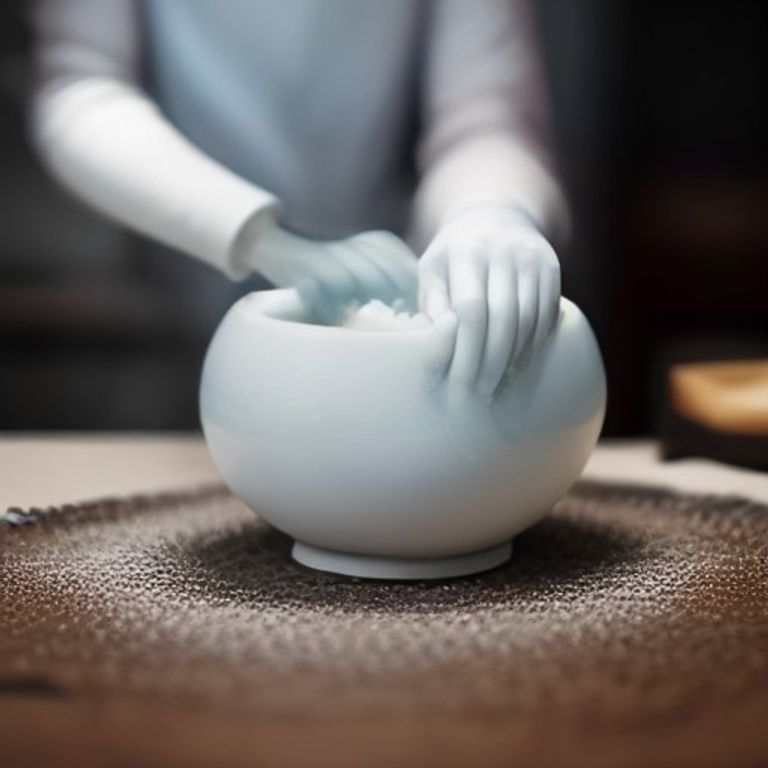
When I first stepped into a chemistry lab, the first piece of equipment that caught my eye was the humble mortar and pestle. It may look like a kitchen gadget, but in the lab it’s a powerhouse for grinding solids, achieving uniform particle size, and preparing samples for analysis. In this article, I’ll walk you through how to use a mortar and pestle effectively, why it’s indispensable in chemistry, and some practical tips that can save you time and improve data quality.
Why the Mortar and Pestle Still Matters in Modern Labs
Even with high‑tech homogenizers and ball mills, the mortar and pestle remains a go‑to tool for many reasons:
- Precision control: You decide how fine the powder becomes, simply by adjusting the grinding pressure and time.
- Versatility: Works with a wide range of materials—organic compounds, inorganic salts, minerals, and even delicate biological samples.
- Low cost & low maintenance: No electricity, no calibration, just a sturdy bowl and a pestle.
How to Use a Mortar and Pestle in a Lab
1. Choose the Right Material
Mortars and pestles come in porcelain, glass, agate, and stainless steel. Porcelain is great for most chemicals, while agate is preferred for very hard or abrasive substances to avoid contamination.
2. Prepare Your Workspace
Place the mortar on a stable, non‑slipping surface. Wear appropriate PPE—gloves, goggles, and a lab coat. If you’re working with volatile or hazardous powders, perform the grinding inside a fume hood.
3. Add the Sample
Start with a small amount (usually 0.5–2 g). Too much material can lead to uneven grinding and heat buildup.
4. Grind with the Right Technique
Use a circular motion, applying steady pressure. For a coarse crush, a few short strokes are enough. For a fine powder, continue for 2–5 minutes, periodically scraping the sides with a spatula to ensure uniformity. This process is called trituration—a gentle yet effective way to achieve comminution.
5. Collect the Powder
Tap the mortar gently or use a clean spatula to transfer the ground material into a pre‑weighed container. If you need a very fine powder, you can pass it through a sieve (e.g., 60 µm) before analysis.
Practical Applications in Chemistry
Here are some common scenarios where the mortar and pestle shines:
- Preparing reagents for titration: Grinding solid acids or bases ensures they dissolve quickly and completely.
- Sample preparation for spectroscopy: Uniform particle size reduces scattering and improves accuracy in FTIR or UV‑Vis measurements.
- Extraction of natural products: Crushing plant material releases metabolites that can be further extracted with solvents.
- Creating calibration standards: Fine powders can be weighed precisely to make standard solutions.
For a deeper dive into grinding techniques, check out mastering the mortar and pestle, which covers everything from selecting the right pestle to troubleshooting common problems.
Tips to Maximize Efficiency and Safety
- Pre‑chill the mortar: Cooling the bowl can reduce heat generated during grinding, which is crucial for heat‑sensitive compounds.
- Use a pestle with a textured surface: This improves friction and speeds up pulverization.
- Avoid cross‑contamination: Clean the mortar and pestle thoroughly between different samples—rinse with appropriate solvents and dry completely.
- Document the grinding time and pressure: Consistency is key for reproducible results.
Integrating the Mortar and Pestle with Other Lab Equipment
Often, the ground powder is not the final product. After pulverization, you might transfer the material to a versatile functions of an Erlenmeyer flask for dissolution, heating, or reaction setup. The seamless hand‑off between these simple tools exemplifies how basic equipment still underpins modern experimental workflows.
Conclusion
The mortar and pestle may look simple, but its impact on sample preparation, accuracy, and overall research quality is profound. By mastering the art of trituration, you gain precise control over particle size, reduce the need for expensive equipment, and keep your experiments reproducible. So next time you set up a protocol, give this unsung hero the attention it deserves—you’ll be surprised how much smoother your lab work becomes.
FAQ
Q: Can I use a mortar and pestle for liquid samples?
A: It’s mainly for solids, but you can use it to homogenize viscous liquids or pastes when combined with a small amount of solvent.
Q: How do I prevent contamination between samples?
A: Clean the bowl and pestle with an appropriate solvent (e.g., ethanol for organic residues, dilute acid for inorganic), rinse with distilled water, and dry completely before the next use.
Q: What’s the difference between grinding and pulverizing?
A: Grinding reduces particle size by breaking larger chunks, while pulverizing aims for a fine, uniform powder. Both can be achieved with a mortar and pestle, just adjust the time and pressure.
Q: Is it safe to grind reactive chemicals?
A: For highly reactive or pyrophoric substances, use a specialized inert‑atmosphere glove box or opt for a mechanical mill designed for such materials.
Q: How fine should my powder be for spectroscopic analysis?
A: Generally, a particle size below 60 µm is recommended to minimize scattering. Use a sieve to verify the size distribution.







