


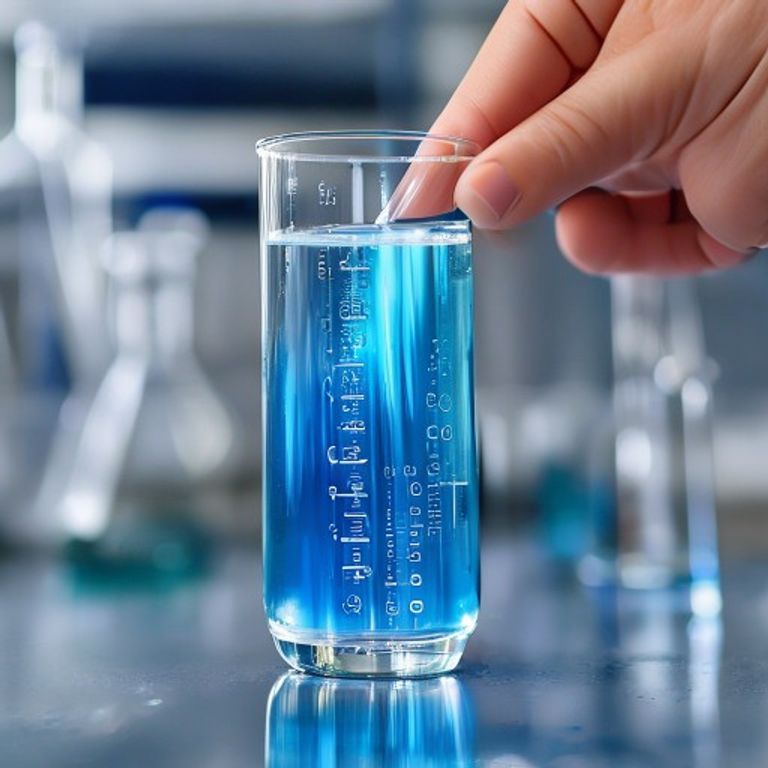
What is a Graduated Cylinder? Unlocking Its Secrets for Accurate Lab Measurements

Have you ever found yourself in a chemistry lab, staring at an array of glass and plastic containers, wondering which one to grab for a specific task? It can be a bit overwhelming, right? Among the various pieces of laboratory equipment, there’s one that often stands out for its specific and crucial role: the graduated cylinder. Today, we’re going to dive deep into what a graduated cylinder is, why it’s so important, and how we can use it like a pro to ensure our experiments are as accurate as possible.
When we talk about measuring liquids in the lab, precision is paramount. A tiny error can sometimes lead to significant issues, from failed reactions to incorrect data. That’s where our trusty graduated cylinder comes in. It’s not just another piece of glassware; it’s a dedicated tool for obtaining accurate volume measurement, a true workhorse in any scientific setting.
What Exactly Is a Graduated Cylinder?
At its core, a graduated cylinder is a tall, cylindrical piece of laboratory glassware (though sometimes made of plastic for durability) with a flat base for stability and a spout for easy pouring. What really sets it apart are the distinct markings, or “graduations,” etched along its side. These graduations represent specific volumes, typically in milliliters (mL), allowing us to measure liquids with a good degree of precision.
Think of it like a specialized measuring cup for our scientific kitchen. While a kitchen measuring cup gives us a general idea (e.g., 1 cup of flour), a graduated cylinder gives us much finer, more reliable readings for liquids, like 25.5 mL of a solution. This makes it indispensable for many chemical and biological applications where volume accuracy is key.
Why Do We Need It? The Function of a Graduated Cylinder
So, what is the function of a graduated cylinder? Simply put, its primary job is to measure the volume of a liquid accurately. While other lab items, like beakers, can hold liquids, they aren’t designed for precise measurement. A graduated cylinder is engineered to give us consistent and reliable volume readings, making it perfect for tasks such as:
- Preparing solutions with specific concentrations.
- Measuring reactants or products in a chemical reaction.
- Transferring known volumes of liquid from one container to another.
Without it, our experiments would be far less reproducible, and our results would be much less reliable. It really is a fundamental tool for good laboratory practice.
Graduated Cylinder vs. Beaker: A Tale of Two Lab Tools
This is a common point of confusion for many newcomers to the lab. Both beakers and graduated cylinders are cylindrical containers, but their purposes are vastly different, especially concerning accuracy. Let’s break down the graduated cylinder vs beaker accuracy debate:
Beakers: These are the all-rounders. They’re great for holding, mixing, and heating liquids. They have volume markings, but these are typically approximations. If you need to roughly estimate 100 mL, a beaker is fine. However, if you need precisely 100.0 mL, a beaker just won’t cut it. For more on the essential uses of beakers, we have a whole guide!
Graduated Cylinders: These are the specialists. Their narrow diameter and fine graduation marks are specifically designed for accuracy. We use them when we need to measure volumes with a much higher degree of precision than a beaker can offer. While they are more accurate than beakers, for ultra-high precision of a single, specific volume (like 25.00 mL), we might turn to a volumetric flask for super accurate chemistry.
Getting to Know Your Cylinder: Parts of a Graduated Cylinder
To really understand what are the parts of a graduated cylinder, let’s look at its anatomy:
- The Cylinder Body: This is the main tube where the liquid is held. Its uniform diameter is crucial for accurate volume readings.
- The Base: A flat, sturdy bottom that keeps the cylinder upright and stable on the lab bench.
- The Spout: A small pouring lip at the top, designed to allow for controlled transfer of liquids without spilling.
- Graduation Marks (Scale): These are the lines etched along the side, indicating specific volumes. Longer lines usually denote larger increments (e.g., 10 mL), while shorter lines represent smaller increments (e.g., 1 mL or 0.1 mL). The scale always includes the unit of measurement, typically milliliters (mL).
- The Meniscus: This is the curved surface of a liquid when it’s in a container. For most aqueous (water-based) solutions, the meniscus curves downwards. We’ll talk more about this in a moment!
How to Use a Graduated Cylinder Like a Pro in Chemistry
Now that we know what it is and its parts, let’s learn how to use a graduated cylinder in chemistry to get the best results. It’s simpler than you might think, but there are a few key steps:
Place it on a Level Surface: Always set your graduated cylinder on a flat, stable bench. Holding it in your hand can lead to inaccurate readings.
Pour Carefully: Slowly pour the liquid into the cylinder until it’s just below your desired volume. Use a dropper or pipette for the final adjustments if you need extreme precision.
Read at Eye Level: This is perhaps the most critical step for how to read volume in a graduated cylinder. Bend down so your eye is perfectly level with the top of the liquid. This helps avoid “parallax error,” which is when the reading appears higher or lower depending on your viewing angle.
Observe the Meniscus: For most liquids, you’ll see a slight curve at the surface – this is the meniscus. Always read the volume at the very bottom of this curve. Imagine drawing a tangent line right at the lowest point of the curve; that’s your measurement!
Record Your Measurement: Don’t forget to write down your reading, including the correct number of significant figures, right away!
Clean Thoroughly: After use, always clean your graduated cylinder properly. Residual chemicals can contaminate future experiments.
Conclusion
So there you have it! The graduated cylinder might seem like a simple piece of laboratory equipment, but its role in achieving accurate volume measurement is absolutely essential. By understanding what is a graduated cylinder, its distinct parts, and how to use it correctly – especially paying attention to the meniscus and reading at eye level – we can significantly improve the reliability of our lab work. It’s a small tool that makes a big difference in the world of science!
Frequently Asked Questions (FAQ)
Q: Can I heat a graduated cylinder?
A: Generally, no. Most graduated cylinders, especially those made of glass, are not designed for heating. The rapid temperature changes can cause them to crack or break. If you need to heat a liquid, transfer it to a beaker or an Erlenmeyer flask.
Q: What’s the smallest volume a graduated cylinder can accurately measure?
A: Graduated cylinders come in various sizes, from small 10 mL ones to large 1000 mL (1 L) or even 2000 mL ones. The smallest volume it can accurately measure depends on its size and the smallest graduation marks. A 10 mL cylinder might have graduations down to 0.1 mL, allowing for precise small volume measurements.
Q: Is a graduated cylinder always made of glass?
A: Not always! While glass (often borosilicate glass for chemical resistance) is very common, plastic graduated cylinders are also widely available. Plastic versions are typically made from polypropylene or polymethylpentene, making them more durable and less prone to breaking, which is great for student labs or when working with hazardous materials where breakage is a concern.







