Understanding Burettes: History, Functions, Types, and Tips for Using Them
In the world of scientific inquiry and analytical chemistry, accuracy is the key to reliable results. Few tools embody this precision better than the burette — an essential instrument used by chemists, researchers, and lab technicians around the globe. Whether you’re an experienced analyst or a budding chemistry student, understanding the burette’s history, functionality, variations, and proper use will elevate your laboratory skills to a professional level.
A Brief History of the Burette
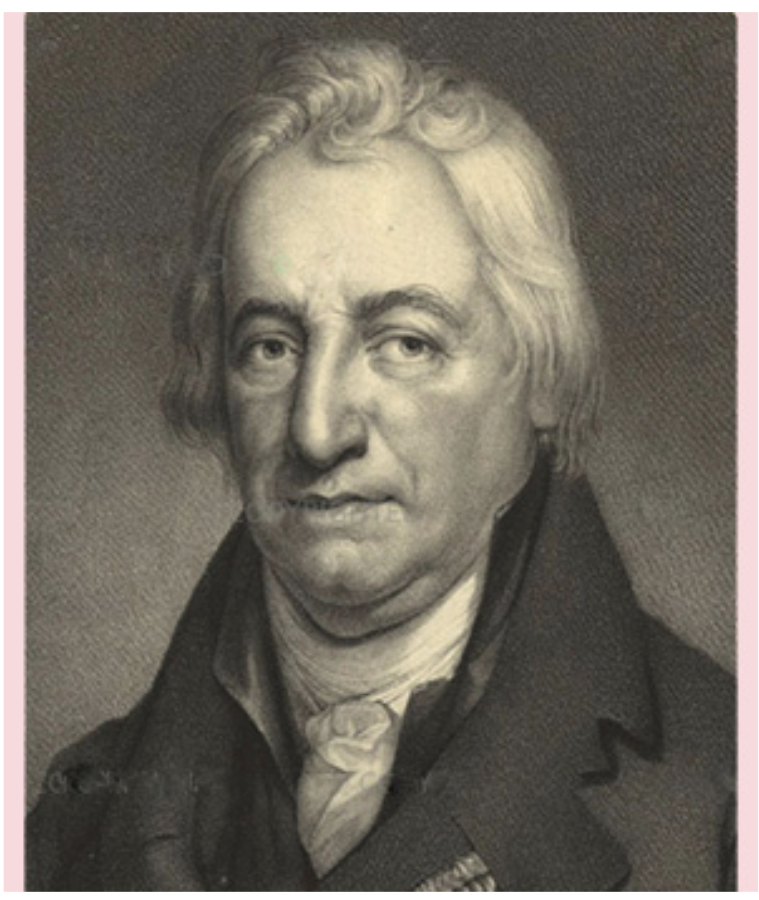
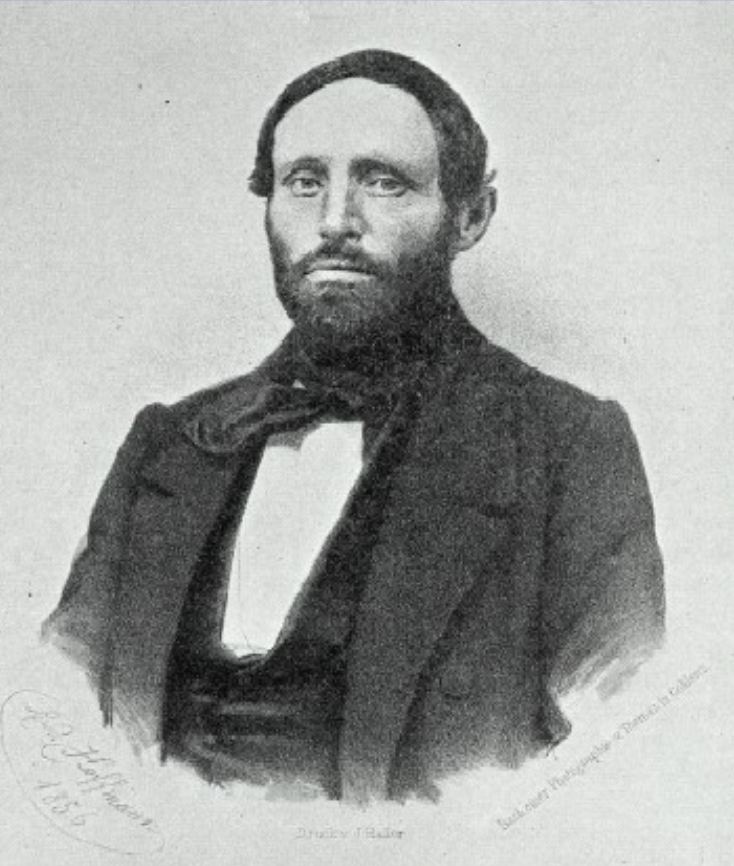
The burette was first introduced in the mid-19th century as scientists began developing tools for more precise quantitative analysis. French chemist François Antoine Henri Descroizilles is often credited with inventing the first burette-like device in the late 1700s. However, it was Karl Friedrich Mohr, a German analytical chemist, who refined the design in 1855 by adding the glass stopcock, giving us the modern burette we recognize today.
This innovation allowed for accurate titration, a technique that became foundational in both academic and industrial chemistry. Since then, the burette has remained a symbol of careful measurement and meticulous technique.
What is a Burette?
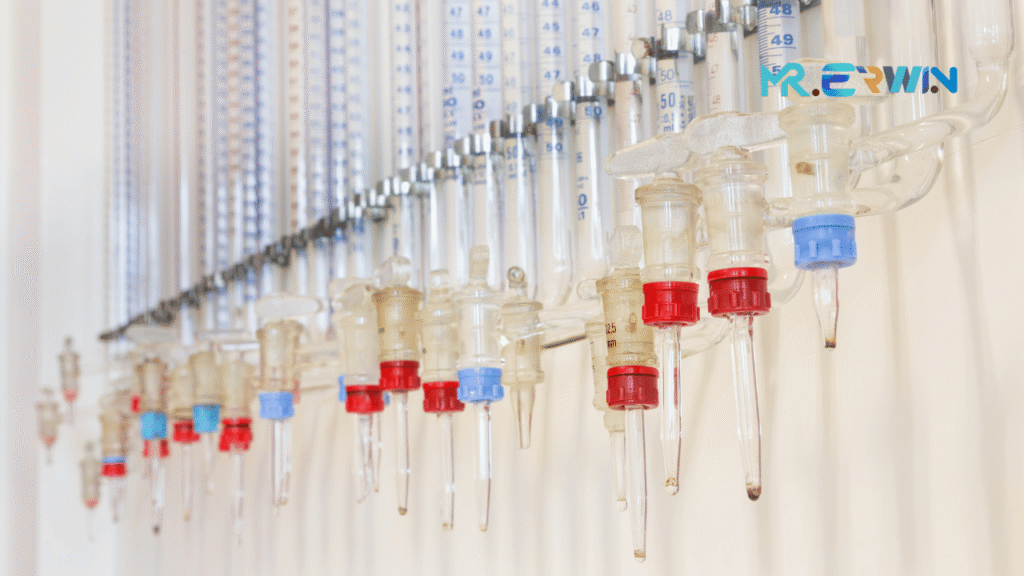
A burette is a long, cylindrical tube with fine volume graduations and a tap or stopcock at its lower end. It is used to dispense precise volumes of liquid, especially during titration, where a solution of known concentration is gradually added to one of unknown concentration to determine the latter’s exact value.
Modern burettes are typically calibrated to deliver volumes with ±0.05 mL accuracy or better, making them one of the most precise liquid delivery instruments in a chemistry lab.
Main Functions of a Burette
A burette plays a central role in volumetric analysis. Its core functions include:
- Titration Control: Allows accurate addition of one reactant to another to determine concentration.
- Quantitative Dispensing: Delivers exact volumes of liquids drop by drop.
- Standard Solution Application: Used to introduce standardized reagents to an unknown analyte.
- Monitoring Reaction Progress: Particularly in neutralization, redox, or complexometric titrations.
Parts of a Burette
Understanding the anatomy of a burette ensures proper use and maintenance:
| Part | Function |
|---|---|
| Barrel | The main vertical tube, graduated with volume markings |
| Stopcock | A valve at the bottom used to control the release of liquid |
| Tip/Nozzle | The end from which the liquid is dispensed |
| Funnel (optional) | Attached during filling to avoid spills |
| Support Stand | Holds the burette in a perfectly vertical position during use |
Types of Burettes
There are several types of burettes designed to suit different environments and applications:
1. Glass Manual Burette
- Made from borosilicate glass
- Chemically resistant and transparent
- Requires manual reading and operation
- Ideal for general laboratory use
2. Plastic Burette
- Made from polyethylene or polymethylpentene
- Lightweight and shatterproof, but less chemically resistant
- Suitable for basic educational labs or fieldwork
3. Digital or Electronic Burette
- Equipped with electronic volume display and control
- Offers push-button dispensing and higher repeatability
- Suitable for pharmaceutical labs, biotech, and quality control environments
4. Piston Burettes (Titrators)
- Used in automated titration systems
- Controlled by software and capable of performing multiple titrations with minimal human input
How to Use a Burette (Step-by-Step Guide)
Mastery of burette technique is essential for accurate titration. Here’s a professional guide:
1. Preparation
- Clean the burette with distilled water.
- Rinse with the solution you intend to use (e.g., standardized NaOH) to avoid dilution or contamination.
2. Filling the Burette
- Close the stopcock.
- Use a clean funnel to fill the burette just above the 0.00 mL mark.
- Remove the funnel once filled to avoid accidental dripping.
3. Remove Air Bubbles
- Open the stopcock to let the solution run through the tip until all air bubbles are gone.
- Check the entire tip for hidden bubbles that could affect readings.
4. Initial Reading
- Record the initial volume at eye level, aligning with the bottom of the meniscus.
- Use a white background to help visualize the meniscus curve.
5. Titration
- Slowly open the stopcock, adding titrant to the analyte in the flask.
- Swirl the flask constantly to mix thoroughly.
- Add dropwise near the endpoint (color change).
6. Final Reading and Calculation
- Close the stopcock once the endpoint is reached.
- Record the final volume.
- Subtract the initial reading to find the volume of titrant used.
Professional Tips for Using Burettes
- Always Clamp Vertically: Tilted burettes distort readings and flow.
- Avoid Overfilling: Stay within the calibration marks.
- Label Your Solutions: To avoid dangerous mix-ups.
- Check for Leaks: Even small drips can ruin results.
- Use a Consistent Technique: Always read at eye level and record to two decimal places.
Common Mistakes to Avoid
| Mistake | Why it matters |
|---|---|
| Not rinsing with reagent | Leaves water behind, diluting your solution |
| Reading from above or below eye level | Causes parallax error, leading to inaccurate readings |
| Forgetting to remove air bubbles | Leads to volume delivery errors |
| Over-tightening the stopcock | Can damage glass fittings |
| Using the wrong type of burette | E.g., using plastic with strong solvents can cause degradation |
Cleaning and Maintenance
After use:
- Drain and rinse the burette with distilled water.
- Invert and allow to air dry (never store it wet or dirty).
- Regularly inspect for blockages or stuck stopcocks.
Pro Tip: For stubborn residues, use burette brushes and mild cleaning solutions — never use abrasive materials that could scratch the calibration marks.
Conclusion
The burette may seem like a simple tool, but in the right hands, it’s a powerful instrument of precision and reliability. Its long history, versatility, and crucial role in analytical chemistry make it a staple in every serious laboratory. By understanding the different types, mastering proper technique, and avoiding common pitfalls, you can achieve accurate, repeatable results every time.
So whether you’re performing a simple acid-base titration or working in a pharmaceutical quality control lab, remember: a good scientist always respects their burette.
Frequently Asked Questions (FAQs)
What is a burette used for?
A burette is primarily used in titration — a laboratory technique for measuring the volume of a solution needed to react with a known quantity of another substance. It delivers precise amounts of liquid, allowing chemists to determine unknown concentrations in volumetric analysis.
How accurate is a burette?
A high-quality burette can measure liquids with an accuracy of ±0.05 mL or better. Its fine volume gradations and controlled flow via the stopcock make it one of the most accurate tools for dispensing liquid reagents in analytical chemistry.
Why use a burette in nursing?
In clinical and nursing contexts, a “burette set” refers to an IV administration device that controls fluid volume delivered to a patient — especially in pediatric or critical care settings. It allows precise control over medication dosage and fluid rate.
What is a burette in medicine?
In medical practice, a burette is part of an intravenous (IV) setup used to ensure accurate and safe delivery of fluids or medications. It typically has a calibrated chamber (often 100–150 mL) between the IV bag and the drip chamber, preventing accidental overdose and allowing for more precise control over fluid administration.