Test Tubes: History, Types, Functions, and Usage Tips
Test tubes are among the most essential tools in scientific laboratories. They are simple in design but play a critical role in chemistry, biology, and medical research. This article explores the history of test tubes, the various types, their functions, and helpful tips for proper usage. Whether you are a student, a lab technician, or simply curious about laboratory equipment, this guide will help you understand everything about test tubes.
What Is a Test Tube?

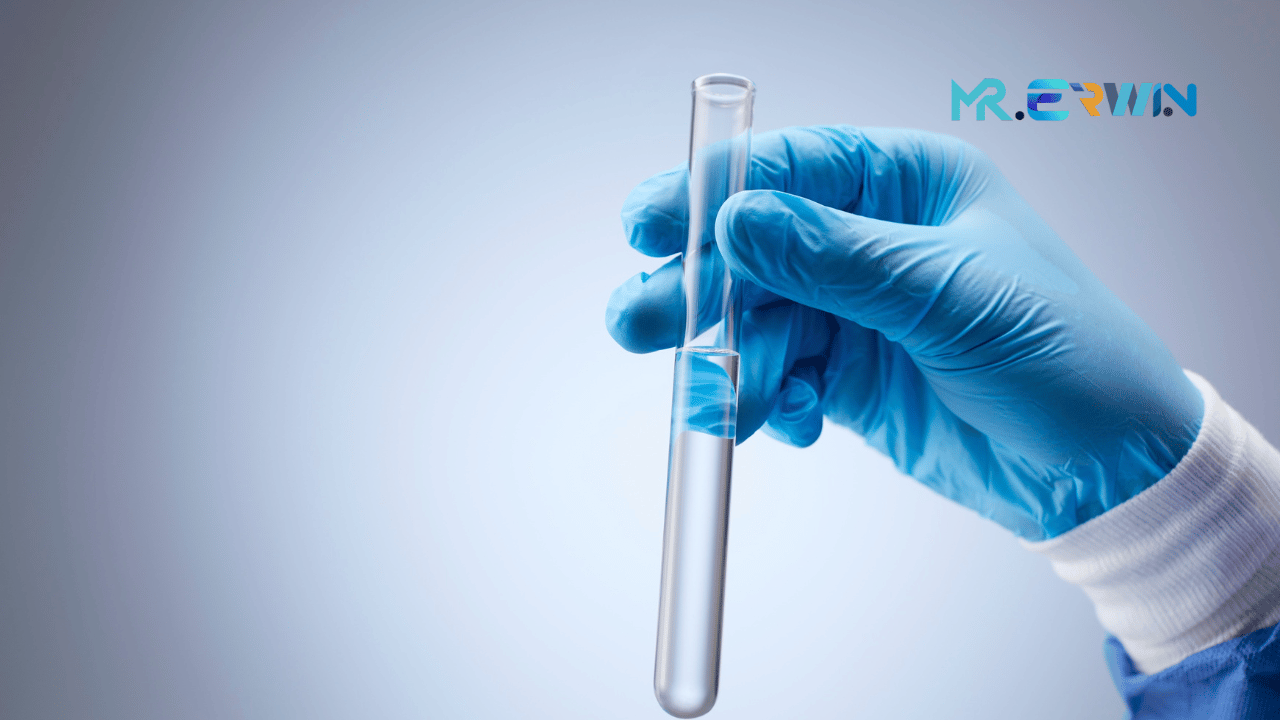
A test tube is a cylindrical glass or plastic container with an open top and a rounded bottom. It is used primarily to hold, mix, or heat small quantities of substances during laboratory experiments. Test tubes are designed to withstand chemical reactions and high temperatures, especially when made of borosilicate glass.
A Brief History of Test Tubes

The concept of using glass containers for scientific experimentation dates back to the 17th century. Early scientists, including Robert Boyle, used rudimentary glass tubes for chemical analysis.
Modern test tubes became more widespread in the 19th century, especially with advancements in glassblowing techniques. Borosilicate glass, invented in the late 1800s, revolutionized labware production by making test tubes more heat-resistant and durable.
Types of Test Tubes
Test tubes come in various shapes, sizes, and materials, each suited for different laboratory tasks. Choosing the right test tube depends on the type of experiment, the substances used, and the equipment involved. Below is a comprehensive overview of the most commonly used types of test tubes in laboratories:
1. Standard Test Tube
Material: Borosilicate glass or polypropylene plastic
Size Range: 10 mm to 25 mm in diameter; 75 mm to 150 mm in length
Features:
- Uniform cylindrical shape with an open top and rounded bottom
- Resistant to most chemicals and moderate heat (especially glass types)
- Usually without a cap
Common Uses:
- Holding and mixing small volumes of liquid
- Observing chemical reactions
- Educational demonstrations in schools and universities
2. Centrifuge Tube
Material: Usually made of high-strength plastic (like polypropylene or polycarbonate)
Shape: Conical or round bottom; often with screw caps or snap caps
Special Feature: Graduated markings for volume measurement
Common Uses:
- Used in centrifuges to separate substances by density
- Suitable for storing samples that require spinning at high speed
- Also used for DNA extraction, blood separation, and protein analysis
Important Note: Always ensure tubes are balanced in the centrifuge to prevent damage or accidents.
3. Culture Tube
Material: Borosilicate glass or polystyrene (disposable)
Design: Straight sides, no lip, and usually with a loose-fitting cap or cotton plug
Common Uses:
- Cultivation of microorganisms, such as bacteria or fungi
- Growing cell cultures in medical and biological labs
- Used in both liquid (broth) and solid (agar) culture media
Sterilization: Autoclavable; often pre-sterilized for microbiological use
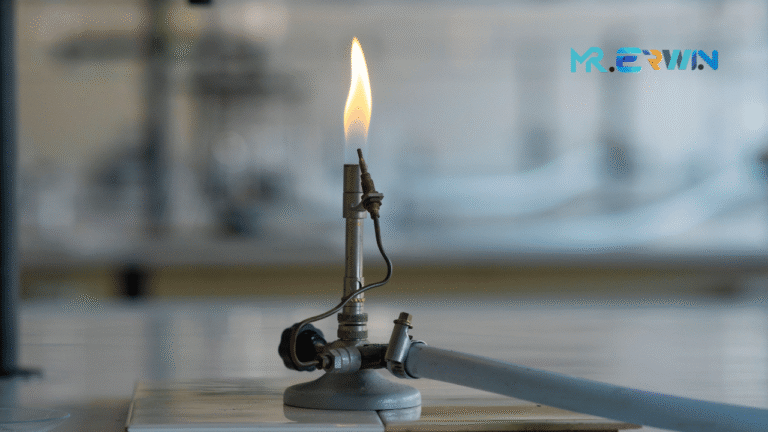
4. Ignition Tube
Material: Thick borosilicate glass
Shape: Smaller and thicker than standard test tubes
Heat Tolerance: Designed to withstand direct flames
Common Uses:
- Strong heating of chemicals that might combust or produce vigorous reactions
- Burning substances to test flame color or chemical behavior
- Frequently used in qualitative inorganic analysis
Safety Tip: Always use a test tube holder and heat the tube gradually.
5. Boiling Tube
Material: Borosilicate glass
Size: Larger than standard test tubes (usually wider and longer)
Shape: Cylindrical with thick walls
Common Uses:
- Boiling and heating substances over a Bunsen burner or hot plate
- Reactions that require prolonged or high-heat exposure
- Suitable for water bath use due to heat resistance
Advantage: Reduces the risk of overflow or splashing when boiling liquids.
6. Vacutainer Tube (Blood Collection Tube)
Material: Plastic or glass; vacuum-sealed
Special Feature: Color-coded rubber stopper indicating the additive inside
Size: Small (~5 mL to 10 mL); single-use
Common Uses:
- Used in phlebotomy (blood drawing)
- Pre-treated with additives like EDTA, heparin, or clot activators
- Designed for compatibility with automated blood testing machines
Not Typically Used in chemistry labs, but essential in clinical and medical diagnostics.
7. Test Tube with Screw Cap
Material: Glass or plastic
Cap Type: Screw-on or leak-proof cap (sometimes with rubber gasket)
Features:
- Airtight seal
- Resistant to evaporation and contamination
Common Uses:
- Sample storage over longer periods
- Transport of liquid biological samples
- Preventing contamination in sensitive reactions
8. Flat-Bottom Test Tube (Optional Variant)
Material: Glass or plastic
Shape: Flat base allows standing upright without a rack
Limitation: Not suitable for heating over an open flame
Common Uses:
- Temporary sample storage
- Color comparison in analytical chemistry
Summary Table of Test Tube Types
| Type | Material | Heat Resistant | Common Use |
|---|---|---|---|
| Standard | Glass/Plastic | Moderate | Mixing, holding, observing reactions |
| Centrifuge | Plastic | Low–Moderate | Sample separation |
| Culture | Glass/Plastic | Moderate | Microbial or cell culture |
| Ignition | Thick Glass | High | Strong heating, combustion tests |
| Boiling | Thick Glass | High | Boiling liquids |
| Vacutainer | Glass/Plastic | Low | Blood collection |
| Screw-Cap | Glass/Plastic | Varies | Secure storage |
| Flat-Bottom | Glass/Plastic | Low | Sample holding without a rack |
What is a Test Tube Used for in Science?
A test tube is one of the most recognizable tools in any science lab simple in shape, but incredibly versatile. It’s a small cylindrical container, usually made of heat‑resistant glass like borosilicate or sometimes durable plastic, with an open top and a rounded bottom.
In science, test tubes are mainly used to:
- Hold samples – whether liquids or solids, in small amounts for easy observation.
- Mix chemicals – allowing reactions to take place in a controlled space.
- Heat substances – glass test tubes can be safely heated over a flame or in a water bath.
- Store materials temporarily – for example, biological samples or solutions awaiting further testing.
Their size makes them ideal for small‑scale experiments, and they’re easy to handle with clamps or racks to prevent spills and accidents. That’s why you’ll find them everywhere from school science classes to advanced medical research labs.
Tips for Using Test Tubes Safely and Effectively
Using test tubes may seem straightforward, but proper technique and safety precautions are essential, especially in laboratory environments where precision and safety are paramount. Below are expert-backed best practices to ensure safe, efficient, and accurate use of test tubes in any setting — from classrooms to professional research labs.
1. Choose the Right Test Tube for the Task
Different experiments require different test tubes. Always select the appropriate type based on:
- Material:
- Use borosilicate glass for heating or exposure to chemicals.
- Use plastic test tubes for storing biological samples or when breakage is a concern.
- Size:
- Choose the right volume to avoid overflow or underutilization.
- Cap type:
- Screw caps or snap caps are best for storage or transportation.
Using the wrong type of test tube may lead to contamination, cracking, or inaccurate results.
2. Label All Test Tubes Clearly
Accurate labeling is vital, especially when working with multiple samples.
- Use waterproof markers or printed labels.
- Include essential details: sample name, date, and initials.
- Apply labels on the upper part of the tube (never on the bottom).
Mislabeling can lead to critical errors in research or diagnostics.
3. Handle with Proper Tools
Avoid handling test tubes with bare hands during heating or chemical reactions.
- Use a test tube holder or clamp when heating over a flame.
- Use test tube racks to prevent rolling or tipping over.
- For centrifuge tubes, use tube adapters or inserts to prevent imbalance.
Direct handling of hot or chemically active tubes is dangerous and unprofessional.
4. Heat with Caution and Control
When heating test tubes, especially over an open flame (e.g., Bunsen burner):
- Always point the open end away from yourself and others.
- Hold at an angle and move gently to distribute heat evenly.
- Do not overfill the tube (fill no more than one-third for reactions).
- Use boiling tubes for high-temperature applications.
Sudden heating can cause splashing or even explosions if done carelessly.
5. Prevent Cross-Contamination
To maintain experimental integrity:
- Use separate test tubes for each sample or reagent.
- Never reuse unwashed tubes — even trace residue can affect results.
- Use sterile tubes for microbiological or medical work.
One contaminated tube can compromise an entire experiment.
6. Avoid Sudden Temperature Changes (Thermal Shock)
Glass test tubes are prone to thermal shock (cracking due to rapid temperature changes).
- Never place a hot test tube on a cold surface (or vice versa).
- Let tubes cool naturally before washing or storing.
- Pre-warm tubes slightly before adding hot liquids if needed.
Cracked tubes can leak or break suddenly, posing chemical and physical hazards.
7. Clean Thoroughly After Use
Proper cleaning extends the life of test tubes and prevents cross-contamination.
- Rinse immediately after use with distilled water.
- Use test tube brushes and mild detergent for thorough cleaning.
- Rinse thoroughly with deionized water to remove any soap or residue.
- For sterilization:
- Use an autoclave (for glass tubes).
- Avoid autoclaving non-autoclavable plastics.
Leftover residue can alter chemical reactions or grow microbial contamination.
8. Store Correctly
Once cleaned and dried:
- Store test tubes in a dry, upright position using racks or holders.
- Keep glass tubes in padded storage to avoid breakage.
- Label unused tubes if they are pre-filled or sterilized in advance.
Proper storage reduces risk of damage and improves workflow efficiency.
9. Dispose of Broken or Contaminated Tubes Properly
Safety doesn’t end after use:
- Do not throw broken glass into regular trash — use a designated sharps container.
- Dispose of biohazardous or chemically contaminated tubes according to lab protocols.
- Never attempt to repair cracked or chipped tubes — discard them safely.
📌 Improper disposal is a major lab safety violation and environmental hazard.
10. Stay Aware and Follow Lab Protocols
Finally, always follow institutional or facility guidelines:
- Wear appropriate PPE: gloves, lab coat, goggles.
- Familiarize yourself with Material Safety Data Sheets (MSDS) for chemicals.
- Keep your workspace organized and clean to avoid accidental spills or mix-ups.
Lab safety begins with personal responsibility and situational awareness.
Final Thoughts
Test tubes are a fundamental tool in scientific research, but their effectiveness depends on choosing the right type and using them properly. From their historical development to modern laboratory applications, understanding test tubes allows for safer and more efficient experiments.
By following best practices and knowing their functions, you’ll be better equipped to use test tubes in any laboratory setting.
FAQ About Test Tubes
What is the use of a test tube in laboratory?
In a laboratory, a test tube is used to hold, mix, heat, or observe small quantities of substances. It is ideal for conducting experiments involving chemical reactions, heating liquids over a flame, or storing biological samples temporarily. Test tubes allow scientists to safely perform procedures on a manageable scale.
What is the use of a test tube holder in lab?
A test tube holder is a handheld clamp or tong-like tool used to safely hold test tubes, especially when they are hot or being heated over a flame. It helps prevent burns, spills, and breakage, and is essential for handling heated glassware in any chemistry or biology lab.
Which tube is used in the laboratory?
Several types of tubes are used in laboratories, depending on the purpose. Common examples include:
Test tubes (for mixing, heating, and chemical reactions)
Centrifuge tubes (for separating samples by density)
Culture tubes (for growing microorganisms)
Vacutainer tubes (for collecting blood samples in clinical labs)
Each tube type is designed for specific tasks and varies by material, size, and function.
How many types of test tubes are there in a laboratory?
There are several types of test tubes commonly used in labs. The main types include:
Standard Test Tubes
Boiling Tubes
Ignition Tubes
Culture Tubes
Centrifuge Tubes
Vacutainer (Blood Collection) Tubes
Screw-Cap or Stoppered Tubes
Each type has a specific design and application depending on the experiment or testing process.
What is the purpose of a test tube?
A test tube is a small cylindrical container, usually made of heat‑resistant glass like borosilicate or sometimes durable plastic, with an open top and a rounded bottom. In scientific work, its main purpose is to hold, mix, heat, and observe small quantities of substances in a safe and controlled way. Because of its size and shape, it’s ideal for conducting experiments on a manageable scale whether that’s combining chemicals to see a reaction, heating liquids over a flame or in a water bath, or temporarily storing biological samples before further testing. Its transparent walls make it easy to monitor changes such as color shifts, precipitate formation, or gas release, while its compatibility with racks and clamps helps prevent spills and accidents. This combination of practicality, safety, and versatility is why test tubes remain a staple in laboratories ranging from school science rooms to advanced research facilities.