Mortar and Pestle in the Laboratory: Functions, Types, and Proper Use
In every laboratory, there are tools that may not look impressive at first glance but play a crucial role in daily experiments. The mortar and pestle is one of them. Often associated with traditional kitchens, this tool has a long history in scientific work — from grinding spices to preparing chemical samples for analysis. In a lab setting, it’s more than just a simple crusher; it’s a precision tool that helps prepare substances for accurate results.
What is a Mortar and Pestle in the Laboratory?

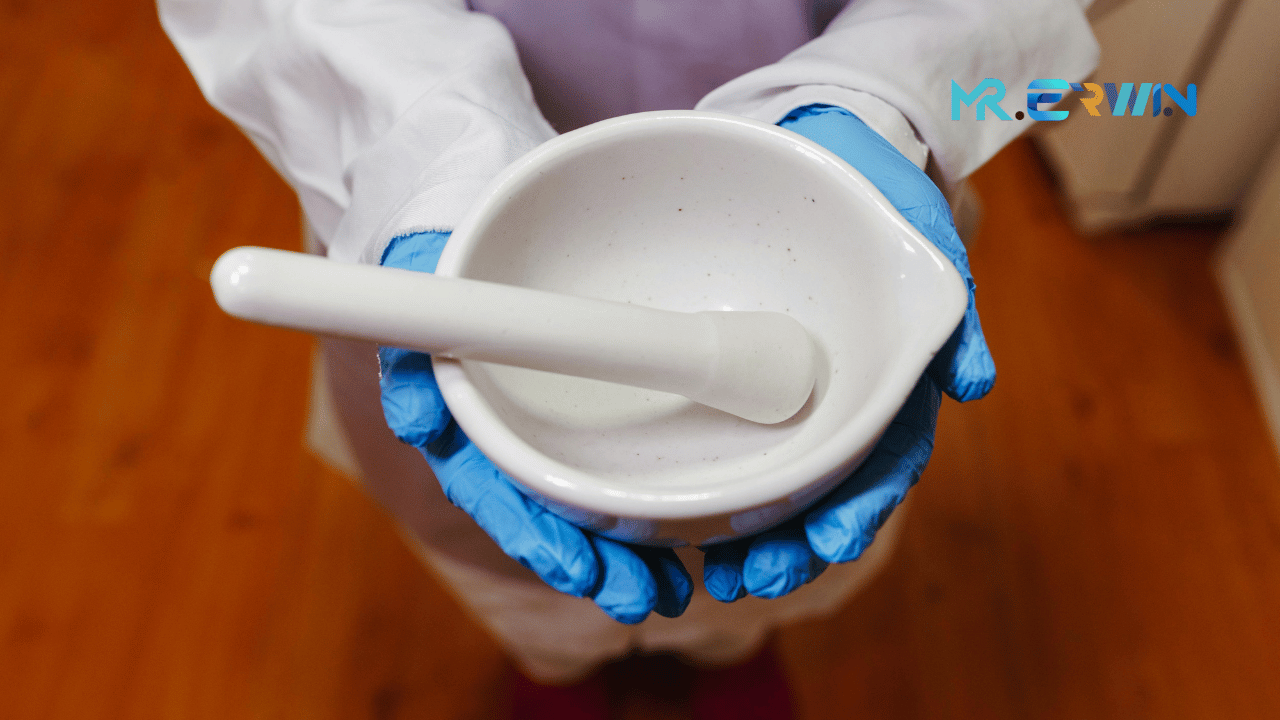
A mortar is a small bowl, and a pestle is a heavy club-shaped tool used to crush, grind, and mix solid substances. Together, they provide mechanical force to break materials down into finer particles. While kitchen versions are often made of stone or wood, laboratory mortars and pestles are made from specific materials like porcelain, ceramic, or glass to prevent contamination and ensure chemical resistance.
Functions of Mortar and Pestle in the Laboratory
The main role of a mortar and pestle is simple: to reduce solid substances into smaller particles. But in the laboratory, this basic function serves multiple purposes:
- Grinding Solid Chemicals
Many experiments require chemicals in fine powder form to ensure they dissolve or react evenly. The mortar and pestle provide precise control over particle size. - Mixing Multiple Substances
When two or more solid substances need to be blended thoroughly before further processing, this tool is ideal for achieving a uniform mixture. - Sample Preparation for Analysis
In disciplines like pharmacology or biology, certain samples must be ground into a fine powder to prepare them for microscopic examination or chemical analysis. - Breaking Down Crystalline Structures
Some compounds come in large crystals, which must be broken into smaller, more manageable pieces before weighing or dissolving.
Types of Laboratory Mortar and Pestle
Not all mortars and pestles are the same. The choice depends on the type of material you’re working with and the nature of your experiment.
1. Porcelain Mortar and Pestle
- Advantages: Durable, smooth surface, good for grinding chemicals.
- Best for: General laboratory use with both soft and moderately hard substances.
- Note: Not suitable for extremely hard materials as it may chip.
2. Glass Mortar and Pestle
- Advantages: Non-porous, resistant to most chemicals, easy to clean.
- Best for: Preparing substances that could be stained or contaminated by porous materials.
- Note: Not ideal for grinding very hard solids — they can scratch the glass.
3. Ceramic Mortar and Pestle
- Advantages: High resistance to wear, excellent for heavy-duty grinding.
- Best for: Tough, abrasive substances.
- Note: Heavier than glass or porcelain; may require more effort to handle.
4. Agate or Stone Mortar and Pestle
- Advantages: Extremely hard, long-lasting, suitable for precise grinding.
- Best for: High-purity samples where contamination must be avoided.
- Note: Usually more expensive but worth it for specialized work.
Proper Use of Mortar and Pestle in the Laboratory
Using this tool correctly is essential to get accurate results and prolong its lifespan.
- Select the Right Material
Match the mortar and pestle material to the substance you’re grinding. Avoid using soft glass for hard solids. - Prepare the Substance
Break large chunks into smaller pieces before grinding to avoid damaging the mortar. - Use Controlled Pressure
Apply steady, even pressure in a circular motion. Avoid hitting or pounding too hard — it can chip the surface. - Clean Immediately After Use
Residues can harden and become difficult to remove. Always wash and dry thoroughly to avoid contamination in future experiments. - Store Properly
Keep in a clean, dry place, preferably covered, to prevent dust or chemical residue from settling.
Safety Tips When Using a Mortar and Pestle
- Wear safety goggles when grinding potentially hazardous chemicals.
- Use gloves if handling corrosive or toxic substances.
- Never grind flammable materials near open flames.
- Avoid mixing substances that could react violently.
Final Thoughts
While modern laboratories are equipped with high-tech machines like grinders and homogenizers, the mortar and pestle remains a timeless, reliable tool. Its simplicity, versatility, and control over particle size make it indispensable in scientific work. Whether you’re preparing a chemical reaction, analyzing a biological sample, or mixing specialized compounds, mastering the use of a mortar and pestle can improve the precision and quality of your experiments.
FAQ About Mortar and Pestle in the Laboratory
What is the function of a mortar and pestle in the laboratory?
A mortar and pestle is used to grind, crush, and mix solid substances into smaller particles, ensuring they dissolve or react evenly during experiments.
What materials are laboratory mortars and pestles made from?
Common materials include porcelain, glass, ceramic, and agate. Each type is chosen based on chemical resistance, durability, and the nature of the substance being processed.
How do you properly use a mortar and pestle in the lab?
Place the sample in the mortar, hold the pestle firmly, and apply steady circular pressure until the desired texture is achieved. Avoid pounding too hard to prevent damage.
How should you clean a laboratory mortar and pestle?
Clean immediately after use with water or an appropriate solvent, then dry thoroughly to prevent contamination in future experiments.
Can a kitchen mortar and pestle be used for laboratory work?
It’s not recommended. Laboratory mortars and pestles are made from specific materials designed to resist chemicals and prevent contamination, unlike most kitchen versions.