


Unraveling the Mystery: What Exactly is a Glass Stirring Rod? Your Essential Lab Guide

Ever walked into a chemistry lab and wondered about all the tools neatly arranged? Among the flasks, beakers, and test tubes, there’s one simple, unassuming piece of laboratory equipment that often gets overlooked but is absolutely indispensable: the glass stirring rod. We might take it for granted, but this humble instrument plays a crucial role in countless experiments and procedures. So, what is the definition of a glass stirring rod, and why is it so important?
Today, we’re going to dive deep into understanding this everyday lab hero. We’ll explore its proper definition, why it’s usually made of glass, and uncover its surprisingly diverse uses beyond just mixing solutions. If you’ve ever wondered about the meaning of glass stirring rod in chemistry, you’re in the right place!
The Core Definition: What is a Glass Stirring Rod?
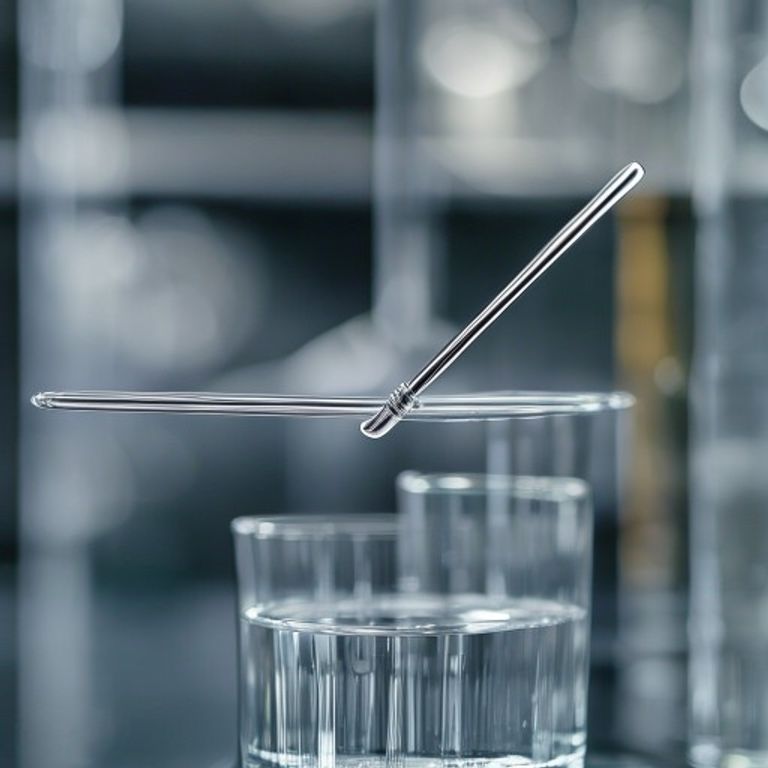
At its most basic, a glass stirring rod, often simply called a “stirring rod” or “stirrer,” is a piece of laboratory glassware typically used for mixing chemicals and liquids. Imagine a slender, solid cylindrical rod, usually made from borosilicate glass – the same tough material used for many beakers and test tubes. Its simplicity is its strength!
So, the proper definition of a glass stirrer is a laboratory tool designed to stir liquids, facilitating the mixing of substances or promoting chemical reactions by ensuring homogeneous distribution of components. It’s essentially a manual mixing tool that allows scientists, students, and enthusiasts to safely and effectively combine ingredients without cross-contamination or unwanted reactions with the stirrer itself.
Why Glass? The Material Advantage
You might ask, “Why glass? Why not plastic or metal?” That’s an excellent question! The choice of borosilicate glass for stirring rods isn’t random; it’s a very deliberate one, offering several key advantages:
- Chemical Inertness: Borosilicate glass is highly resistant to most chemicals, acids, and bases. This means it won’t react with the substances you’re mixing, ensuring the purity of your experiment results. Imagine trying to mix a strong acid with a metal rod – disaster!
- Heat Resistance: Glass stirring rods can withstand high temperatures, making them suitable for use with heated solutions or during processes like dissolving solids that require heat.
- Ease of Cleaning: Glass is non-porous and smooth, making it incredibly easy to clean and sterilize. This prevents contamination between different experiments.
- Transparency: Being transparent allows us to visually observe the mixing process and see if all components have dissolved or combined properly.
- Durability: While glass can break, borosilicate glass is particularly tough and less prone to thermal shock than other types of glass.
Beyond Mixing: Practical Applications in the Lab
While the primary function of a glass stirring rod is, well, stirring, its utility extends far beyond just that. In a chemistry lab, we often find ourselves using them for various tasks. Here are some of the essential stirring rod uses you need to master:
- Aiding Decantation: When you need to pour off a liquid from a solid (decantation), a stirring rod can be held against the lip of the beaker or flask. This helps guide the liquid flow smoothly, preventing spills and ensuring that the solid remains undisturbed at the bottom.
- Breaking Up Solids: Sometimes, solid reagents come in clumps. A glass stirring rod can be used to gently break these up before or during dissolution.
- Initiating Crystallization: Scratching the inner surface of a glass container with a stirring rod can sometimes provide nucleation sites, encouraging the formation of crystals from a supersaturated solution.
- Testing pH with Indicator Paper: Instead of dipping the entire pH paper into the solution, which can contaminate it, we can touch the stirring rod to the solution and then touch the wet rod to the pH paper.
- Transferring Small Amounts of Liquid: For very small, non-critical transfers, a drop of liquid can cling to the end of a stirring rod and be moved.
Understanding these practical applications truly highlights the versatility of this simple tool. For more in-depth knowledge and advanced techniques, I highly recommend checking out resources that cover essential stirring rod uses you need to master.
Keeping Your Stirring Rod Safe: Care and Handling Tips
Even though they are robust, glass stirring rods still require proper care. Always remember:
- Avoid dropping them on hard surfaces; they will break.
- When storing, keep them in a safe place where they won’t roll off or get crushed.
- Clean them immediately after use to prevent residues from hardening, making cleaning more difficult later.
- Inspect for chips or cracks before use, as a damaged rod can be dangerous.
Conclusion
So there you have it! The glass stirring rod, while seemingly mundane, is a fundamental tool in any laboratory setting. Its simple design, coupled with the incredible properties of borosilicate glass, makes it an indispensable asset for everything from basic mixing to delicate decantation. We’ve defined its purpose, explored why glass is the material of choice, and touched upon its diverse practical applications.
Next time you’re in the lab, take a moment to appreciate this unsung hero. Its simplicity is truly its genius, enabling accuracy and efficiency in countless scientific endeavors. Understanding its definition and proper use is a foundational step in mastering laboratory techniques.
Frequently Asked Questions (FAQ)
Q1: What is the main purpose of a glass stirring rod?
A1: The primary purpose is to manually mix liquids and solutions, ensuring homogeneity or facilitating dissolution and chemical reactions.
Q2: Can I use a metal rod instead of a glass stirring rod?
A2: Generally, no. Metal rods can react with chemicals, contaminate solutions, or corrode. Glass (especially borosilicate) is chemically inert and much safer for most laboratory applications.
Q3: How do I clean a glass stirring rod?
A3: Most residues can be removed with soap and water, followed by a rinse with distilled water. For stubborn residues, appropriate chemical solvents might be used, followed by thorough rinsing and drying.







