Beaker Uses Explained: Primary Functions, Measuring Tips, and Heating Safety in the Lab

Introduction
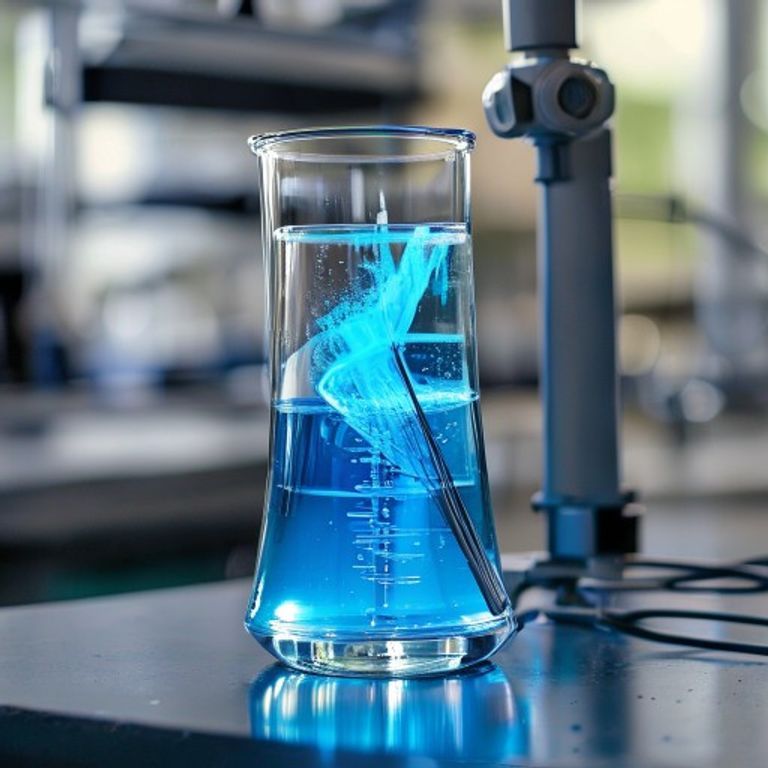
When I first stepped into a chemistry lab, the humble glass beaker was the first piece of equipment that caught my eye. It looks simple, but its versatility makes it a true workhorse for scientists of all levels. In this article, I’ll walk you through the most common beaker uses, show how to measure liquids accurately, and answer the burning question: can you heat liquids in a beaker? By the end, you’ll know exactly why this piece of scientific glassware belongs in every lab bench drawer.
What Are Beakers Primarily Used For?
Beakers are designed for tasks that require flexibility rather than extreme precision. The primary purposes include:
- Mixing and stirring solutions: Their wide mouth makes it easy to add reagents and use magnetic stir bars.
- Holding reactions: Ideal for reactions that don’t need a sealed environment.
- Observing color changes or precipitates: The clear glass lets you watch the chemistry happen in real time.
Common Uses of Beakers in Chemistry Labs
1. Simple Liquid Measurement
While beakers aren’t as precise as graduated cylinders, they’re perfect for estimating volumes when exactness isn’t critical. To improve accuracy:
- Read the liquid level at eye level.
- Use the meniscus (the curve at the liquid surface) as a reference.
- Choose a beaker size that matches the volume you expect—using a 250 mL beaker for 20 mL gives a better estimate than a 1000 mL beaker.
If you need higher precision, check out our guide on graduated cylinders for accurate liquid measurement.
2. Heating Liquids
Yes, you can heat liquids in a beaker, but you must follow safety best practices:
- Never place a beaker directly on a flame; always use a tripod stand with a wire gauze.
- Watch the temperature closely—glass can crack if heated too quickly.
- Use a stir bar or gentle swirling to avoid hot spots.
3. Transferring and Pouring
The wide opening of a beaker makes it easy to pour liquids into other containers without spilling. It also serves as an intermediate vessel when you need to decant a solution from a flask or test tube.
4. Storing Small Quantities
Although not ideal for long‑term storage, beakers can temporarily hold reagents during multi‑step procedures. Just label them clearly to avoid mix‑ups.
How to Use a Beaker for Measuring Liquids
Even though a beaker isn’t a precision instrument, you can still get reliable estimates by following these steps:
- Choose the right size: Pick a beaker whose volume range closely matches the amount you need.
- Place the beaker on a level surface: This prevents tilted readings.
- Read at the meniscus: Align your eye with the bottom of the curved surface.
- Record the volume: Note the nearest graduation line; most beakers have markings every 50 mL or 100 mL.
For tasks that demand higher accuracy, consider switching to a graduated cylinder or a pipette. Learn more about precise liquid handling in our article on what exactly does a pipette measure.
Can You Heat Liquids in a Beaker?
Absolutely, but with caution. Glass beakers can withstand moderate heating, especially when made of borosilicate (the same material as Pyrex). Here’s a quick safety checklist:
- Use a tripod stand with a wire gauze to distribute heat evenly.
- Never heat a beaker that contains organic solvents above their flash point.
- Allow the beaker to cool gradually; rapid cooling can cause thermal shock.
- Wear appropriate PPE: goggles, gloves, and a lab coat.
Conclusion
Beakers may look unassuming, but their role in the laboratory is anything but minor. From rough volume estimates and easy mixing to safe heating (when paired with the right accessories), they are an essential piece of scientific glassware. By understanding the proper beaker uses, you can streamline your experiments, reduce errors, and keep your workspace safe. So next time you reach for that clear glass cylinder, remember it’s not just a container—it’s a versatile partner in discovery.
FAQ
Q: Are beakers suitable for precise measurements?
A: Not really. They’re great for rough estimates, but for precision use graduated cylinders or pipettes.
Q: Can I use any beaker for heating?
A: Preferably use borosilicate glass beakers and always place them on a tripod stand with a wire gauze.
Q: How do I avoid spillage when pouring?
A: Choose a beaker with a wide mouth, tilt slowly, and use a funnel if the receiving vessel has a narrow opening.
Q: What’s the difference between a beaker and an Erlenmeyer flask?
A: Beakers have straight sides and a flat bottom, making them ideal for stirring and heating, while Erlenmeyer flasks have a conical shape that reduces splashing.
Q: Should I label a beaker during an experiment?
A: Yes—labeling prevents mix‑ups, especially when you have multiple solutions on the bench.